
Best Waterproofing Options
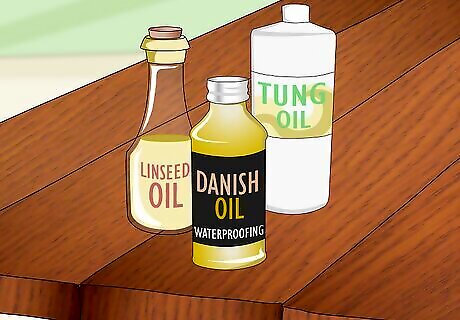
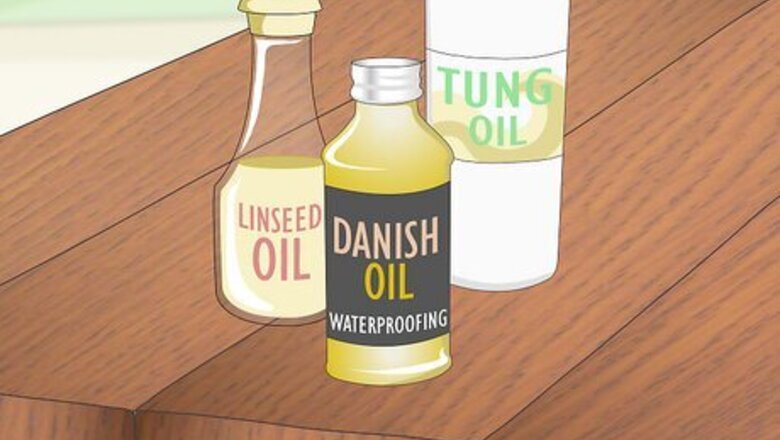
Oils—for a natural look that you can customize Waterproofing oils are naturally extracted and don’t contain the potentially dangerous chemicals you find in a lot of synthetic sealants. You also apply them with a brush or by hand with a tack cloth, which means you can spread the oil to give certain edges or surfaces a more customized look. Your options are: Danish oil. Danish oil dries extremely hard, which makes it ideal for furniture or floors that might get a lot of traffic. Tung oil. Tung oil is the most popular option if you want minimal hassle and to preserve the natural color and grain of the wood. It’s extremely easy to work with, which makes it popular for beginners. Linseed oil. Linseed oil is probably the least popular option. It only offers water resistance (not waterproofing), so it won’t hold up over time. It also carries a slightly yellow tint a lot of woodworkers don’t like.
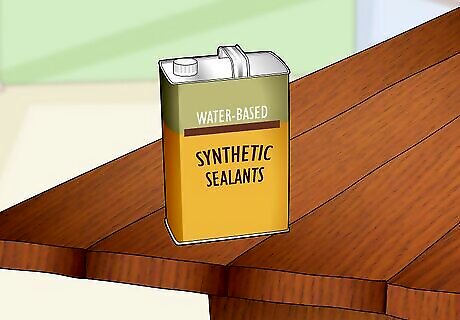
Synthetic sealants—for durability, outdoor use, and uniform texture Synthetic sealants are a broad category and there’s a lot of variation from product to product, so choose carefully. In general, sealants are ideal for bigger projects where function matters more than form. If you’re staining a deck or doing any outdoor, you’ll want to use a synthetic sealant. Here are the various labels and adjectives you’ll run into: Water-based. Water-based sealants offer less durability than their oil-based counterparts, but water-based sealants don’t leave a plastic aroma behind that a lot of people don’t like. They’re also easier to apply. Oil-based. If you want maximum durability, go oil-based. It may make the wood appear “cheaper” by creating a thin sheen, and it can be a pain to work with, but water will bead up on the surface. For maximum weatherproofing, go oil-based. Polyurethane. Polyurethane is the most common waterproofing compound in commercial products. It provides a light sheen and waterproofs wood. Notably, you must sand it between each coat, which makes it time-consuming to work with. Varnish. Varnish is a general term for any synthetic waterproofing compound (polyurethane is a type of varnish, usually). Varnishes are normally designed to be transparent and not adjust color. Lacquer. Lacquers will change the color of wood. If you want to seal the wood and make it darker or lighter, lacquers are your best option.
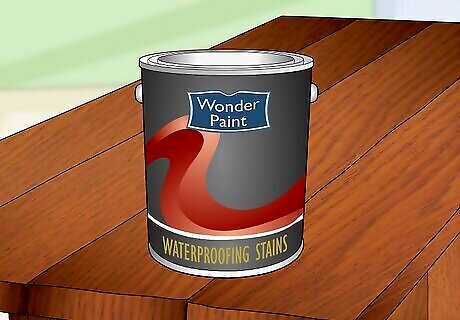
Waterproofing stains—for saving time if you plan on staining the wood If you’re working with fresh or unpainted lumber, you may be planning on staining the wood. If that’s the case, save yourself some time and energy and just choose a stain product that comes premixed with a sealant. Most waterproofing stains use polyurethane to enhance the stain’s water-fighting abilities. Just read the label on the products to see if they’re lacquers, varnishes, etc.
Applying Oil
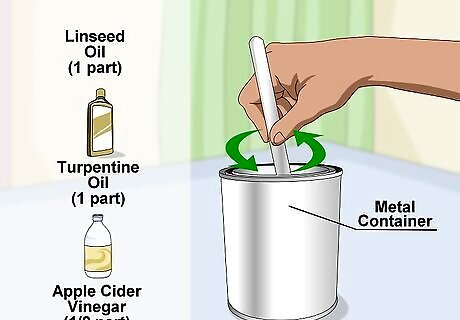
Pre-mix the oil if you bought it raw. Raw tung, Danish, and linseed oils need to be diluted and mixed. Follow the instructions on the product to create your 1-to-1 mixture. Typically, you combine 50% oil with 50% apple cider vinegar, mineral spirits, citrus solvent, or turpentine, but follow the instructions on your label. Mix the ingredients in a metal container, like an empty coffee container. Mix the liquids until everything is blended. A lot of woodworkers and carpenters prefer to mix raw oil themselves, but it’s really not required.
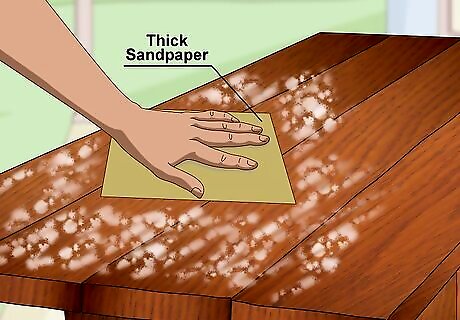
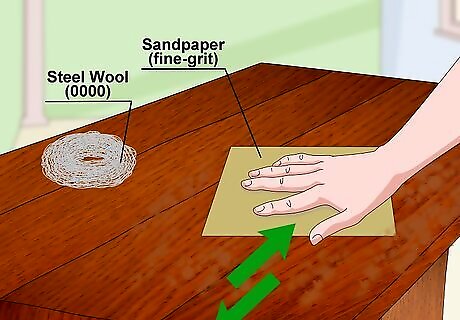
Prep the wood by sanding it with sandpaper. Any surface imperfections will be more noticeable after the oil is applied. The oil or oil mixture will highlight all the colors in the wood. Use thick sandpaper or a metal file for any imperfections that are visible from the surface. Scrape with the sandpaper or file until the wood looks even, then wipe the debris and sawdust off with a clean cloth. Finish by sanding the whole surface with fine-grit (220) sandpaper. This will prepare the surface to absorb the oil.

Throw on some thick gloves and put a drop cloth under any items. Fold a lint-free rag and keep other scrap rags nearby. Folding the rag removes rough edges and stops potential snags when spreading the oil. If you’re using a brush, don’t worry about any rags unless you need to protect the floor. Put on thick rubber gloves to protect your skin. Use a rag if you’re covering a lot of flat surfaces. The brush is really only easier if you’ve got a ton of curves and grooves to get into. If you’re working with linseed oil specifically, crack a window. Linseed oil fumes can be an irritant to a lot of people.
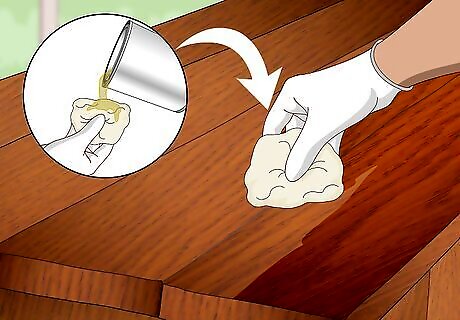
Apply the first coat with a paintbrush or cloth. Pour a small amount of oil on the rag’s surface or into a paint tray. Apply the oil to the wood in the direction of the grain by moving from the interior to the exterior. Be careful not to touch the oil while it’s absorbing. Concentrate on getting a smooth, even coat. Apply more oil instead of rubbing too hard to release the oil from the rag. Don’t leave any standing puddles of oil. The oil will slowly soak into the wood as you’re applying it, so you’ll notice the
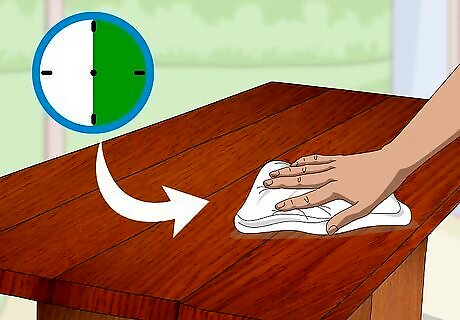
Wait around 30 minutes for the first coat to dry. Wait for the oil to settle into the wood and cure. Wipe the surface with a clean cloth to remove excess oil. Give the oil at least half an hour to soak into the grain of the wood and cure. Rub the surface with fine steel wool when you’re done if you want to ensure the second coat fully soaks into the wood.
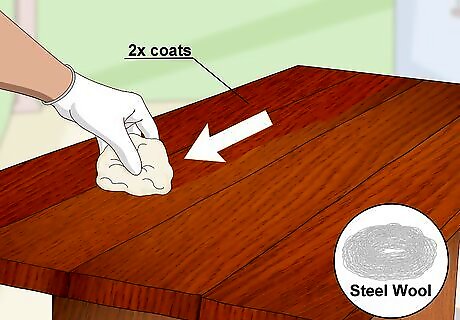
Apply 2-3 additional coats, scuffing the wood after each coat. Apply another layer of oil onto the wood. Repeat the same drying times and sanding with steel wool. Let it cure for several days to several weeks before using the wood. You will know if it is finished being cured if you can slide your fingers across the surface smoothly. You have plenty of freedom when it comes to how many additional coats you apply, but there are diminishing returns after 2-3 coats. Still, if you think you need another few coats, go for it!
Using Synthetic Sealants & Stains
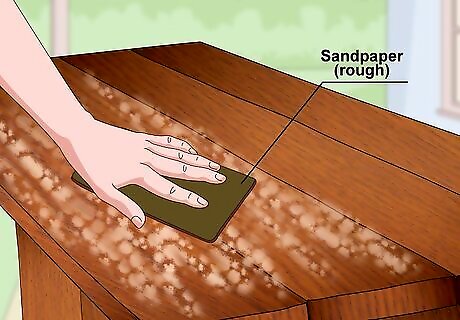
Prep the wood by sanding it thoroughly. Remove any remaining trace of past finish before using a sealant with sandpaper. Start with a lower, rougher grit and work your way up to a higher grit to smooth the wood out and remove any flaws. This removes finishing products that may keep the sealant from absorbing. The sealant method is best for any previously finished wood, since oil-based stain may not sink into the wood. If you’re staining a deck, fence, or railings, pressure wash it on the lowest pressure setting after you’re done sanding and wait for it to air dry. This will fully open up the wood grain and remove all of the dust. Variation for painted wood: If you’re sealing painted wood, just gently sand the surface with a light grit. If you really don’t want to harm the paint job you can skip the sandpaper, but the sealant may come out slightly uneven.

Read your product’s label before applying it. Every stain, lacquer, sealant, varnish, or polyurethane is going to have slightly different care and application instructions. Take a few minutes to thoroughly read your product’s instructions. If the product’s instructions differ from our general guidance, defer to the label. You typically need to wear a dust mask and rubber gloves when working with commercial sealants. They aren’t normally toxic, but the fumes can be irritable.
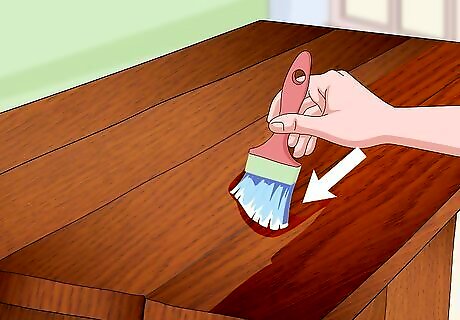
Apply an even coat with a sprayer, paintbrush, or roller. Prepare your paintbrush or sprayer and focus on creating an even coat of the surface. Make sure the temperature and humidity of the air are in the right range for the product, or the product can evaporate too quickly. Consider working in an area with controlled humidity if you can (like a garage). Make sure the wood’s surface is cleaned before applying the sealant. Any dirt or dust will be trapped in by the sealant once it dries.
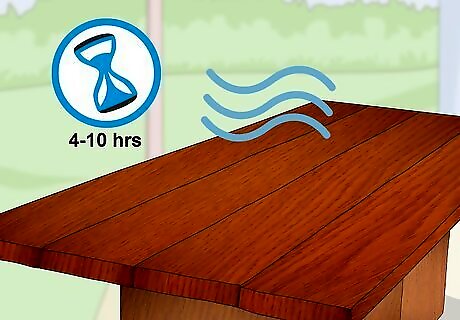
Wait at least 12 hours for your first coat to cure. Consult the product’s package directions for proper drying times. Many sealants take as little as 4-10 hours, but you’re best off letting coats rest for at least 12 hours for best results.
Sand the first coat down to rough the wood up again. Use sandpaper with fine grit to improve the adhesion of the second coat. Do this once the product has finished drying. Use an orbital sander or sheets of sandpaper to scuff the wood and raise the grain for the next coat. You can also use “0000” (very fine) steel wool to scruff up the wood to prepare it for a second coat of sealant.

Continue applying additional coats until you’re happy with the look. Softwoods may need two to three coats, while some hardwoods will only need one. Softwoods are cheaper woods that haven’t been treated in the past. Popular softwoods are cedar, pine, redwood spruce, balsa, and yew. Hardwood is denser wood that is used for higher-quality furniture and decks. Popular hardwoods is beech, hickory, mahogany, maple, oak, and walnut. Wait at least 24 hours after the last coat before moving or walking on the wood. Reapply the sealant every few years to ensure the wood is never exposed to excessive moisture.


Comments
0 comment