views
Using a Pipe Cutter
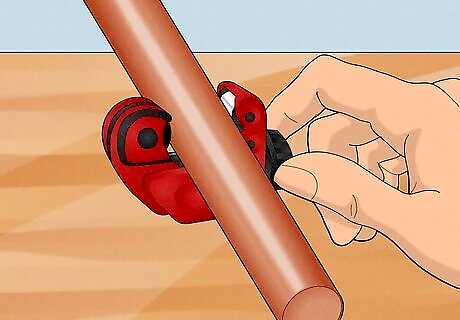
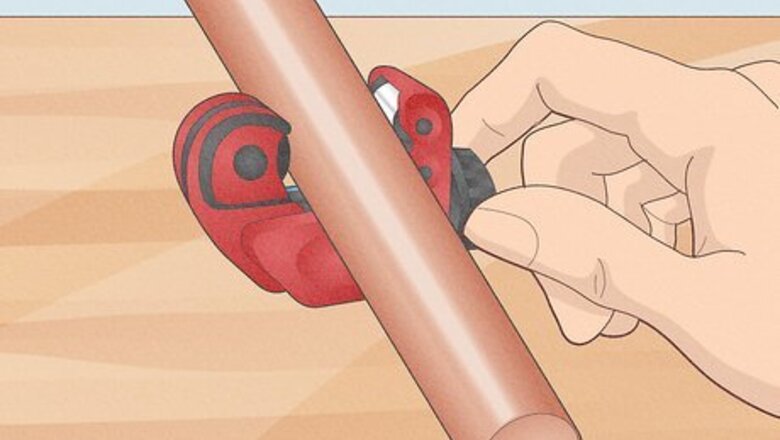
Secure the tubing cutter to the pipe. Use the handle to open the jaws of the tubing cutter. Set the copper pipe into the jaws where you'd like to make the cut. Spin the handle to tighten the jaws firmly against the pipe. The tubing cutter acts like a vise to hold the pipe to the blade that's in the tool.
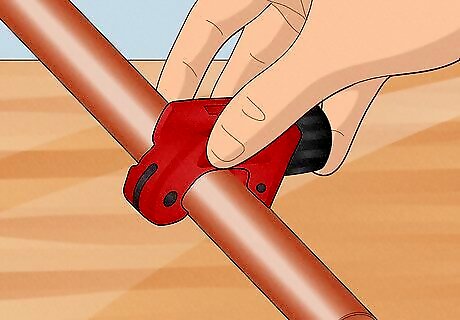
Score the pipe lightly. Hold the pipe with one hand and use your other hand to rotate the handle around the pipe once or twice. You should see a faint line around the pipe that was made by the blade cutting lightly into the pipe. This line will be a guide as you cut into the pipe.
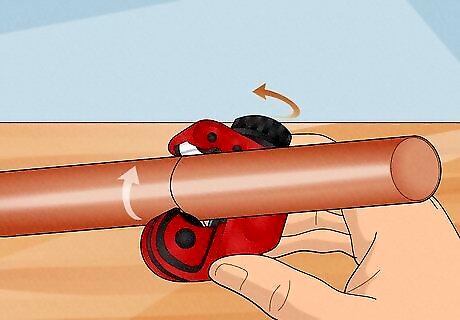
Turn and tighten the cutter. Continue to rotate the handle of the tool around the pipe so the blade keeps cutting into the pipe. Watch the blade to ensure that it's cutting into the same line and not spiraling down the pipe. Use the small knob on the base of the tool to tighten the cutter as you go. This will keep the blade on the same track.
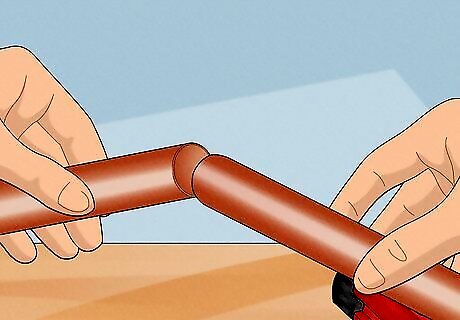
Remove the cutter and pull away the pipe. Loosen the tubing cutter and set it aside. You should be able to hold both ends of the pipe with the cut in the center. Bend the pipe to snap the cut portion away. You should see a clean cut with no metal filings or debris. If the pipe doesn't easily snap off, use the tubing cutter to make a clean cut through the pipe. EXPERT TIP Greg Jeiranyan Greg Jeiranyan Licensed Plumber Greg Jeiranyan is a Licensed Plumber based in Los Angeles, California. With over 10 years of professional experience, Greg and his team specialize in residential and commercial plumbing service calls. His company, Plumbing Geeks, is rated 5 stars on Yelp and is a family-owned and operated plumbing company. Plumbing Geeks has been serving Los Angeles and its surrounding areas since 2021. Greg Jeiranyan Greg Jeiranyan Licensed Plumber Cut the pipe cleanly, smooth the edges, and prep for fittings. No pipe cutter? No problem. Use a multi-tool, hacksaw or reciprocating saw with a copper blade. Clean the pipe after cutting to remove debris. Also smooth the cut edges with a reamer and sandpaper to prep for fittings. This is super helpful when you lack special tools.
Using a Hacksaw
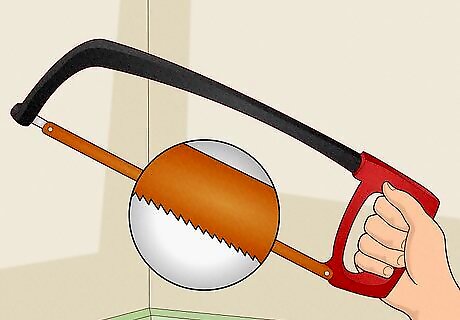
Select the right hacksaw blade. Use a hacksaw with a small gap between its teeth so it cuts cleanly through the copper pipe. Look for a hacksaw with a 32-TPI blade since it has the shortest distance between the teeth. If the gap between the teeth is too large, the hacksaw will snag on the pipe.
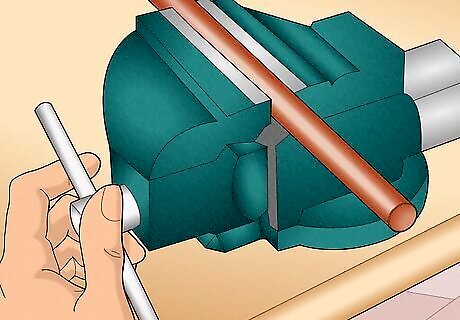
Clamp the copper pipe, if possible. If the pipe is loose, set it in a vise so that the spot you want to cut extends a few inches (about 5 cm) from the jaws. This will give you space to cut. Spin the handle until the pipe is secured and doesn't move at all. You may need to spin the handle a lot if you're using a thin pipe.
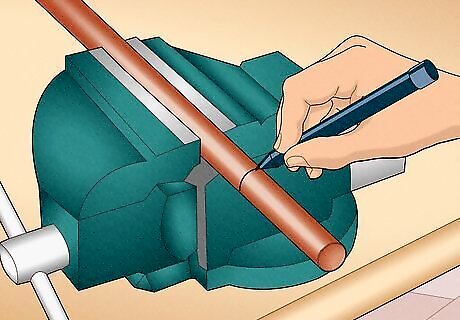
Mark the copper pipe. Determine where you'd like to make the cut on the copper pipe. Take a fine permanent marker and draw a line where you want the cut. After you've cut the pipe, you can wipe the mark off using rubbing alcohol.
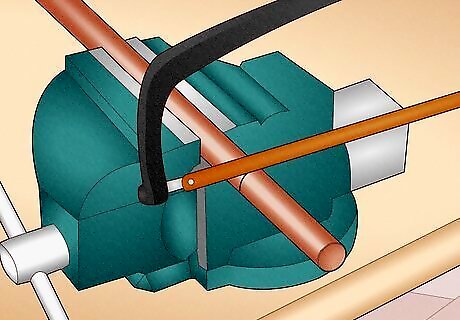
Set the hacksaw blade on the mark. Place the teeth of the hacksaw directly on the mark you made. Hold the handle of the hacksaw with your dominant hand use your other hand to support the top of the saw.
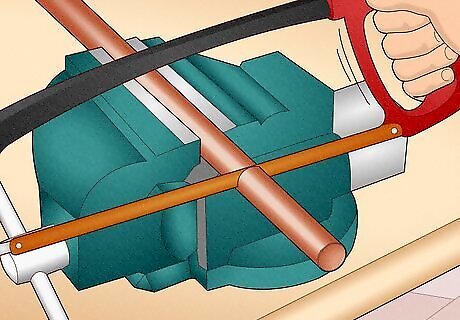
Saw firmly into the pipe. Move the blade firmly across the pipe and lift it up as you bring the hacksaw back towards you. Set the blade back into the grove you've begun cutting and continue to push the saw blade into the pipe until the cut piece falls off. Avoid sawing in a backwards and forwards motion because you could damage the blade or make a ragged cut on the pipe.
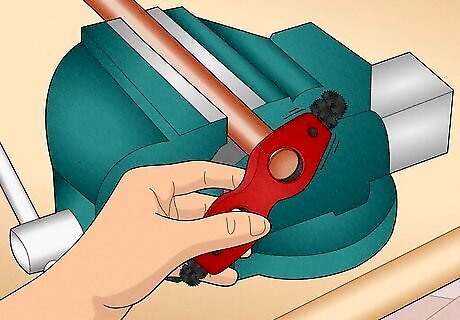
Clean the cut copper pipe. Use a 4-in-1 cleaning tool to clean the cut pipe of any metal debris. Use the ends of the tool to brush inside the end of the pipe and place the center circle of the tool around the pipe itself. Rub the tool around the end so the metal bristles of the tool can brush and clean the pipe. Alternatively, you can cut a piece of sandpaper into a 1 in (2.5 cm) by 5 in (13 cm) strip. Wrap it around the pipe and vigorously pull both ends of the sandpaper back and forth.
Using an Autocut Tool
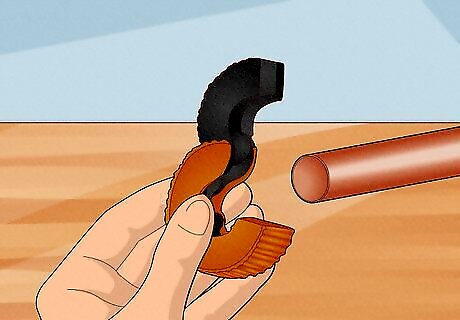
Select an autocut tool. If you're cutting copper pipe in a tight space (such as up against a corner), use an autocut tool. Measure the diameter of the pipe you want to cut and purchase an autocut tool for that exact size. Autocut tools are spring loaded so you won't be able to adjust the size of the cut. For example, for a small 1/2 inch (12 mm) pipe, buy a 1/2 inch (12 mm) autocut tool. Autocut tools come in 1/2 inch (12 mm), 3/4 inch (19 mm), and 1 inch (2.5 cm) sizes.
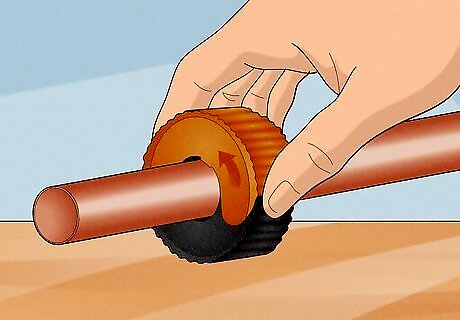
Clamp the autocut tool onto the copper pipe. Set the pipe into the center of the autocut tool where you'd like to make the cut. Secure the gray clamp down onto the pipe. The pipe should not be able to wiggle or slide out of the tool.

Turn the tool 20 to 30 times. Look for the arrow on the tool that indicates which direction to turn it. Hold the pipe with one hand and use your other hand to turn the tool in the indicated direction. Turn the tool 20 to 30 times until the pipe is cut. The auto cut tool makes a clean, smooth cut, so you won't need to clean the pipe before using it.




Comments
0 comment