views
Reloading Pencils
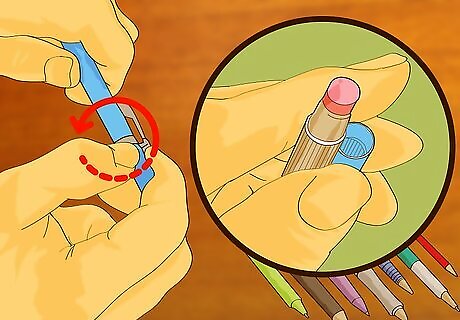
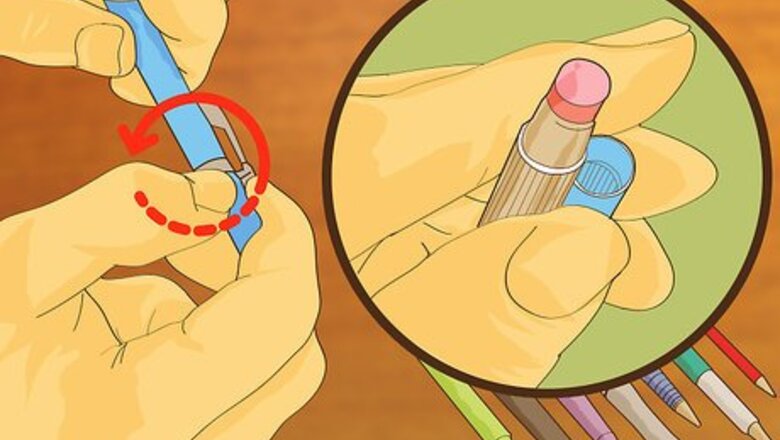
Replace cassettes. Exact instructions may vary by model, but generally, start by pulling the eraser out of the pencil, which will draw out the old cassette. Give the old cassette a shake just to make sure that it really is empty. If so, insert a new cassette into the pencil’s open chamber. Once it clicks into place, reinsert the eraser after detaching the old cassette.
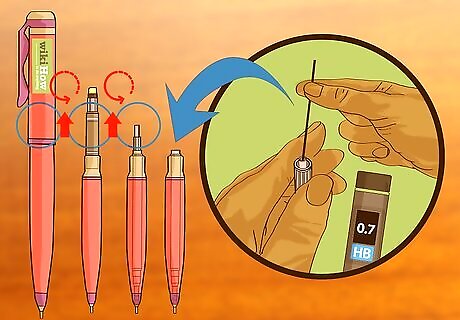
Add lead from the top. If your pencil doesn't use cassettes, try pulling the eraser out of the pencil. If it reveals the pencil's chamber when removed, feed the recommended number of lead pieces into the pencil’s chamber. Fit the eraser back into place when finished.
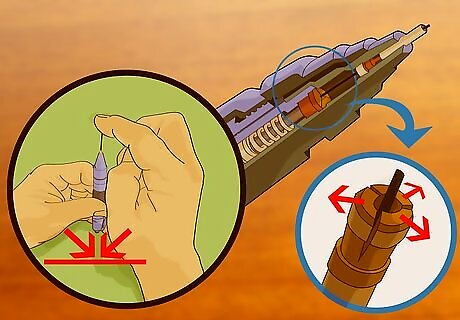
Add lead through the tip. If the eraser isn't removable or doesn't offer access to the chamber, load it from the bottom instead. First, depress the eraser end and hold it in place. Fit the first piece of lead into the tip’s hole. Gently push it all the way inside the pencil. Repeat with each piece of lead until you fill your pencil. Note that some pencils advance lead out of the chamber by clicking a button on the side instead of the eraser.
Replacing Lead in Multi-Pens
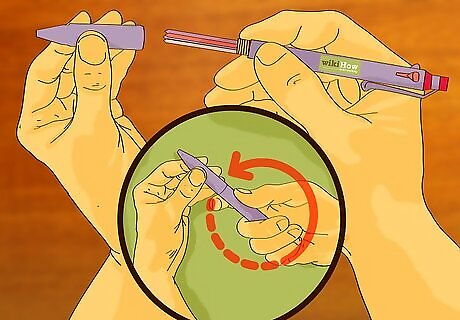
Dismantle your pen. Find where the two halves of your pen screw together and twist them loose. Once the pen is opened, locate the lead dispenser inside. Pull it free from the lead holder.
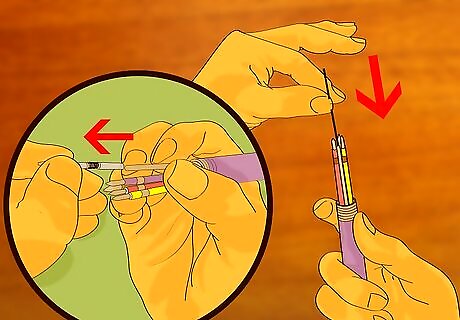
Load lead into your pen. First, hold the top half of the pencil upside down, so the opening to the lead holder is facing up. Then feed the lead into the hole for the lead holder, one piece at a time. Remember to only load the recommended number of pieces, which will probably only be a couple due to the limited space.
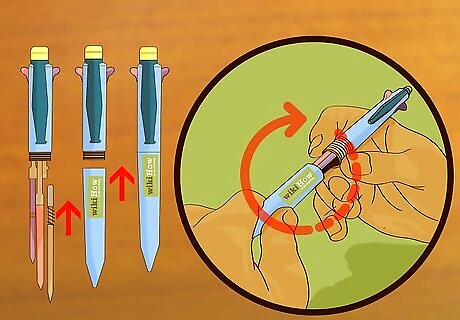
Reassemble your pen. Fit the lead dispenser mechanism back into place. Screw the pen’s two halves back together. Give the pen’s pencil action a couple clicks to make sure it is operating smoothly.
Using the Right Materials
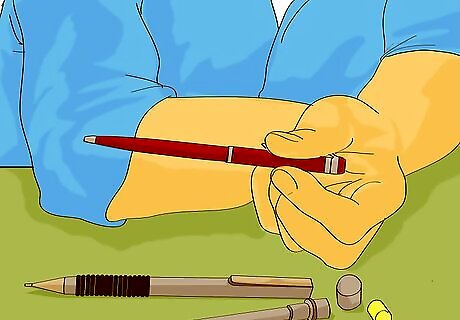
Find out if your pencil requires cassettes. Expect mechanical pencils to be reloaded in one of two ways: with or without a cassette. Cassettes already contain lead and can be loaded straight into the pencil as one piece, while cassette-less pencils require you to feed each piece of lead into the pencil. Check the instructions to find out which method is needed. Manufacturers often color-code their products so you can tell which type it is at a glance. Cross, for example, uses a black band around the base of the eraser to indicate that a cassette is required, and a yellow band to indicate that lead pieces need to be fed in individually.

Use the correct size lead. Check your pencil to see if the recommended diameter of lead (usually expressed in millimeters, such as “0.5mm”) is featured on its design. If not, refer to its packaging or directions. Only use the diameter specified. Avoid jamming your pencil with lead that is too thick, or being stuck with a wobbly piece of lead that is too thin.
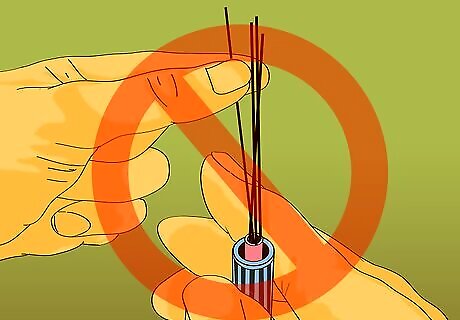
Don’t overload the pencil. Expect overloading to jam your pencil. Refer to its instructions. Find out the maximum number of lead pieces that will fit inside. Some models may only fit two at a time, while others may hold up to nine.
Seek help when in doubt. If you no longer have the pencil’s instructions, search the internet for the manufacturer’s website. Once there, look up the exact model of your pencil to find out its specifications regarding cassettes, lead size, and capacity. Expect most companies to have instructions for reloading available.




Comments
0 comment