
Right click "My Computer".
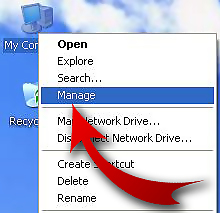
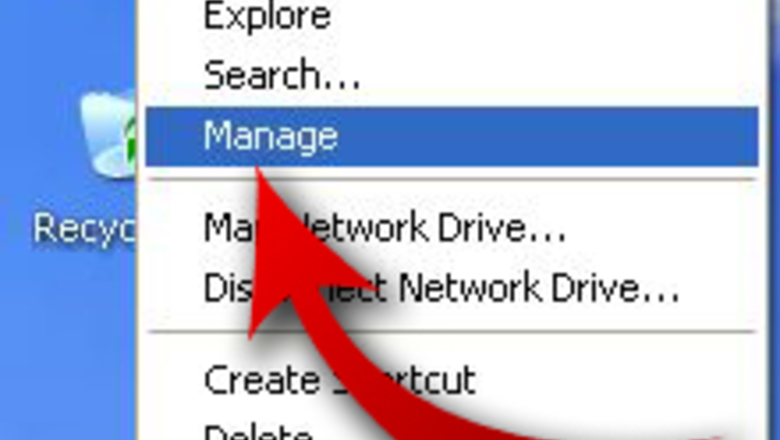
Drag down to "Manage" and click "Manage".
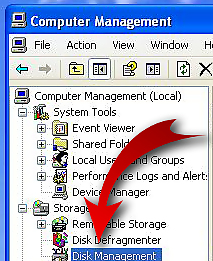
In the "Computer Management" sidebar click "Disk Management".
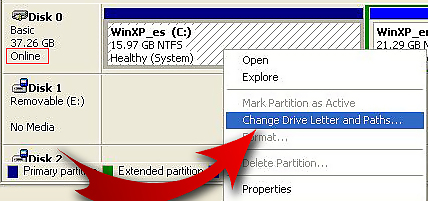
Right click on the drive letter you want to change. Please read warnings before continuing any further! If you can't see the drive letter you want to change you can scroll down. For a drive that has "Online" under it, the drive letter will be in the media area.Change a Drive Letter in Windows XP Step 4Bullet3.jpg For a drive that has "No Media" under it, the drive letter will be in that same box.Change a Drive Letter in Windows XP Step 4Bullet4.jpg
Drag down to "Change Drive Letter and Paths..." click "Change Drive Letter and Paths...".
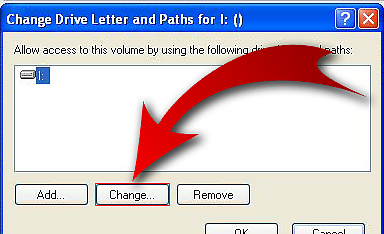
In the "Change Drive Letter and Paths for (drive letter:)" window, click "Change..."Change a Drive Letter in Windows XP Step 6.jpg
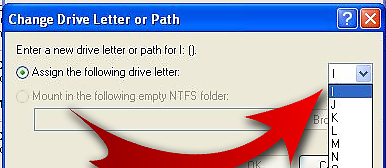
In the "Change Drive Letter or Path" window click the drag down selection box with the drive letter in it and click the letter you want the drive to be.Change a Drive Letter in Windows XP Step 7.jpg

A warning will pop up reminding you that changing the drive letter can cause your programs to fail. If you are confident that you want to still want to change the letter, click "Yes".

If you have a program using the drive you want to change, you will get an additional warning. Unless you really know for certain what you are doing, select "No" and find the open program.


Comments
0 comment