
views
Changing Font in Gmail
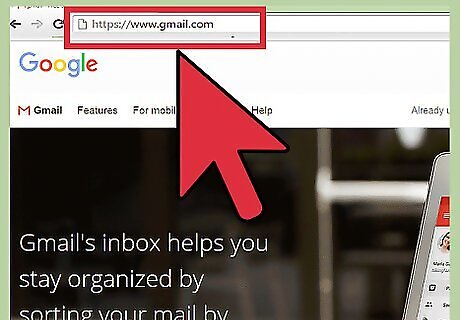
Go to Gmail. Visit the Gmail website (mail.google.com. Google Inbox doesn’t have a direct setting or configuration to change fonts, so this has to be done in Gmail.
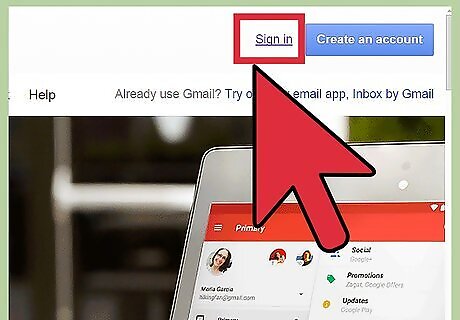
Sign in. Under the “Sign In” box, type in your Gmail email address and password. This is your one Google ID for all of Google’s services. Click the “Sign in” button to proceed. If you’re already signed in to your Google account, this step won’t be necessary.
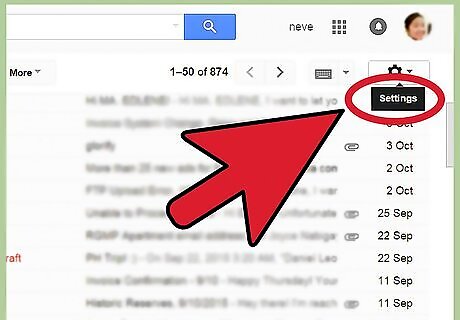
Go to Settings. Click the gear button on the top right corner of your inbox then click “Settings” from the menu. You will be brought to the settings page for your Gmail account.
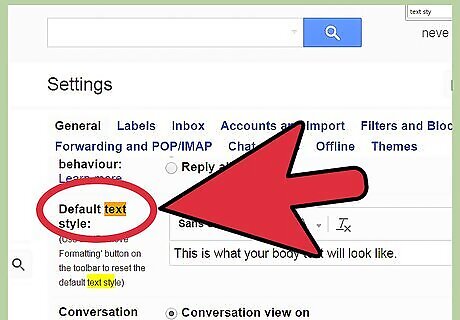
View the default text style. Under the General Settings tab, scroll to the “Default text style” setting. You will be able to see the current font style, size, and color for your emails. There’s also a sample text showing you how it actually looks like.
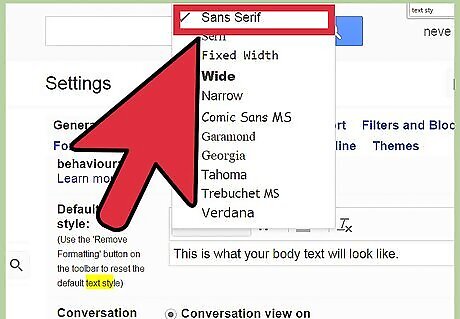
Change the font. You can now change the font style, size, and color that will be applicable to all your emails. Changing font style—Click the font drop-down list to see all the available font styles in Gmail. Select from the list the one you’d like to use. Changing font size—Click the font size drop-down list to see the four different sizes in Gmail. You can select from Small, Normal, Large, and Huge. Select the one you’d like to use. Change the font color—Click the text color picker to see all the colors available in Gmail. Click the color you want to use. Removing the formatting—The last button is for removing any font formatting. Click on it to bring the font style, size, and color back to its default state.
Save your changes. Once you’re done, scroll to the bottom of the page and click the “Save Changes” button. This is the font used now in your emails for both in Gmail and Inbox.
Changing Font for All Web Content
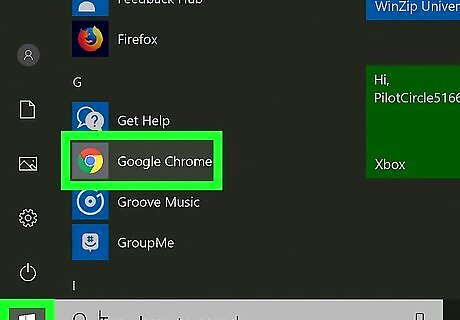
Launch a web browser. You can find it from the Start menu or from the Quick launch bar. Click on it. This method may be applicable in other browsers as well, but this one focuses on Google Chrome.
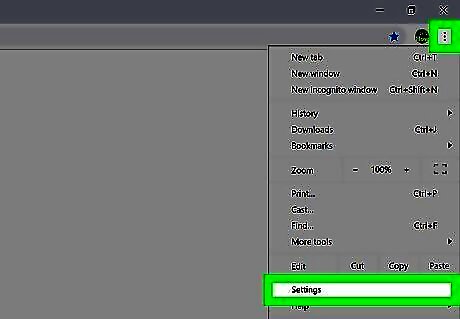
Go to Settings. Click the button with three horizontal lines at the upper right corner. This will bring out a submenu. Look for “Settings” and click on it. The Settings page will load. You can also directly go to this page by entering “chrome://settings/” in the address field.
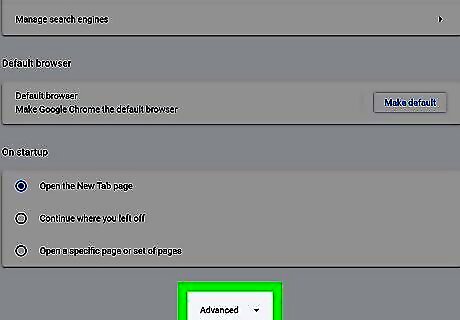
Show Advanced settings. Scroll to the bottom of the page and click the “Show advanced settings” link to expand the Settings page. Further settings will be displayed.
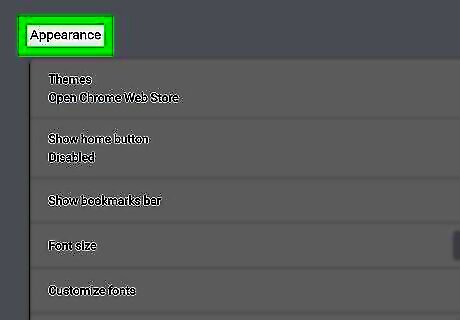
Find “Web content.” Scroll through the advanced settings until you see “Web content”. This controls how you view the web content on your browser.
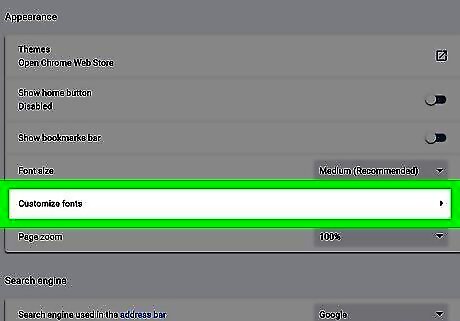
Click the “Customize fonts” button under Web content. The “Fonts and encoding” window will appear. All the different font categories being used in all web content are displayed. Each one has a drop-down list for the font it uses. Click the drop-down list, and select the font you want to use.
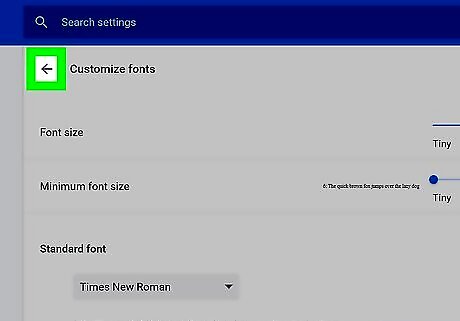
Save changes. When you’re done, click the “Done” button at the bottom of the window. The fonts you have set will now be in effect for all the appropriate web content, including your emails in Inbox.




Comments
0 comment