views
Using Your Oven's Self-Cleaning Function
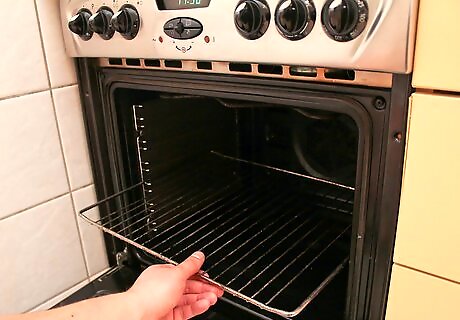
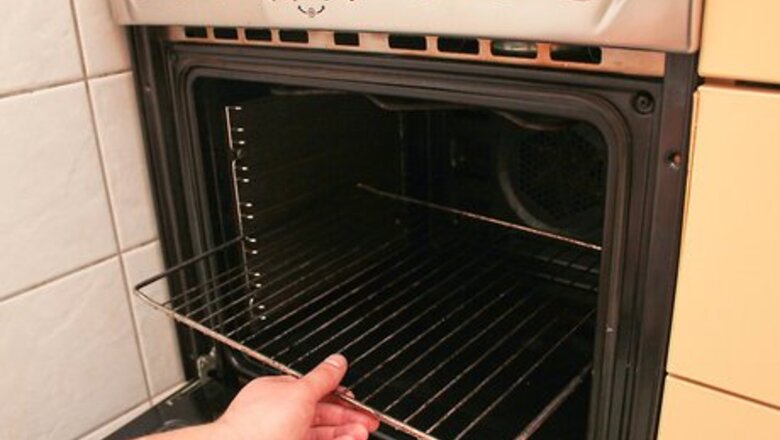
Remove the racks from your oven. Before you get started, be sure to slide out the removable racks arranged in the center of the oven. This will get them out of your way and give you more room to work comfortably. It will also make the racks themselves easier to clean separately later on. Scour the oven racks in the sink using hot water, liquid dish soap and an abrasive sponge or scrubbing brush. If your oven’s racks have seen a lot of drips and spills, you can soak them while the oven is cleaning itself to loosen whatever residue happens to be clinging to them.
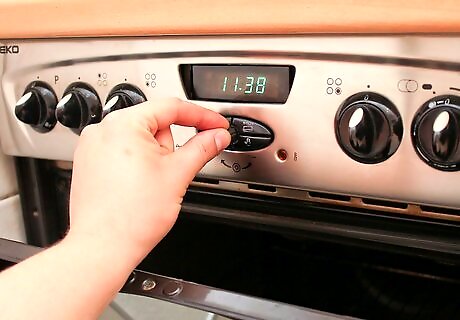
Activate the oven’s self-cleaning cycle. Program your oven to the desired time and temperature setting. Make sure the oven door is completely shut and locked before initiating the cleaning process. Otherwise, heat and noxious fumes may escape into your kitchen and spread through the rest of your home. Self-cleaning ovens use extreme temperatures to burn food particles off of their smooth interior surfaces. Do not use any other chemicals or cleaning products in your oven while running the self-cleaning feature.
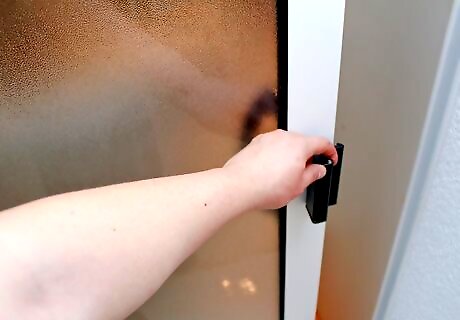
Leave the room. Because of the intense heat generated during the oven’s self-cleaning cycle, it’s best not to be around while cleaning is in progress. Set a separate timer or use the countdown on the oven display to let you know when it’s finished cleaning. Keep small children and pets out of the kitchen while the oven is being cleaned. The fumes released as chemical residues and burnt food are incinerated can be dangerous. If possible, keep the doors and windows open, and exhaust fans on to provide proper ventilation to the room. Self-cleaning ovens typically take between 2-4 hours to complete a full cycle.
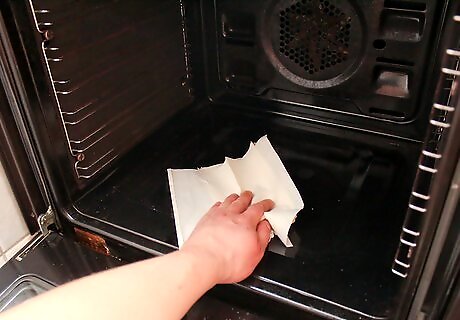
Wipe away remaining residue by hand. After the self-cleaning cycle has ended, open the oven door to release excess heat. Give the oven a few minutes to cool down to a safe temperature before cleaning out the inside. At this point, you can simply use a damp cloth or paper towel to lift away the ash that’s settled at the bottom of the oven. It’s that easy! The inside of the oven door can be doused with an all-purpose cleaner or liquid dish detergent and scrubbed separately.
Using Baking Soda and Water
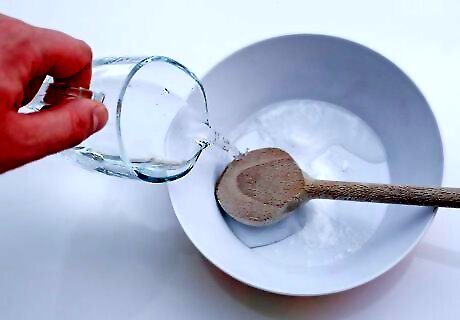
Mix baking soda and water together to form a paste. Shake one cup of baking soda into a large container and add enough water to thicken it. Pour in the water gradually, stirring as you go. The resulting mixture should be roughly the same consistency as cake icing. The exact measurements aren’t important—the baking soda paste just needs to be thick enough to stick to the walls of the oven. Should you happen to be running low on baking soda, you can also use a combination of cream of tartar and hydrogen peroxide.
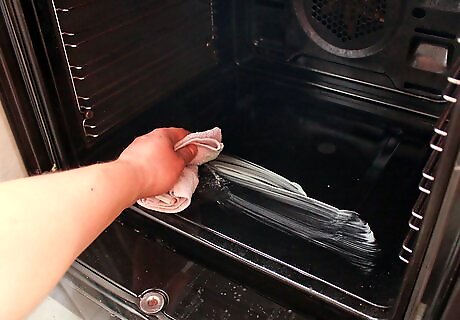
Smear the baking soda mixture over the inside of the oven. Use a spatula, soft sponge or similar implement to spread the paste in a thin layer over every accessible surface. You can apply the baking soda mixture more freely in areas with heavy grease stains or crusty, stuck-on buildup. Don’t forget to cover the top of the oven as well. Keep the baking soda mixture away from the internal fans and heating elements.
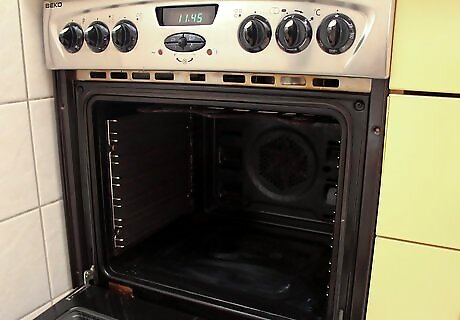
Let the mixture sit for several hours. As it sets up, the baking soda will begin to break down stubborn residue so that it can be wiped away with little difficulty. The paste should remain in place for a minimum of one hour. Leave the oven door closed. For best results, allow the paste to sit overnight, or between 8-12 hours. If you’re dealing with particularly troublesome messes, spray the baking soda paste with a small amount of vinegar. This will produce a natural chemical reaction that will help dissolve hardened grime.
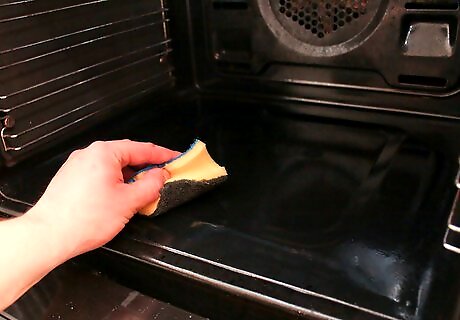
Scrub the oven thoroughly. Using a damp cloth or abrasive kitchen sponge, go over the inside of the oven from top to bottom. Following the baking soda treatment, any remaining food particles should come right off. Dig in and be persistent to chip away at lingering messes. Apply additional baking soda and water (or vinegar) and continue spot-cleaning as needed until the oven is pristine.
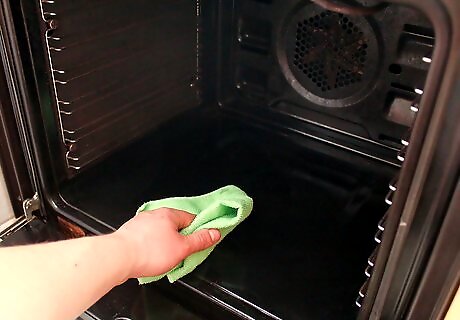
Wipe out the oven with clean water. Now that the worst of the mess has been lifted, you'll want to make sure that no traces of either baking soda or loose residue is left behind. Wet a second cloth and use the fresh water to rinse out the oven. Repeat once more using a clean towel to wick up standing water, or leave the oven door open to allow it to air dry. Wring out the wet cloth occasionally to clear it of dirty water. Turning the oven on to a low temperature for a few minutes will help it dry faster.
Using a Commercial Oven Cleaner
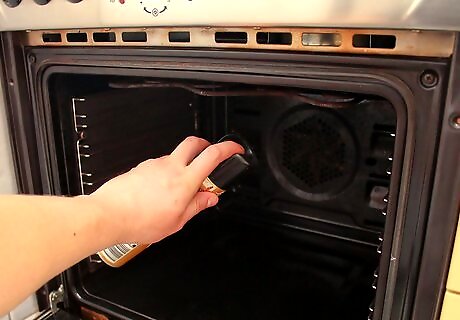
Spray the inside of the oven with oven cleaner. Apply the solution generously, focusing on areas with the thickest buildup or discoloration. While spraying the oven cleaner, be careful not to let it come into contact with your eyes or skin—this may cause severe irritation. Traditional oven cleaning products are often formulated using toxic chemicals. For your own protection, wear a pair of thick rubber kitchen gloves, keep your nose and mouth covered and work in a well-ventilated space to minimize your exposure to fumes. If you own a fume hood, use it. Remove all objects nearby, including pots and pans, cooking utensils and kitchen storage containers, to avoid getting oven cleaner on them. EXPERT TIP Always cool your oven completely before you clean it, and unplug it if possible, and take the racks out of the oven. Raymond Chiu Raymond Chiu House Cleaning Professional Raymond Chiu is the Director of Operations for MaidSailors.com, a residential and commercial cleaning service based in New York City that provides home and office cleaning services at affordable prices. He has a Bachelors in Business Administration and Management from Baruch College. Raymond Chiu Raymond ChiuHouse Cleaning Professional
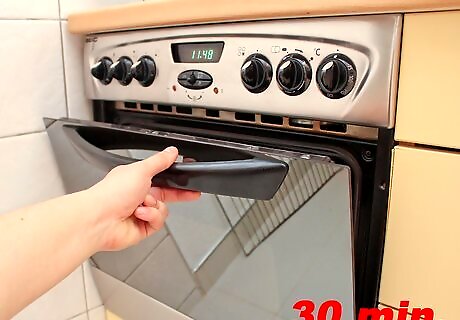
Allow the oven cleaner to sit for 30 minutes. Close the oven door to prevent fumes from leaking out. Set a timer for half an hour and relocate to another room of the house to wait for the time to pass. The powerful chemicals in commercial oven cleaners can melt through hardened messes more effectively than most other solutions.
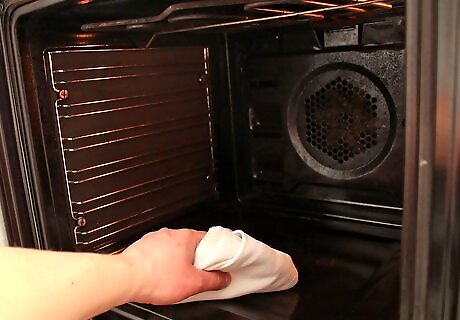
Wipe out the inside of the oven. Work carefully and make sure you’ve removed every last trace of both oven cleaner food residue. Turn on the ventilation hood or overhead fan while you clean so the chemical fumes are not overpowering. By the time you’re done, your oven will sparkle like it’s never been used before! Use a disposable cloth or sponge to wipe out the oven and throw it away once the project has been completed. In general, chemical oven cleaners should only be employed when other methods don’t produce satisfactory results. After deep-cleaning your oven, try to maintain it using gentler natural ingredients. EXPERT TIP Raymond Chiu Raymond Chiu House Cleaning Professional Raymond Chiu is the Director of Operations for MaidSailors.com, a residential and commercial cleaning service based in New York City that provides home and office cleaning services at affordable prices. He has a Bachelors in Business Administration and Management from Baruch College. Raymond Chiu Raymond Chiu House Cleaning Professional Our Expert Agrees: Once the oven is clean, wipe it down twice with a damp cloth or paper towel to ensure all of the cleaner is gone. Clean the racks, as well, rinsing them thoroughly. Then, dry the racks and the inside of the oven, replace the racks, and plug the oven back in.





Comments
0 comment