views
Clearing the Opening of a Spray Paint Nozzle
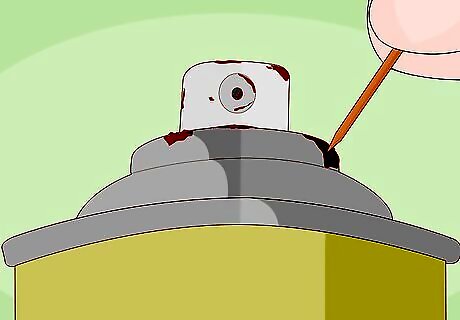
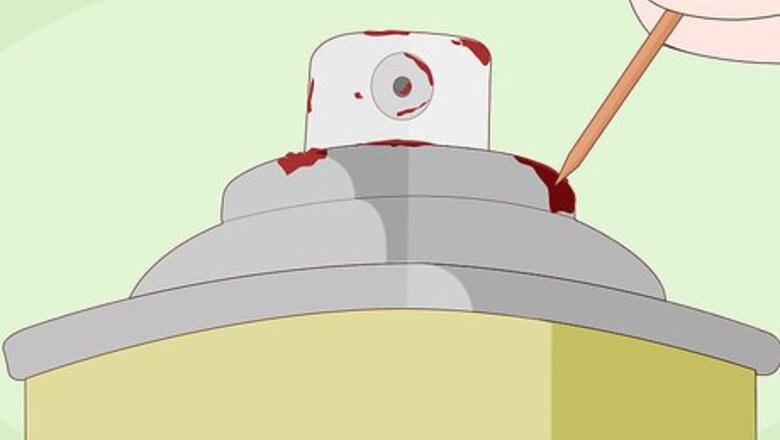
Clean the nozzle’s opening with warm water. Before you go to extreme lengths to unclog your spray paint nozzle, try removing the built up paint with warm water. Dampen a fresh rag with clean, warm water. Wipe the nozzle’s opening with the damp rag. Test the spray paint on a piece of scrap material. While you may scrape out the loosened paint with a needle or toothpick, please note that this is not universally recommended. Inserting a sharp object in the nozzle may damage the spray system. You may remove the nozzle or leave it attached to the bottle.
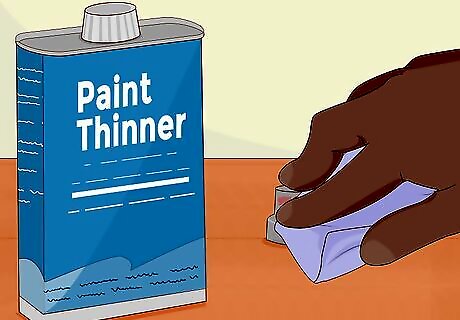
Wipe the nozzle’s opening with paint thinner. If the warm water didn’t wash away the paint, you can wipe the opening of the nozzle with paint thinner. Dip a clean rag into the paint thinner. Wipe the nozzle with the rag. Test the spray paint on a piece of extra material. Before you handle the paint thinner, put on a pair of protective gloves. You may remove the nozzle before cleaning it with paint thinner.
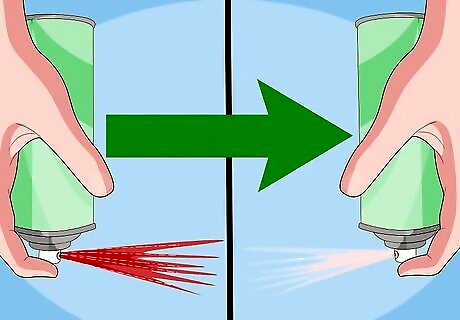
Prevent future clogs. After using spray paint, always clear the nozzle of excess paint before you store it. To clear the nozzle: Turn the bottle upside down. Press down on the nozzle until a clear mist comes out.
Unclogging a Spray Paint Nozzle
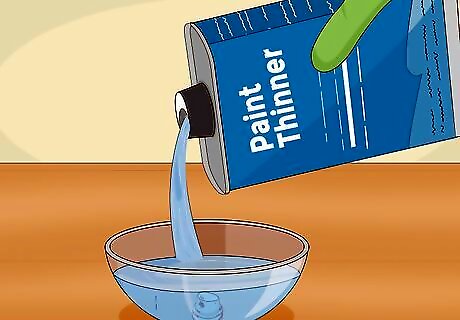
Soak the nozzle overnight in paint thinner. Remove the clogged nozzle from the spray paint can. Place the nozzle in a small dish of paint thinner. Allow it to soak over night. The paint thinner should remove or loosen the clog. When you handle paint thinner, wear protective gloves.
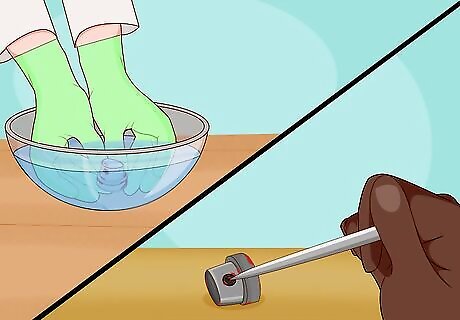
Remove the softened paint. Put on a pair of protective gloves and remove the nozzle from the paint thinner. Rinse the nozzle under water to clear out the softened paint. After rinsing the nozzle, you may carefully insert a needle into the nozzle to remove the paint. Please note, using a needle may distort or widen the nozzle’s tube.
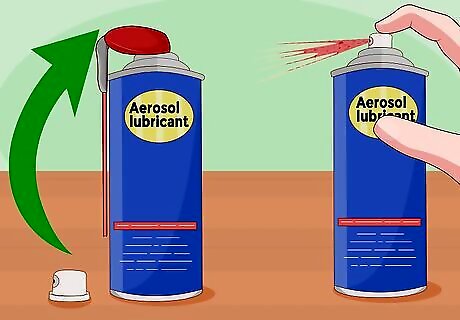
Apply an aerosol lubricant to the clogged nozzle. Remove the nozzle from the can of aerosol lubricant and replace it with the clogged spray paint nozzle. Press down on the nozzle to force the aerosol lubricant through it. Repeat until the clog is cleared. If the nozzle is still clogged, remove it from the aerosol lubricant. Apply the lubricant directly to the nozzle’s interior and exterior opening. Return the nozzle to the can and try to force the lubricant through it. Repeat as needed.
Clearing a Clogged Hairspray Nozzle
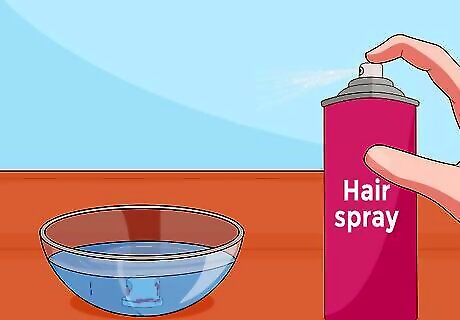
Loosen the clog with hot water. Over time, dried up hair spray particles build up and obstruct the nozzle. Remove the nozzle from the can and hold it under hot water for a few minutes. Return the nozzle to the bottle and attempt to spray the product. After rinsing the nozzle, you may scrape the dried hairspray particles off of the nozzle with a toothpick or needle. However, please note that this might damage the nozzle and spray system.
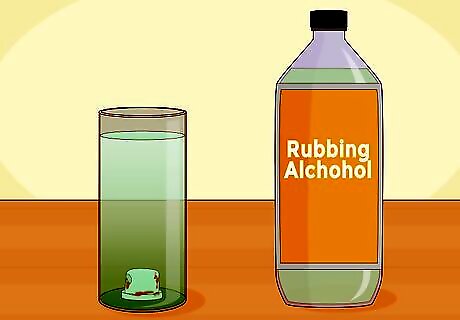
Soak the nozzle in rubbing alcohol. If your nozzle is still clogged, attempt to dissolve the dried hair spray particles with rubbing alcohol. Remove the nozzle from the hair spray. Submerge it in a small dish of rubbing alcohol. Allow the nozzle to soak for several hours. Rinse the nozzle under warm water and return it to the bottle. Try to spray the product through the nozzle. Repeat if needed.
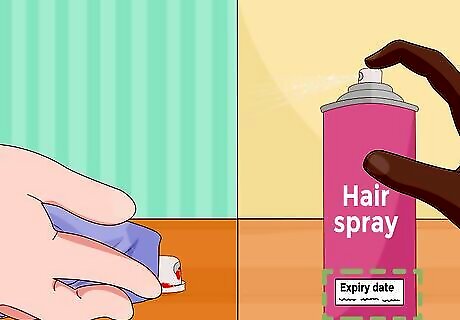
Prevent clogs in the future. Hair spray nozzles become clogged with dried hair spray particles are allowed to build up on the nozzle. To prevent this from occurring, clean the nozzle after each use. Remove the hair spray residue with a clean, damp rag. If your hair spray nozzle is constantly becoming clogged, check the product’s expiration date. Expired hair spray tends to dry faster, causing more clogs.




Comments
0 comment