views
- Dehydrate and preserve your breastmilk using breastmilk preservation powder to ensure all bacteria is eliminated and there is no moisture remaining in your milk.
- Combine your breastmilk powder with epoxy coating resin and add it to a bezel jewelry blank. Add glitter or a lock of your baby’s hair to the resin mixture to add an extra personal touch.
- For a smooth, opaque stone, grind your breastmilk powder thoroughly before adding it to the resin. For a more granite appearance, only grind your powder once.
Prepping the Materials
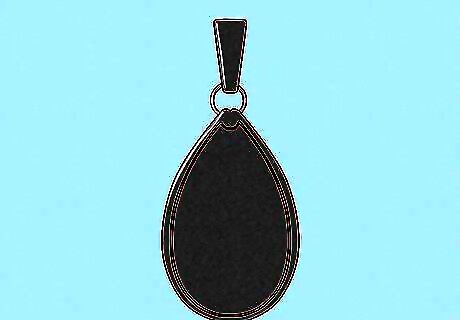
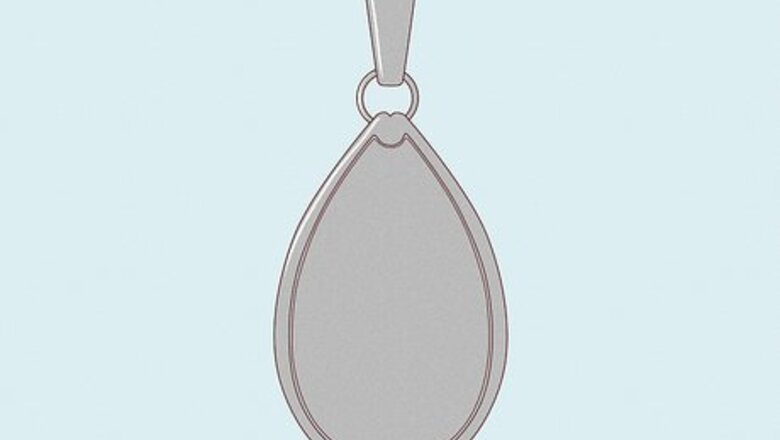
Select a bezel to set your breastmilk “stone” in. You can create breastmilk pendant necklaces, bracelets, earrings, or rings using a resin jewelry blank—an empty piece of jewelry into which you’ll set your stone once you’ve made it. Find a blank that matches your style, and you’re one step closer to having your own breastmilk accessory. A bezel setting refers to a piece of jewelry with an arc or lip that encompasses a stone. It is easy to make resin jewelry using a bezel setting because you can pour the resin-breastmilk mixture into the bezel, and it will dry in place. You can also use a mold to make your stone and inlay it in a prong setting, but this can get a bit tricky, as you must make sure the mold is exactly proportional to your jewelry setting or else it won’t fit. You can choose either an open-backed bezel or a closed-backed bezel. Closed-backed bezels are a bit easier to work with, but either option is doable. Select from metal, acrylic, or wood bezels. Metal bezels, especially tungsten, silver, and gold, will last the longest, but you should pick whichever item you are most drawn to.
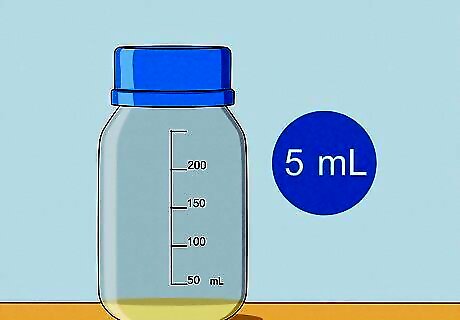
Pump at least 5 mL of breastmilk. You will only need 5 mL to make a piece of resin jewelry, but it’s good to have a little extra to allow for error. If possible, use fresh milk; you’ll be mixing your milk with epoxy resin, and fresh milk will mix better than old milk. However, if you have extra breastmilk in the freezer or fridge that you'd prefer to use, this will still work. The exact amount of breastmilk needed to create your piece of jewelry will depend on exactly how big your mold is, but most breastmilk jewelry recipes require 5mL of milk to make your resin-milk mixture. If you have extra mixture leftover after making your accessory, feel free to toss it—or make more jewelry!
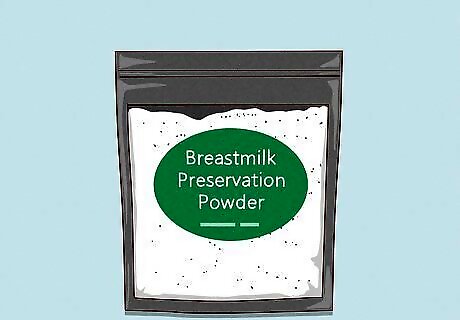
Acquire breastmilk preservation powder. It’s important to properly preserve your breastmilk prior to making your jewelry so that the milk doesn’t spoil. Many retailers, including crafters on Etsy, sell breastmilk preservation powder that you can use to dehydrate and preserve your milk. It’s usually pre-measured to blend with at least 5 mL of breastmilk. You can buy powder separately, or you can purchase an entire breastmilk jewelry-making kit through Amazon, Etsy, and other retailers, including Precious Relics Jewelry. These kits come with everything you need to make your jewelry, including breastmilk preserving powder, a mold, an empty ring or pendant to place your stone in, parchment paper, and a syringe to easily measure your breastmilk.
Preserving the Breastmilk
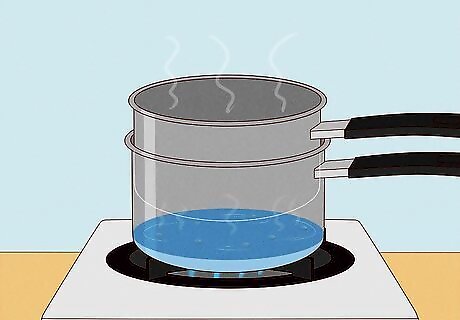
Add water to a double boiler and heat until boiling. Don’t overfill the pan: you only need a few inches of water. You just need enough water to create some steam. If you don’t have a double boiler, use a saucepan with a slightly smaller frying pan over top. You'll be adding your breastmilk to the pan in a bit, and it's important that the milk isn’t sitting directly on the heating element, as this could cause it to burn.
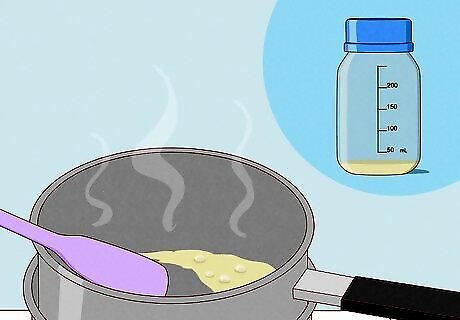
Add 5 mL of breastmilk to the top pan and heat until it bubbles slightly. This may take a few minutes. Stir continuously as the milk heats to prevent it from forming a film. Heating your milk eliminates bacteria and helps to solidify it so that it will mix better with your breastmilk preservation powder.
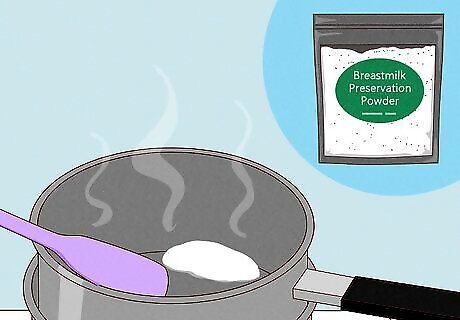
Mix the breastmilk preservation powder into the milk and turn the heat to low. Add powder to the milk until they form a dough. Be very careful, as the pan will still be quite hot at this point! All breastmilk is different: some is thinner and some is fattier. It may take a few minutes or more to form a dough. Just keep stirring and gently scraping the bottom of the pan to prevent your mixture from sticking.
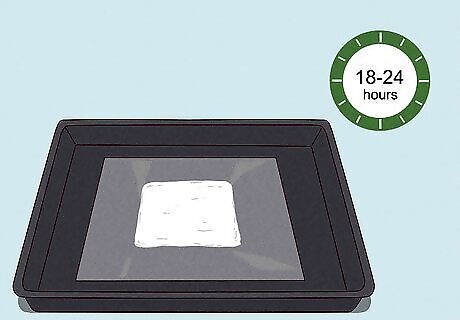
Spread your breastmilk dough onto parchment paper and let it sit for a day. Lay enough parchment paper on a sheet pan or plate to hold your mixture, and spread the mixture thinly across the parchment paper. Let it rest for 18 to 24 hours. Keep the dough in a safe place, but don’t seal it off (so don’t put it in the fridge) as it needs air to dry out.
Grinding the Breastmilk
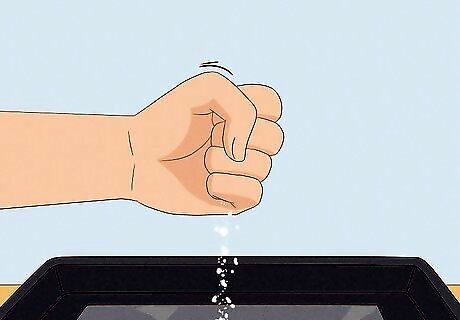
Peel the breastmilk dough from the paper and crumble it with your hands. You should be able to break it apart easily with your fingers. There may be trace amounts of moisture still in your dough at this point, but breaking up the mixture will help it evaporate. You can wear gloves if you don’t want to handle the mixture with your hands.
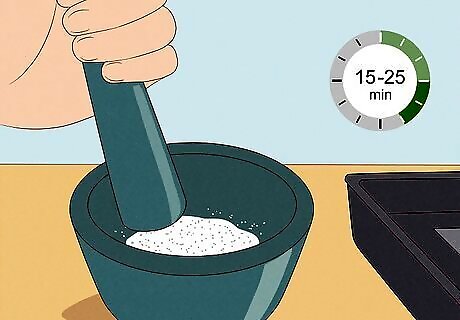
Grind your dough with your mortar and pestle, a few pinches at a time. Continue to grind the dough until it's extremely fine. It’ll take about 15 to 25 minutes to completely grind your mixture, and it’s much easier to do it in small amounts rather than all at once. Grind it up as much as you can to help release any remaining moisture. If you don’t have a mortar and pestle, you can use a ceramic bowl and an ice cream scooper. Avoid using tools made of wood or metal, as these may discolor your breastmilk.
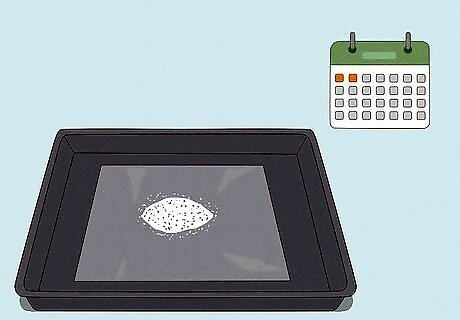
Add the powder to a sheet of parchment paper and let it sit for a day or 2. Yup, you’re going to be doing a lot of waiting here! But letting your breastmilk sit for 24 to 48 additional hours will ensure it’s really dry, which is important for properly preserving your milk.
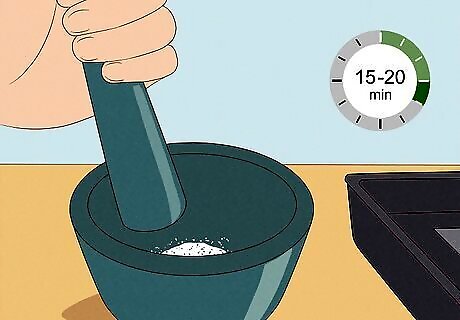
Grind the powder for another 15 to 20 minutes if you want. Grind it until it’s as fine and smooth as baby powder. This step is optional: grinding your breastmilk powder a second time will make sure it’s thoroughly dry, and it will also result in a smoother, more opaque stone. However, if you want a chunkier, granite-like stone, don’t grind your powder a second time. There’s no “right” way your final product should look! You can also experiment and make more than one piece of jewelry to see whether you prefer your stone smooth or chunky. For an even smoother look, let your powder dry another day and grind it again. If you want an ultra-smooth and creamy-looking stone, it’s imperative to grind your powder really thoroughly. If you’re not going to immediately make your jewelry, store your powder in an airtight container and keep it in a dim location.
Making the Stone
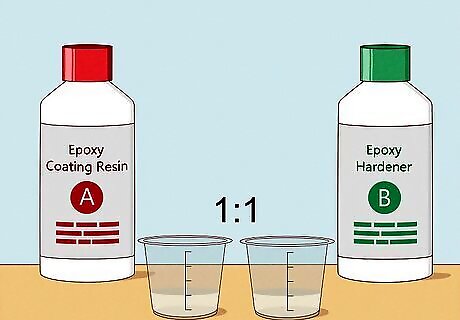
Combine your resin and catalyst in a 1:1 ratio and let it sit for 2 minutes. It's helpful to use graduated medicine cups to measure out each ingredient separately, and then to combine them in one cup. Mix them thoroughly with a popsicle stick, being sure to scrape the bottom of the cup. For best results, use epoxy coating resin as it dries quickly compared to other types of resins and is long-lasting. A bottle of resin should come with a catalyst included; you shouldn't have to purchase them separately. Most resin requires mixing at a 1:1 ratio, but some products require a 2:1 ratio. Be sure to read the exact instructions on the resin you purchased. Note that if you plan to add any extra elements to your resin, such as glitter or a lock of hair, don’t make your mixture too opaque or else you won’t be able to see the other items as well!
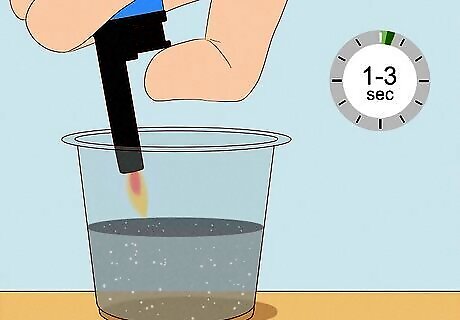
Use a lighter to eliminate all the bubbles from the resin mixture. As you mix your resin and catalyst, it's almost inevitable that bubbles will occur. After the resin sits for a bit, the bubbles will float to the top of the cup. At this point, you can take a lighter and swiftly run the flame over the top of the mixture. Be careful and quick, and only keep your flame lit for 1 to 3 seconds at a time. If you overheat the resin too much, it may not properly dry and it may form a grainy, sticky surface rather than a smooth one.
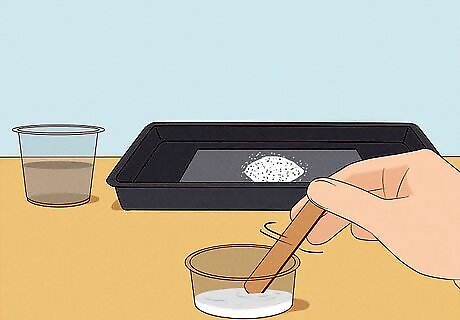
Mix 2 parts resin and 1 part breastmilk powder. The amount of resin will depend on exactly how big the stone you plan to make is, but it won't be very much. Thoroughly stir the ingredients together using a popsicle stick. The exact amount of breastmilk powder you use will depend on how opaque you want your stone to be. The more powder you add to the epoxy resin, the creamier and more opaque the stone will be. If you want to see through your stone, add a bit less powder. Add little bits of powder at a time, as a little bit goes a long way and it’s easier to incorporate small amounts at a time. Be sure to use resin away from any children or pets as it is toxic when wet. Make your jewelry in a well-ventilated area and wear proper PPE.
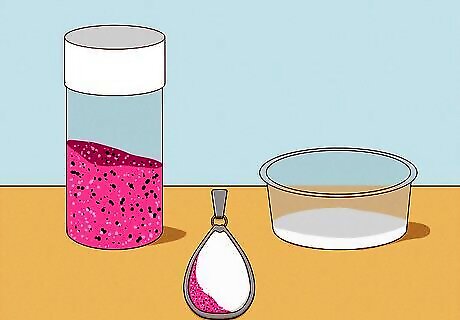
Scoop the resin into your bezel and add any extra embellishments. One of the best things about breastmilk jewelry is how unique each and every piece is, both because all breastmilk is different and because you can add whatever fun, pretty, and meaningful extras to your stone that you want. Consider adding glitter, gold or silver leaf flakes, or a lock of your baby’s hair. If you’re using an open-backed bezel, firmly attach a piece of masking tape to the back side so that when you fill it, the resin doesn’t leak out.
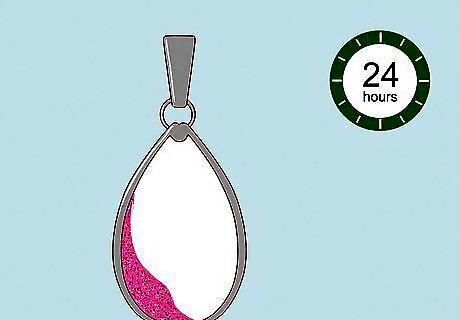
Let your stone dry for 24 hours. Yes, more waiting! But it’s totally worth it. After a day or so, your breastmilk stone should be completely dry and you’ll finally get to see the finished product. You now have a beautiful keepsake to remind you of your time breastfeeding your baby! If you're using an open-backed bezel, remove the tape: you should be able to see through your stone, unless you've made it super opaque. Depending on the type of jewelry you’re making, you may need to add your bezel to a chain (for a necklace or bracelet) or to earring wires. If you’re using a ring with a bezel setting, you’re good to go!




Comments
0 comment