
Setting Up the Object
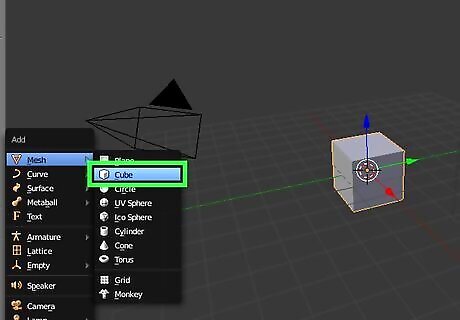
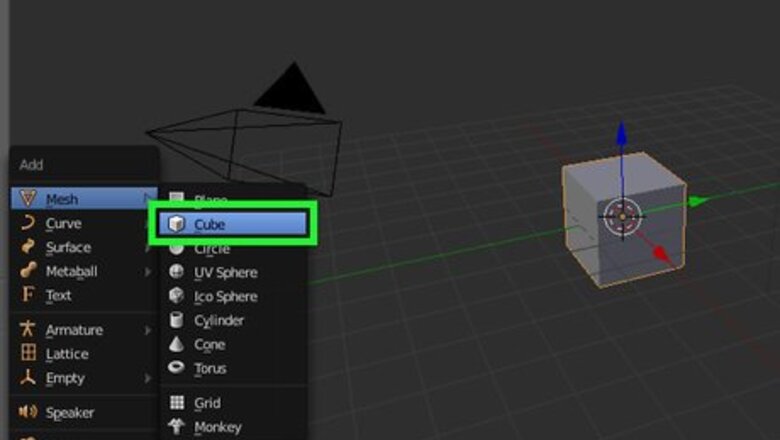
Add a new cube by pressing ⇧ Shift+A » Mesh » Cube.
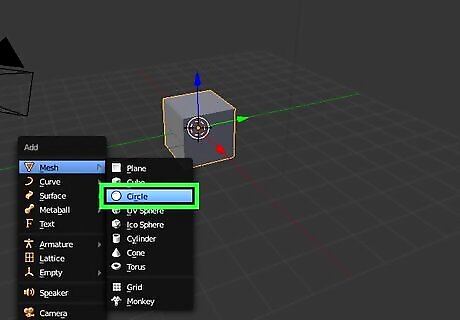
Continue to add a new circle by pressing ⇧ Shift+A » Mesh » Circle.

Press the R key, hit the X key and type 90 to rotate the circle 90 degrees around the x-axis.
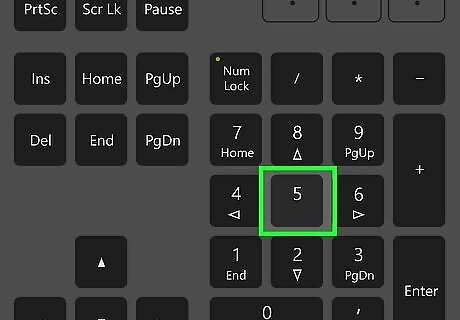
Switch from the Perspective View Mode (persp) to the Orthographic View Mode (ortho). You can do this by pressing the Numpad 5 key.
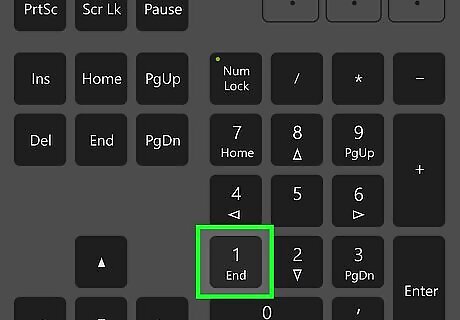
Press the Numpad 1 key to view from the front of the cube.
Press G to move the circle to the center of the cube. Then press S to scale the circle.
Press A to deselect all visible objects in scene. Hold down the ⇧ and right click on the circle first. Then right click on the cube.
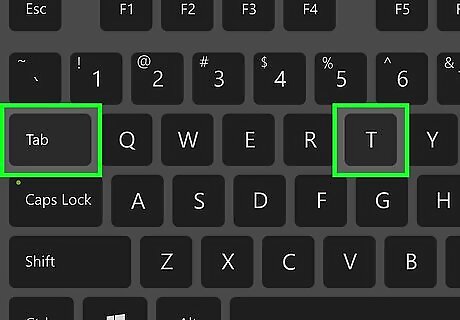
Switch from Object Mode to Edit Mode by pressing Tab ↹. In the Tool Shelf panel, select Tool » Knife Project. Press T to open the Tool Shelf panel if you don’t see it.
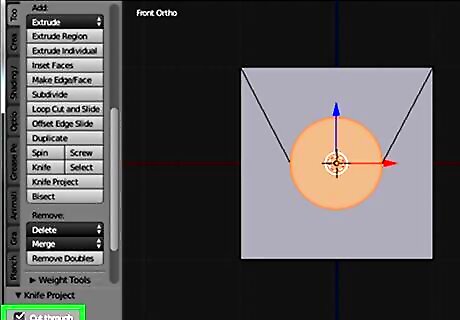
Select the Cut through option in Knife Project. This will cut both two sides of the cube.
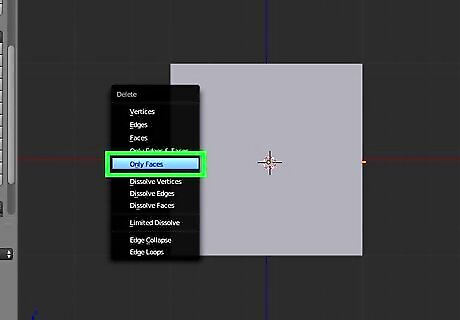
Press the Delete key » Faces to cut holes in the cube.
Using the Cut Through Tool
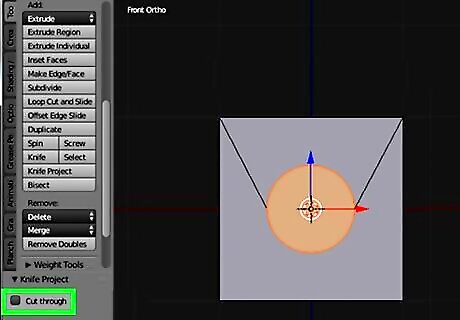
Deselect the Cut through option. You will cut only one side of the cube – the front of the cube.
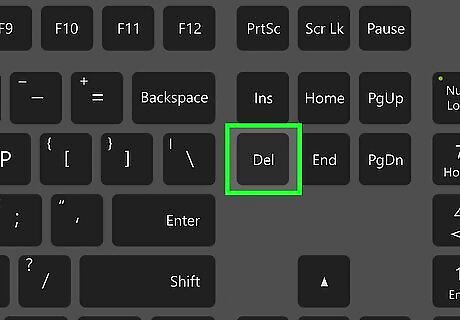
Press the Delete key » Faces to cut a hole in the front of the cube.


Comments
0 comment