views
Tanning in Natural Sunlight
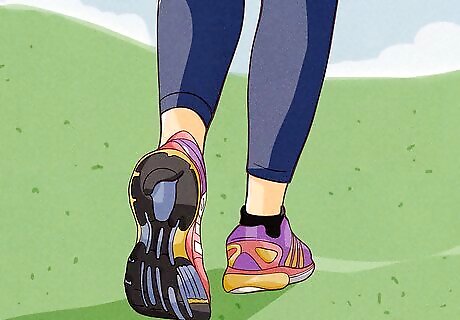
Spend time outdoors. Spending time outdoors isn't only a great way to get a tan, it's also beneficial to your health. Being outside is the most natural and healthy way to tan your skin, which is why you'll get the most natural results. Whether you're taking a walk, playing a sport, or having a picnic, you're still under the sun. The appropriate amount of sun exposure is the best way to increase your Vitamin D levels. Vitamin D fights infections, including colds and the flu, and is thought to minimize your chances of chronic illnesses and cancers. If you're worried about getting the dreaded farmer tan (or any other undesired tan lines), remember to wear different cuts of clothing. Exposing different areas of skin will help to even out your tan.
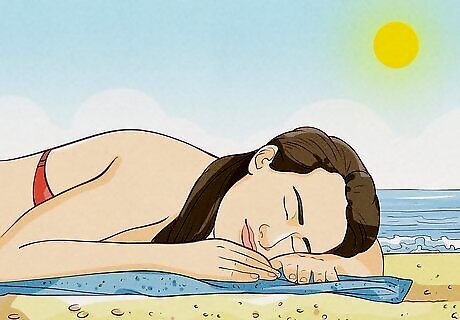
Sunbathe for better tanning exposure. Sunbathing means lying or sitting in the sun with the goal of getting a tan. When lying in the sun, be sure to wear an SPF sunscreen to protect your skin. If you're going to tan, only spend a few minutes in the sun at a time. Never stay out long enough for your skin to get pink or sunburned.
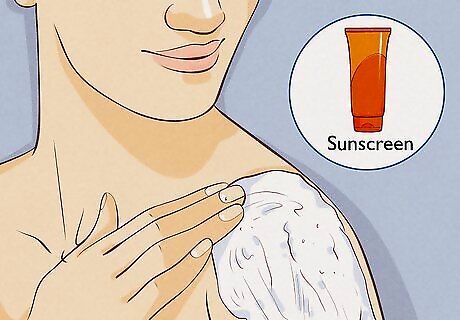
Wear sunscreen at all times. Contrary to popular belief, you can easily get a tan while wearing sunscreen. Overexposure with no SPF sunscreen can cause sun burn, dehydration, and huge potential health risks, such as skin cancer. A minimum of 15 SPF sunscreen is recommended. If you're very fair skinned, wear at least a 30 SPF sunscreen. Apply sunscreen 15 to 30 minutes before you go in the sun, and reapply 15 to 30 minutes after being in the sun. Reapply if you have done any water activity, such as swimming, where your sunscreen could have been removed. If you choose to use a tanning lotion or oil, use one that contains SPF.
Going to a Tanning Salon
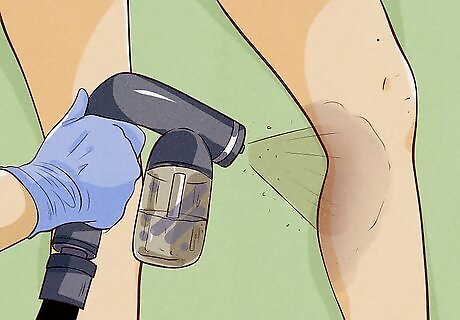
Get a spray tan. Spray tanning is a form of sunless tanning where a fine mist that includes tanning ingredients is sprayed onto your body (the same ingredient in self tanning lotion). Spray tans are growing in popularity because they are safe, easy, and fairly long-lasting (typically 7 days). The biggest drawback of spray tanning is the cost - usually $25-$50. There are a few things you should do to prepare yourself before getting a spray tan. Shave or wax before your appointment. This will help the tan to better soak into your skin. Exfoliate your skin prior to your appointment. Getting rid of as much dead skin as possible will get you better results. Don't apply lotion, deodorant, or makeup prior to your appointment. Clean skin will soak in the tan much better. Wait 8 hours after your spray tan to shower or apply any lotion / moisturizer.

Use a tanning bed. Tanning beds use ultraviolet light to create UV radiation. This UV radiation creates a glow to tan the skin, just like UV light from the sun. Although tanning beds have become fairly popular, there are many health risks (including skin cancer) associated with them, and you must be careful if you choose to tan this way. If you decide to use a tanning bed, a time of 7-11 minutes is recommended. Even if you tan often, never go in a tanning bed for more than 20 minutes at a time. Tanning 1-2 times per week is the recommended amount. Always wear tanning lotion and goggles to protect your skin and eyes from the potential harm of the UV rays. Most cities have tanning salons, so go online to find the tanning salon closest to you. Prices will vary from salon to salon, but member packages are usually available to help you save money if you plan on tanning multiple times.
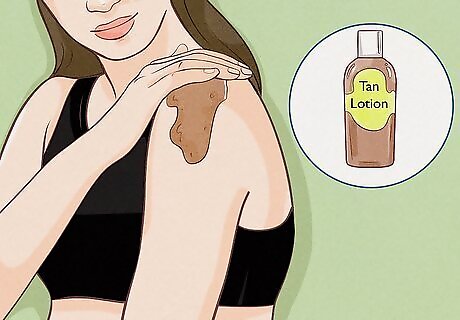
Take care of your skin. It's easy to miss the sun in the dead of winter, which is one of the reasons many people choose to tan. If you decide to tan under UV rays and sun beds, it is imperative that you take care of your skin. These methods of tanning come with a high risk of skin cancer and speed up your skin's aging process. Always wear tanning lotion with an SPF when tanning, and moisturize your skin daily to keep it hydrated.
Tanning Yourself at Home
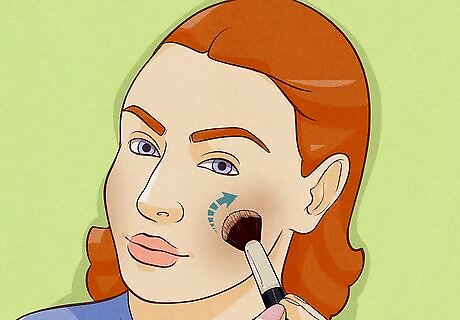
Use make-up to get a bronzy glow. There are plenty of makeup tricks to give you the gorgeous tan you've been looking for, many of which are easy to do. Using makeup is the safest, but also most temporary, way to darken your skin. One great method is using bronzers and shimmer powders. You'll need a few simple products to create your new tan look, all of which can be found online or at any makeup department or convince store. You'll need a cream bronzer, a powder bronzer, a highlighter or shimmer powder, a small powder brush, and a regular powder brush. Start off by using a small powder brush to sweep a cream bronzer across both cheeks, under your eyes, and across the bridge of the nose. The key is to apply it where you would naturally get tan on your face. Next, take your powder bronzer and apply it to your cheeks and temples with your regular powder brush. Blend both bronzers thoroughly to avoid makeup lines. Lastly, take your highlighter or shimmer powder and apply it along your cheekbones, above your upper lip, and along the outside of your eye / eyebrow area with your regular sized rider brush. Be sure to blend your bronzers and shimmer powders to avoid makeup lines.
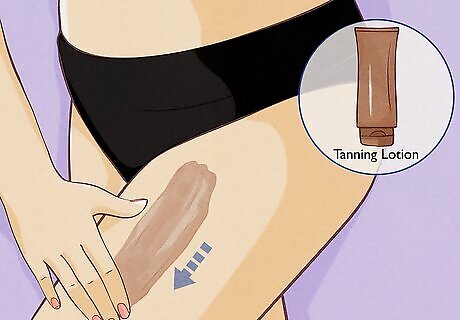
Consider self tanning products. Sunless tanning products, also known as self-tanners, are a great way to give your skin a beautiful tan without being exposed to harmful ultraviolet (UV) rays. Self tanners are easy to use and come in many different types and shades, making them the perfect option for many people. You can purchase self tanning products online or at your local convenience store. Your tan from a self tanning lotion or spray will typically last 3-5 days. Try a self tanning lotion at home for a speedy tan. This lotion isn't difficult to apply, but it's easy to miss a spot or two. Be sure to keep some extra lotion to dab in spots you may have missed. Use a gradual self tanning lotion. Gradual self tanners are the most natural looking and easy to control, but will take a 4-7 days to get you the results you're looking for. If you're not in a hurry, a gradual self tanning lotion is recommended. Get a self tanning spray. This may be the easiest to use out of all at-home tanning products, but it can be hard to get those hard to reach places. If you have an at-home spray tan assistant, give this tanning method a try. Always be sure to exfoliate your skin before applying your self tanner. Exfoliating your skin will remove your dead skin cells, and allow the tanner to soak into fresh skin. This will help your tan last longer. Let your self tanner soak in for at least 10 minutes before getting dressed, and wait until the following day to shower.
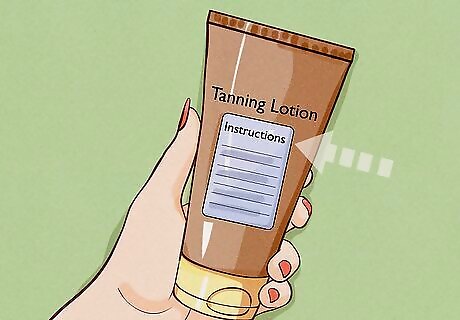
Lather on self tanning lotion. For best results, follow the instructions on your self tanning package very closely. Get the right shade for your skin complexion, if you get a shade that's too dark, you will not be hoary with the results. Apply the lotion in sections to be sure that you're entirely covered, and use a circular motion to apply the product to your skin. Start by applying the lotion to your arms, then your legs, and lastly your torso. Wash your hands after each section to avoid excessive tanning on your palms. Lightly apply the product to your ankles, feet and hands. Wipe down your joint areas, as they tend to absorb the lotion more quickly. If you notice quick darkening on your joint areas, gently wipe them with a damp towel.
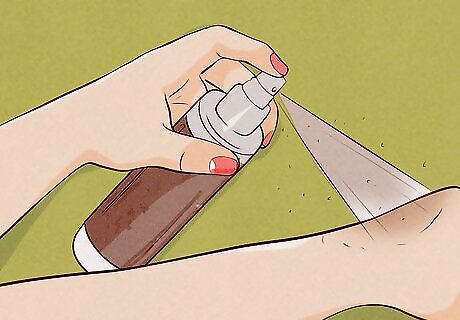
Spray yourself with self tanning spray. As with any self tanner, follow the instructions on the package carefully. Remove any jewelry and tie up your hair, otherwise you may end up with some strange markings. Prior to spraying, apply an oil-free moisturizer to any dry areas. Apply your spray sparingly around high absorption areas: knees, elbows, and feet. To ensure you get an even application, bend your knees and elbows when spraying those areas. Hold the can at arm’s length away from the area to which you are applying the product, and spray a layer over your entire body. It's easiest to start from your feet and work your way up.
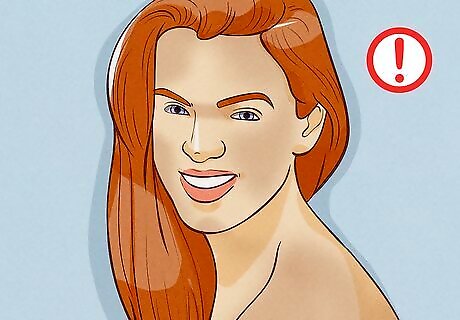
Don't overdo it. Putting on too much self tanning lotion or bronzer will leave you looking orange and unnatural. Apply your tanning products in moderation, and start with a small amount. It's easier to apply another layer than to take one away.




Comments
0 comment