views
Arranging Old CDs

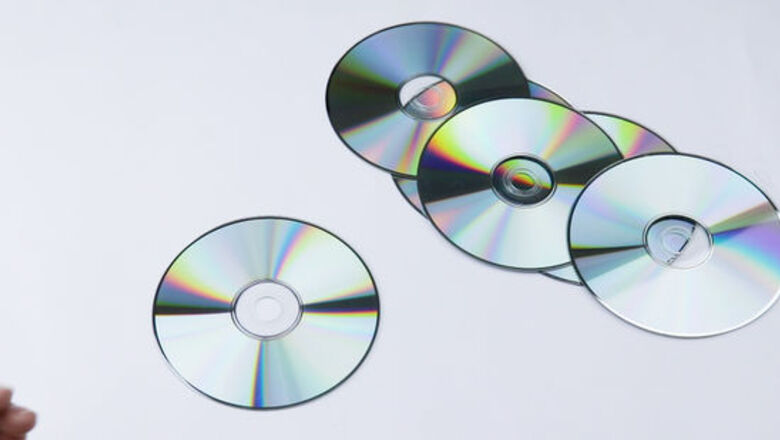
Glue 5 CDs face down around 1 CD in the center, overlapping the edges. Use a hot glue gun to dab glue all around the border of the CD in the center. Then lay the 5 CDs onto the glue, arranged so they form a flower shape. The backside of the CD is the shiny side without any writing or symbols. That’s the side you want to see. For a bigger diya, add more CDs. Glue additional CDs onto the original 5 so it expands wider.
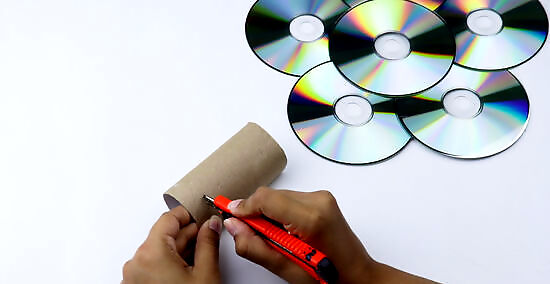
Cut 6 pieces that are ⁄2 in (1.3 cm) wide from an empty toilet paper roll. Use scissors or an X-Acto knife to make the cuts. Don’t squeeze the toilet paper roll too much or bend it while you cut it. You want to keep its circular shape. These rings will hold your tea lights. Make them wider or thinner depending on how much of the tea light’s rim you want to be exposed. Paint your toilet paper roll with acrylic paint before you cut it if you want brighter borders. You can also do this at the end when you decorate the rest of the diya.
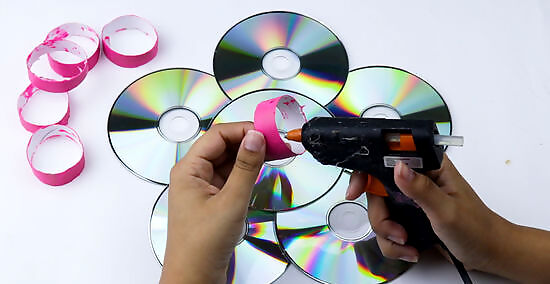
Glue 1 toilet paper roll ring onto the center of each CD. Place a few dots of hot glue around the edge of 1 toilet paper ring. Set it onto the center hole of 1 CD and press down firmly for 15 to 30 seconds until the glue hardens. Repeat on each CD. If you don’t have hot glue, a sturdy craft glue will work.
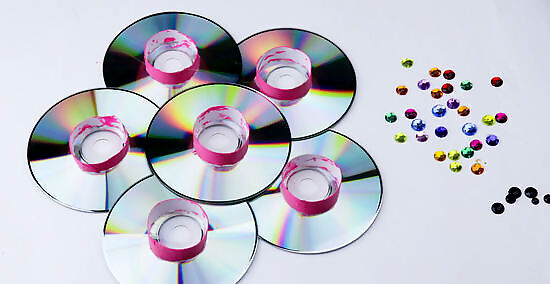
Decorate the CDs with gems, paint, or glitter before adding the tea lights. Get as creative as you want! Use the hot glue to stick bold bling around the edges of the CDs or draw designs with glitter glue. Paint the CDs with acrylic paint in vibrant colors or leave them plain so the mirrored backsides reflect the light. Place the tea lights inside the toilet paper rings when you're done decorating. Another fun idea is to cut the ends off of plastic spoons and glue the bowl side of the spoons around the border of the Diya. It creates a flower effect. Glue patterned ribbon around the toilet paper rings for a pretty touch.
Making a Plastic Bottle Stand
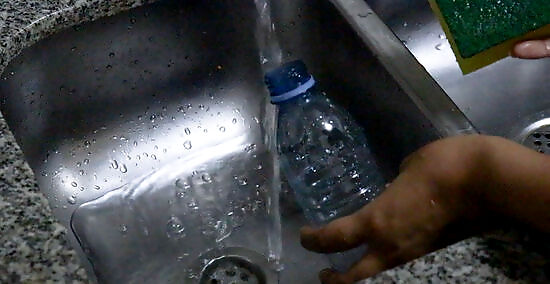
Rinse out a 16.9 oz (480 g) plastic bottle and let it dry completely. Use soap and warm water to clean the inside of the bottle. Then turn it upside down on a dish draining rack so it can air dry. Wait until you don’t see any water droplets on the inside of the bottle. Speed up the drying process by inserting a paper towel into the bottle to dry it. If you aren’t going to cover the bottle in gems or 3D materials, remove the label, too. It will show through if you’re just using paint.
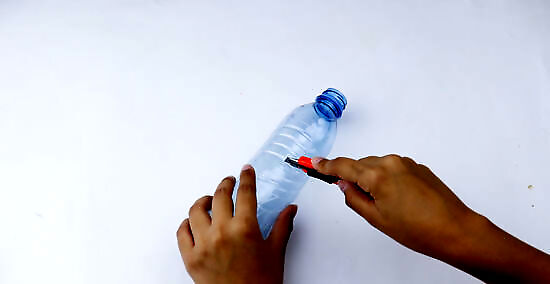
Cut the bottle in half using an X-Acto knife, keeping only the top half. Decide if you want a basic clean cut around the bottle or if you want curved edges, similar to a wave shape. Carefully cut through the bottle in the shape you’d like. Recycle the bottom half since you won’t need it. Use a pair of sharp scissors if you don’t have an X-Acto knife. If you’re cutting the bottle in a wacky shape, draw the design with a marker first to make it easier to cut it correctly.
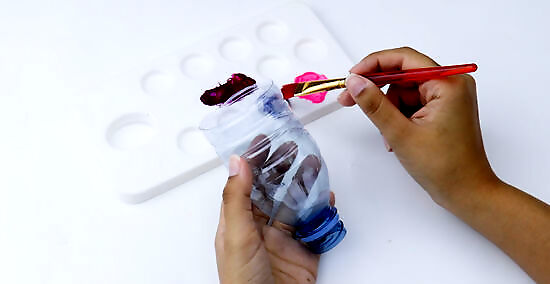
Paint the bottle with 2 to 3 coats of acrylic paint in a bright color. When it comes to diyas, the more vibrant and eye-catching, the better! Brush on a couple of coats of acrylic paint, letting each coat dry completely before applying the next one. Do as many coats as necessary until the paint is as sheer or as opaque as you want it. Jewel tones like emerald, deep purple, and sapphire are good options, along with powerful reds and oranges. Metallic gold, silver, and bronze look very regal and elegant.
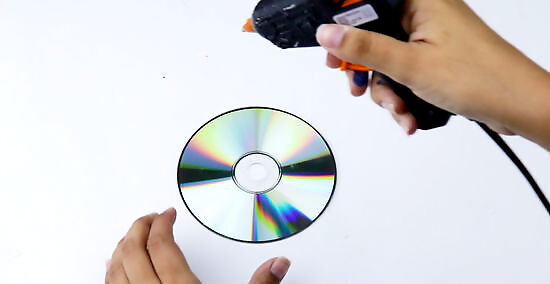
Glue the top of the bottle to the center of your CD laying facedown. Put the shiny blank side of the CD facing up and apply a ring of hot glue around the clear center hole. Press the top of the bottle (where the lid is) onto the glue. Hold it in place for 15 to 30 seconds until the glue hardens. Substitute craft glue for hot glue if you don’t have a hot glue gun. You’ll have to hold it in place longer as regular glue doesn’t set as fast. Put enough glue between the bottle and the CD to secure the bottle so it doesn’t wobble or tilt.
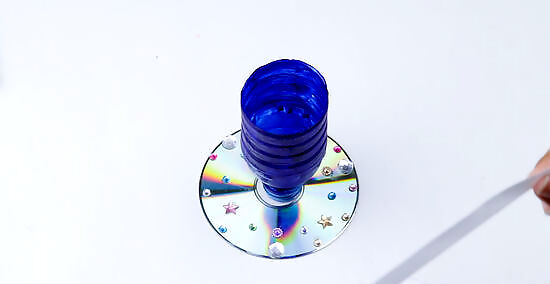
Decorate the bottle and CD base with glitter, jewels, and ribbons. Glue strands of lace, ribbon, or pretty beads around the bottle or draw swirly designs with colorful glitter. Place bold, reflective gems on the edges of the bottle or around the CD. Make your diya as over-the-top and glittery as you’d like! A mosaic on the CD looks classy and whimsical at the same time. Glue jewels and tiny mirror pieces around the CD, completely covering it. Buy jewels or gems that are on a self-adhesive strand to avoid having to glue them individually.
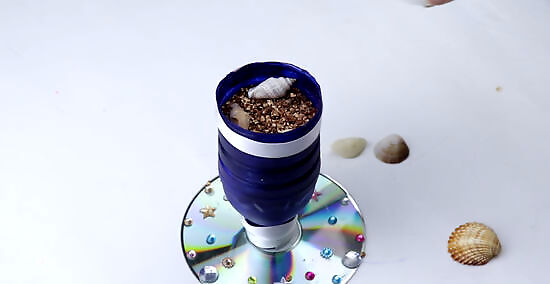
Fill the bottle with tiny stones or shells and set the tea light inside. Choose pebbles, small seashells, or sand for the inside of the upturned bottle. Fill it up to the edge, then nestle the tea light securely in the center. Find shells or pretty colored pebbles at a pet store in the aisle with fish aquarium accessories. Or look for rocks and sand at a hardware store or from an online retailer. A more dazzling option is small glass or ceramic stones that reflect light, similar to what you put in a fire pit.
Creating a Plastic Flower Diya

Remove the label from a clean 16.9 oz (480 g) plastic bottle. Carefully peel off the label, scraping off any sticky residue. Any leftover pieces of paper or glue will show through the paint or glitter later on and look messy. An easy way to take off stubborn labels is by applying rubbing alcohol or nail polish remover all over the label. Let it sit for 30 minutes, then wipe it off along with the label and sticky glue. If your bottle isn’t clean, rinse it with warm water and soap first. Let it dry completely.
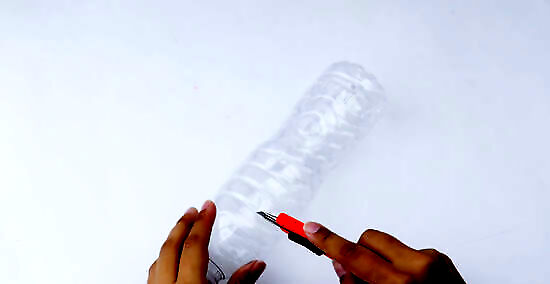
Cut the bottle into 2 pieces based on how big you want your petals. You’ll be using the top half of the bottle with the lid. If you want smaller petals, cut the bottle closer to the top. If you want larger petals, cut the bottle closer to the bottom. Use scissors or an X-Acto knife to carefully cut through the plastic. Recycle the bottom half of the bottle that you cut off. You won’t be using it for this project.
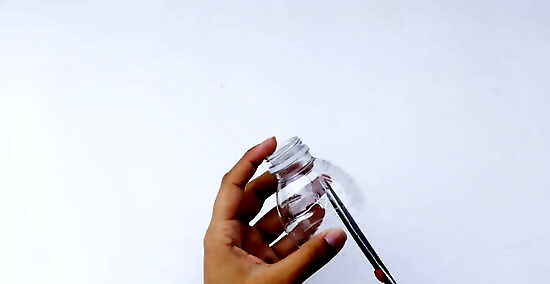
Cut 6 vertical slits around the top half of the bottle. With scissors or an X-Acto knife, make 6 cuts that run straight down from the cut edge of the bottle to the top of the bottle. Remember these are slits so leave the rim of the bottle (where you drink from) intact so the petals stay attached. For thinner petals, cut more than 6 slits. For thicker petals, cut fewer slits.
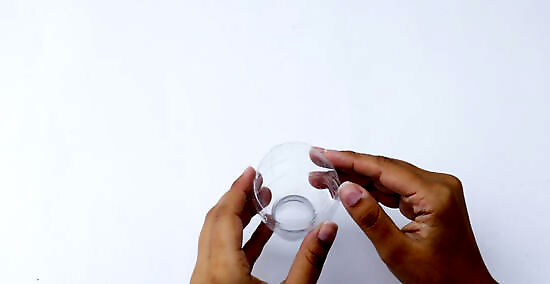
Fold the 7 flaps outwards. Gently bend the flaps created by the 6 slits out to the sides. Use your fingers to lightly crease them so they stay in that position or press the bottle down on a flat surface, causing the flaps to splay out. Bend the flaps so they’re at least horizontal and even turning downward at the edges. Since the candle will sit in the middle of them, if the flaps aren’t folded out enough, the flame could melt the plastic.
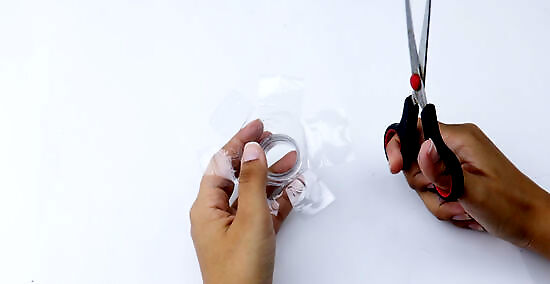
Shape the flaps into petals by trimming the edges. With scissors, round off the edges of each flap so it looks more like a flower petal. Make them curved in semi-circles or in a cool pointed shape similar to a poinsettia petal. Don’t cut too much of the flap off while shaping. The more you trim, the smaller your flower will end up.
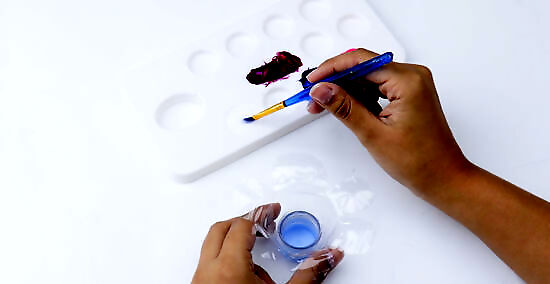
Use glitter or paint to decorate the petals, then set the tea light inside. Coat the petals in a thin layer of glue or Mod Podge and sprinkle glitter all over them. Or paint pretty designs with acrylic paint. Let your decorations dry, then set a tea light in the center where the cap is. Lightweight jewels and gems look festive glued on the petals. Stay away from any decorations that are too heavy and will drag the petals down.




Comments
0 comment