
A Sketch-Style Forest
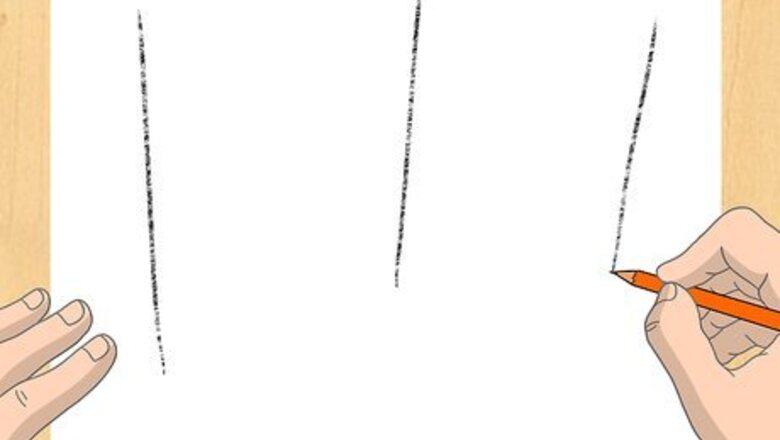
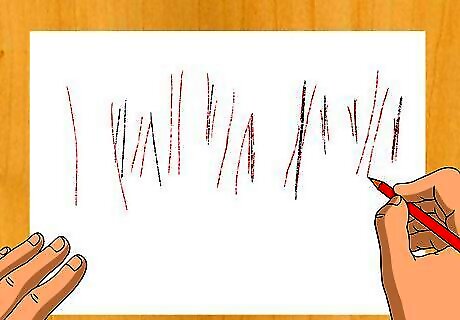
Draw 2 lines.
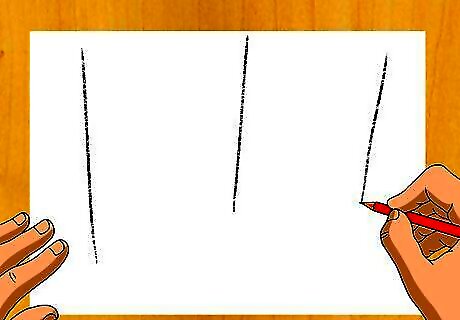
Add one shorter line.
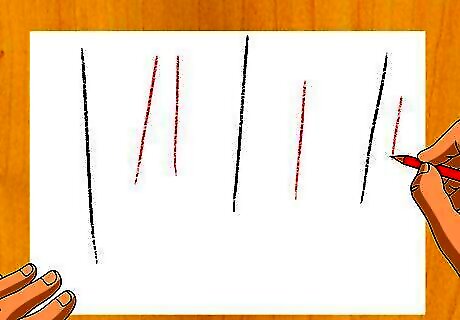
Add 2 more lines.
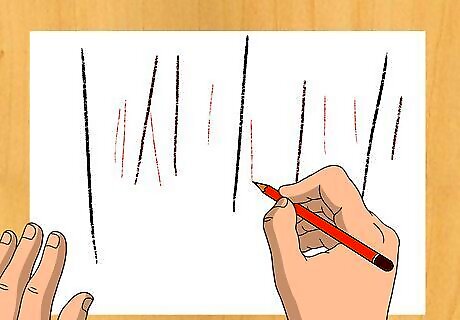
Draw more lines and draw a part of the tree.
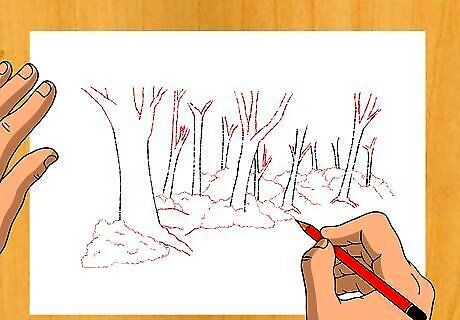
Add more lines to mark branches. Draw short lines to mark bushes in front.
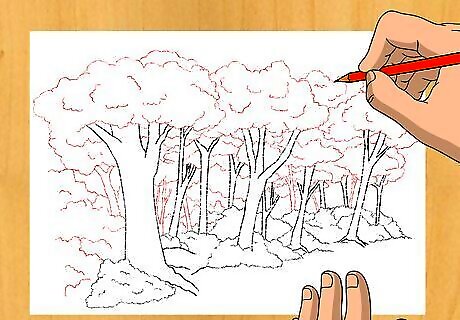
Around the drawing draw four lines and draw more branches and leaves, as shown.
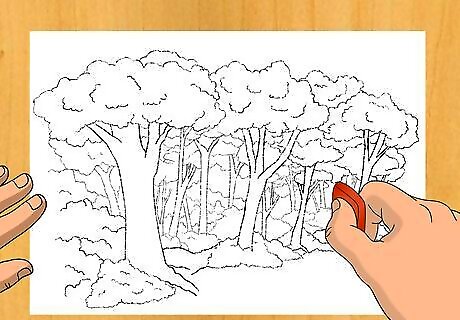
Using a razor gum, make some lines softer.
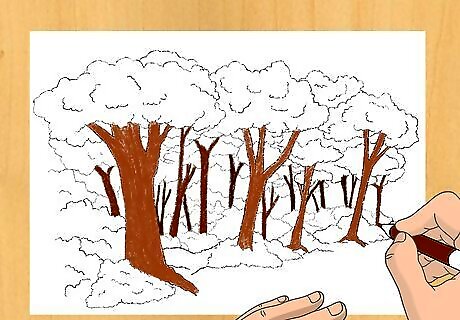
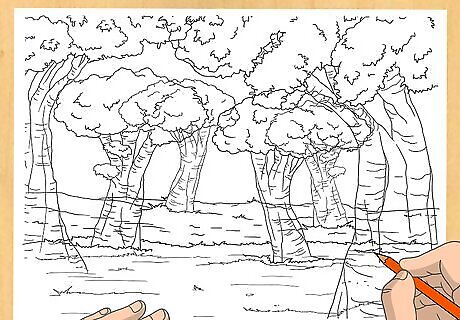
Start coloring the drawing using two or more shades of brown for the trees.

Finished.
Basic Forest
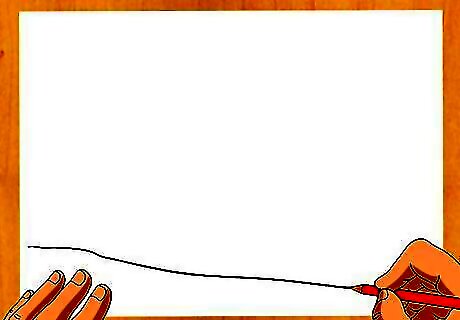
Start by drawing a line for the floor.
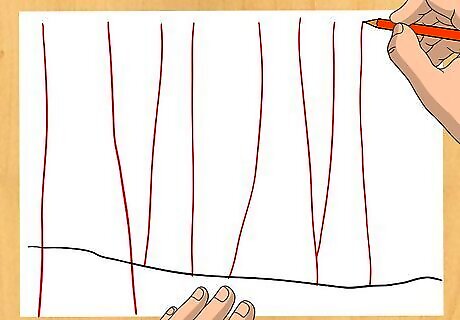
Draw two curves covering the floor line and six more behind it, as you can see they always go from thin to thick, top to bottom.

Draw a few more behind the first row of trees.

Draw a third row on the back.

Now is the perfect time to add details, like bushes and mushrooms.

To make these rows of trees look real keep in mind that the farther they are the dimmer the color on them will look, use a pallid yellow and green to make the background look gloomy.
Inhabited Forest
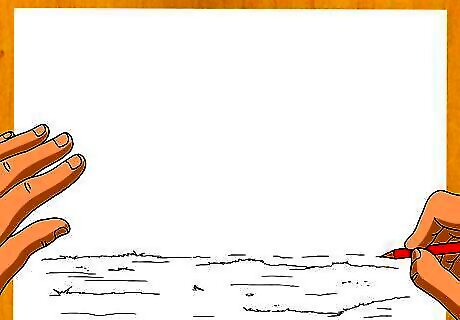
Draw the ground. If you want a grassy forest, draw some spikes that vary in size and direction.
Draw some trees. If the tree is closer, make it larger. If it is farther away, make it smaller and behind the ones that are closer, to add perspective to your drawing.

Add some details that bring the forest to life. For plants, you could add some mushrooms, bark textures, bushes and small plants. For animals, add insects, mammals, maybe even an owl or two. If you'd like to add people, you could include children collecting acorns or picking berries.

Add color. Remember that the trees behind the ones in front are in the shadows and gradually make it a darker color. Color shadows, spots that you want to be bright, and other little features.


Comments
0 comment