views
Using Android
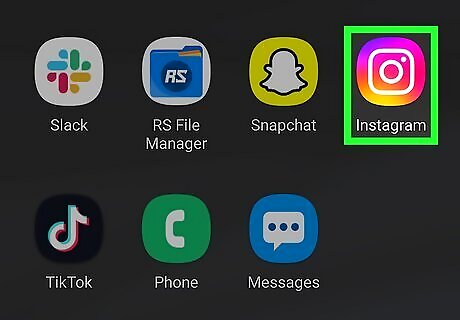
Launch the “Instagram" app on your android device. It's a purple, pink, and orange icon with a white camera inside, you can usually find it in your app drawer. Login to your account, if you haven't already done so. Make sure that you have the latest version of the app on your device. Go to Google Play Store to update the app, if you haven't already done so.

Tap on your profile icon. It will be located at the bottom-right corner of the app. This will lead you to the profile page from the home tab.

Tap on the ≡ option. You can see the three-lines option at the top-right corner of the app. A menu panel will show up on your screen.
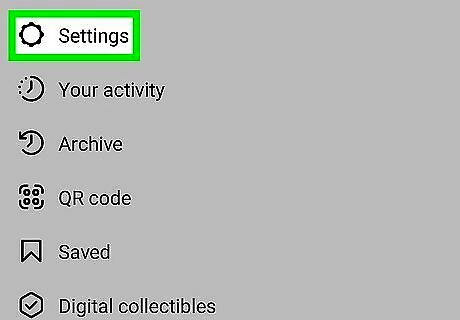
Tap on Settings. This will be the first option on the list. The settings page will open.

Tap on the Account option. It will be located between the “Ads” and “Help” options. You can also see a “profile” icon next to it.
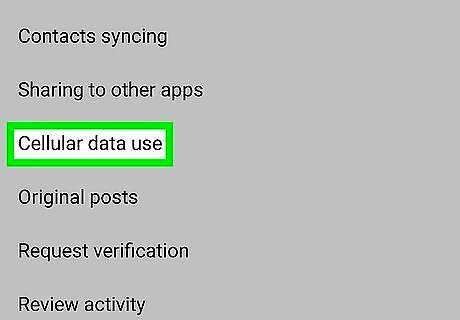
Tap onMobile data use. Scroll down and find the “Mobile data use” settings, just before the “Original posts” option. The mobile data settings will open up.
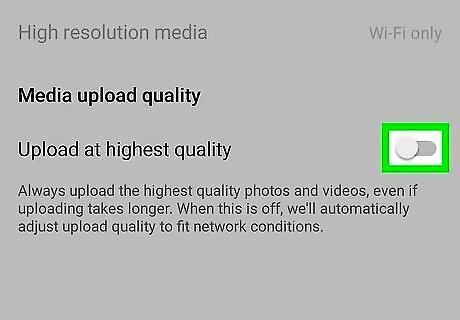
Enable the high-quality uploads option. Tap on the grey switch Android 7 Switch Off next to the “Upload at highest quality” option.
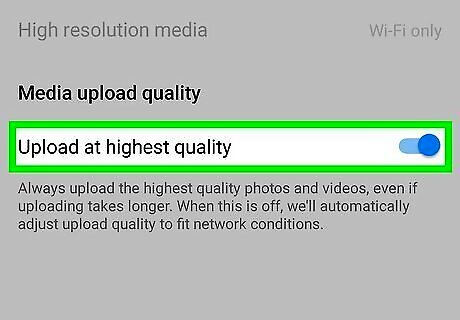
That's it! When you enable this feature, Instagram will use more of your internet data and time to upload your videos and photos in the highest quality. Even if you enable this option, you won't notice a significant improvement in your media quality. You have to meet Instagram's upload requirements to achieve the best quality.
Using iOS
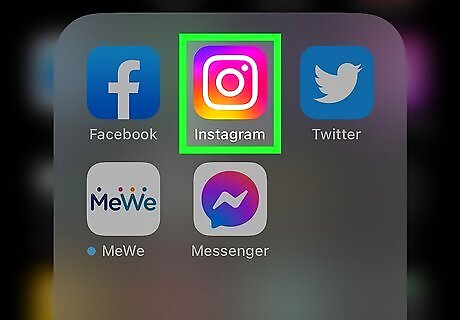
Launch the Instagram app on your iPhone. Login to your account, if you haven't already done so. Also, make sure that your Instagram app is up to date. If not so, update the app from the App Store.

Navigate to your profile page. Tap on your profile icon, at the bottom-right corner of your screen to open your profile.

Tap on the ≡ icon at the top-right corner. This will open a menu panel.
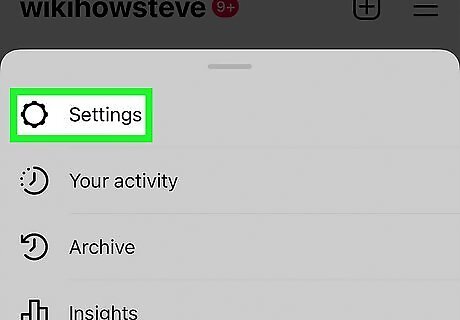
Tap on Settings from the menu. It will be the first option on the list.
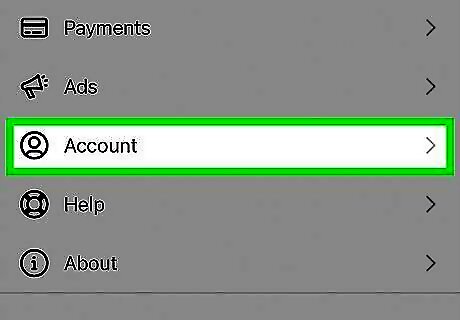
Tap on the Account options. It will be the third option from the bottom, right after the “Ads” settings.
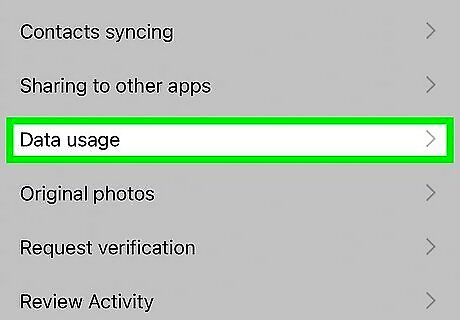
Choose Data usage from the account settings. You can see it above the “Original posts” option.
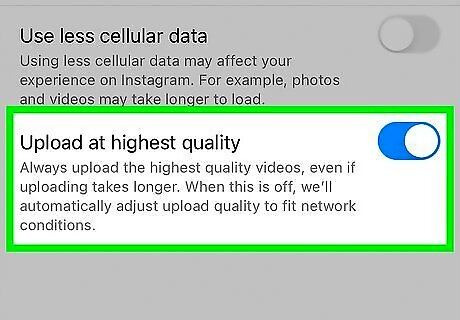
Enable high-quality uploads. Tap on the grey switch Android 7 Switch Off next to the “High-quality uploads” option. The grey switch will turn to blue when you're done.
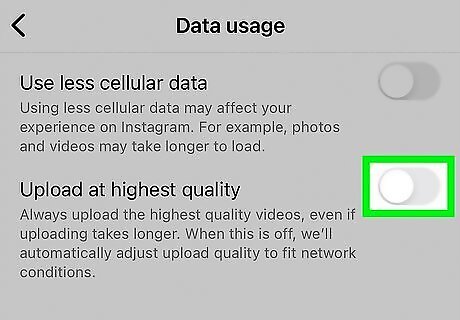
Finished. Note that, the upload time will increase according to larger file sizes and it also uses more internet data. You also have to follow Instagram's upload requirements to get the best quality for your photos and videos.


Comments
0 comment