views
Growing in the Southwest’s Unique Conditions
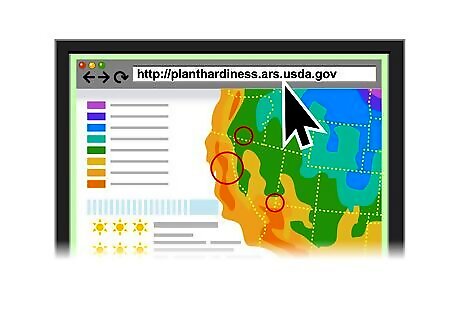
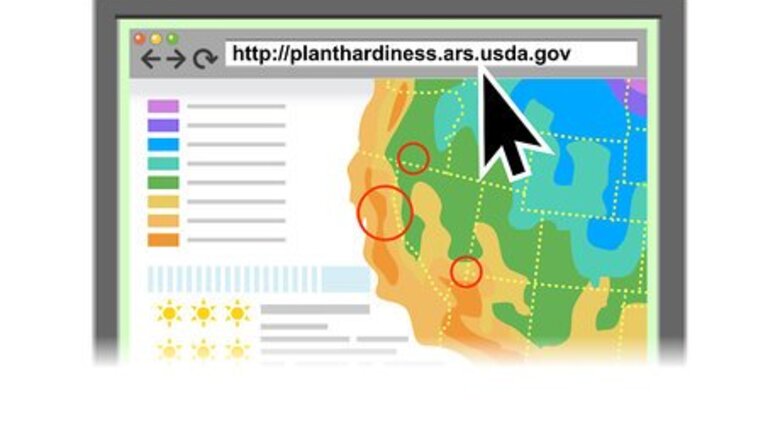
Base your general growing conditions on your climate zone. Outsiders may think the U.S. Southwest is just one big desert, but residents know about the significant climate variations throughout the region. Consult climate zone maps from the USDA and your local agricultural extension office to get a better idea about the growing conditions where you live. You can look up your local hardiness zone here: http://planthardiness.ars.usda.gov/PHZMWeb/ New Mexico, for example, can be broken into 3 primary climate zones, and the average growing season varies in length by more than 30 days among these zones.
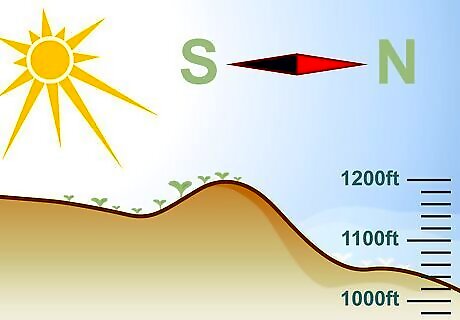
Focus on your micro-climate for more specific guidance. In the Southwest, your elevation or location in a sheltered valley or exposed slope can greatly affect your local climate. This micro-climate will have a major impact on your gardening operation. Even within a single climate zone, the growing season can vary by up to 20 days based on your specific location. Valleys stay cooler than hills, and southern slopes warm up faster than northern ones, to name a few examples. Employees at agricultural extension offices and local garden centers can be good resources regarding your micro-climate. However, neighbors who are active and successful veggie growers might be the best resource!
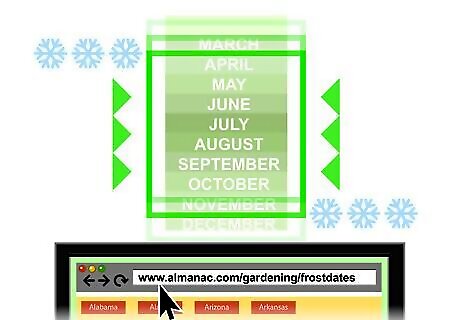
Find out the average frost dates for where you live. The length of time between the average last frost in the spring and the average first frost in the autumn equals your average growing season. Use this information to help decide what veggies to plant and when to plant them. Look for printed guides or online resources like this one: https://www.almanac.com/gardening/frostdates/states For example, Albuquerque’s average frost dates are April 7 and November 4. Phoenix’s average frost dates, though, are January 6 and January 3, meaning that it has a virtual year-round growing season.
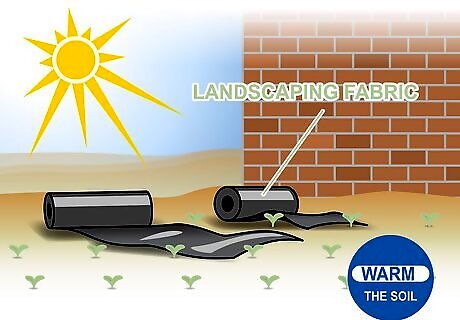
Use solar heating to extend your growing season by several weeks. The abundant sunshine that’s common throughout the Southwest can be used to help overcome chilly nighttime conditions. Growing plants near masonry walls or using dark landscaping fabric over the soil, both of which will absorb heat from the sun, can keep plants warm well into cooler nights. Trap solar warmth by placing glass jars over your seedlings from late in the day through early morning. Warm the bases of crops like tomatoes by placing dark plastic bags filled with water on the ground around them. You can also buy or build plastic grow tunnels that trap in heat while allowing ventilation, or even take it to the next level with a greenhouse.
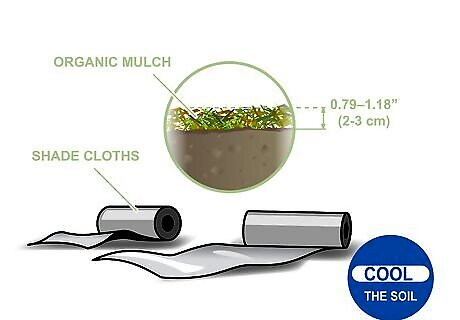
Use mulches and shade coverings to reduce the temperature. If your problem is scorching hot days rather than too-chilly nights, use measures to reflect or diffuse the midday sun’s rays. A layer of 2–3 centimetres (0.79–1.18 in) of organic mulch will keep soil cooler and more moist, and white plastic or even aluminum foil ground coverings can reflect some of the sun’s radiant heat. Use shade cloths to protect your vegetables from the intense mid-summer heat. You can also construct a simple ramada (a shade structure made of poles and branches) to provide partial shade. Afternoon shade provided by structures, trees, or other plants in your garden can also protect leafy vegetables and other more delicate crops.
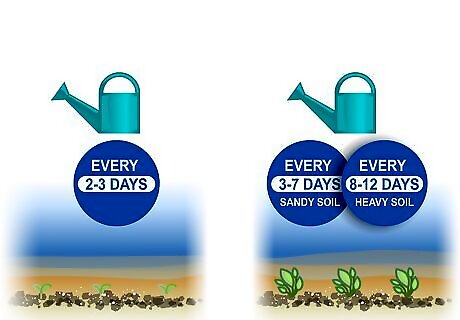
Water your plants on a regular schedule. Rainfall alone is simply inadequate for vegetable gardening in most of the Southwest. In addition, the searing daytime sun will quickly evaporate surface moisture. This means you need to establish a regular watering plan and stick to it through the growing season. Before your seeds germinate, you’ll want to water the ground fairly lightly every 2-3 days. Once they germinate, allow the top inch (2.5 cm) of soil to completely dry out between waterings. When you do add water, soak the soil so that it’s moist to a depth of about a foot (30 cm). Depending on your soil and climate, you may be watering every 3 days or every 12.
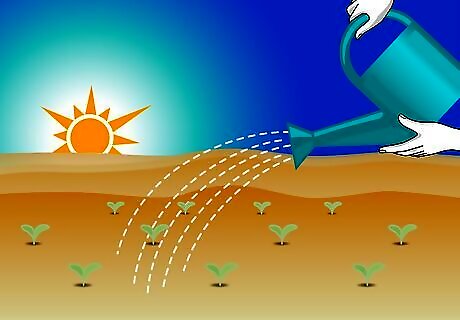
Water your plants in the morning to limit evaporation. Evening waterings are OK, but cool mornings are the best time to add water to your crops. If you water during the day, the sun will evaporate much of the water before it reaches your plant's roots.
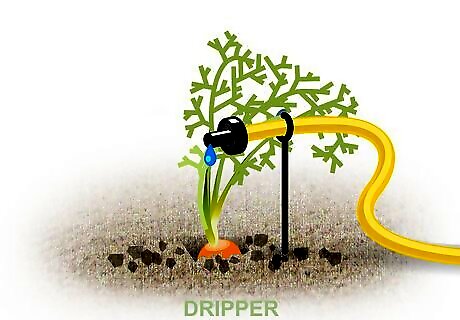
Irrigate your crops instead of using sprinklers. Sprinklers seem convenient, but much of the water they spray evaporates in the Southwest’s dry air before reaching the ground. Sprinklers and even garden hoses can also cause crusting of the soil’s surface, which inhibits moisture and nutrient penetration. Drip irrigation, using evenly-spaced drip lines that snake through your garden, reduces water waste and gets the moisture right where it needs to be. Furrow irrigation, in which water channels run alongside the raised rows for the plants, is also popular in the Southwest. You fill the furrows with water on a regular schedule and let the moisture absorb into your plants’ root systems.
Planting and Harvesting Popular Veggies
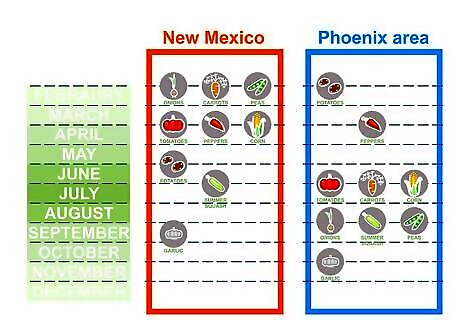
Schedule your planting according to a local guide. Contact your local agricultural extension office or garden center for advice. To name 2 examples, plant according to the following schedules in central New Mexico or the Phoenix area (separated below by //): Potatoes: April to early May // January to February Garlic: mid-September to mid-November // October Tomatoes: indoors from mid-February, outdoors in late April // mid-July to mid-August Onions: mid-February to mid-March // August to April Carrots: mid-February to March, July // August to April Summer squash: mid-April to June // mid-August to mid-September Peas: mid-February to mid-April // mid-September to February Peppers: indoors from March, outdoors from mid-April to mid-May // mid-February to March, July Corn: mid-April to June // mid-February to mid-April, late July to August
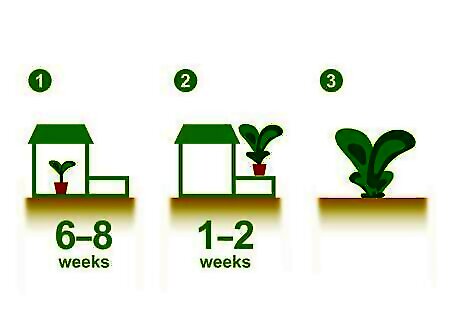
Acclimate certain crops to outdoors after starting them indoors. Popular veggies like tomatoes and peppers are good candidates for starting indoors, 6 to 8 weeks before you intend to transplant them. About 1 to 2 weeks before transplanting, place them outdoors for increasing amounts of time each day, starting with an hour or 2. Avoid leaving your plants outside overnight until the end of the hardening off process. Choose a shady area for your hardening process, and slowly expose your plants to an hour more of direct sunlight each day. Slowly cut back on your watering frequency during the hardening process -- going, for instance, from every 2 days to every 4, depending on your growing conditions and plants. Start plants indoors in pots or trays filled with a balanced potting soil mix.
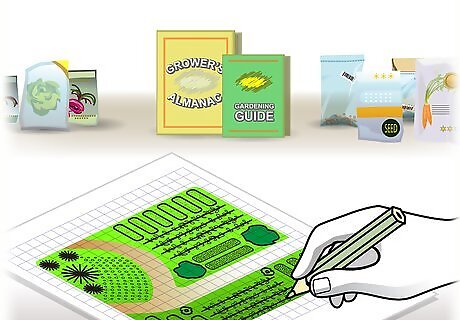
Create a diagram for where to plant each crop. Whether your garden plot is prepared or exists only on paper, take the time to plan out where you want to put each type of plant. This will help you maximize your space and make your garden maintenance and harvesting more orderly. If you’re a beginner, start with 3-5 veggie types. Consult your seed packages and gardening guides for the length to harvest for each plant. Use this to determine which spaces will open up for more planting later in the season, and when. Decide which vegetables you want to plant first, and where you want to plant successive crops.
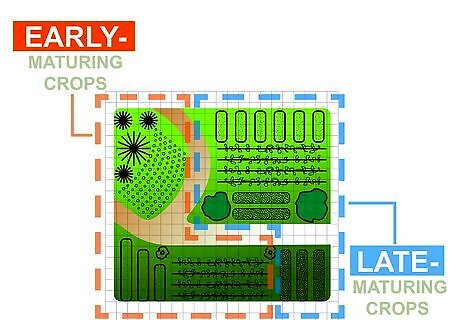
Pair early- and late-maturing crops to maximize your yield. If space is an issue, create a plan for planting early-harvest crops alongside late-harvest crops. You’ll have harvested the early crops by the time the late crops are getting larger. For example, you can sow late-harvest carrots or beets alongside early-harvest peas or beans. If space isn’t an issue, however, it makes weeding and harvesting easier if you keep early- and late-harvest crops in separate areas.
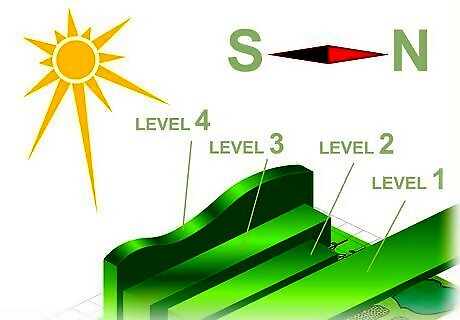
Place taller plants strategically to create shade. On your planting sketch, determine the best spots to plant vegetables that prefer cooler conditions. For instance, leafy vegetables like spinach and lettuce will struggle mightily in full sun. However, you can plant them where they will eventually get some shade from taller vegetables, like tomatoes. Taller crops planted along the southern side of your garden plot will create more shade for interior plants than if they’re placed along the northern side. Crop rotation — planting different crops in different spots — will benefit your garden after the first year. So keep multiple possible layouts “on file” with your sketch for future use.
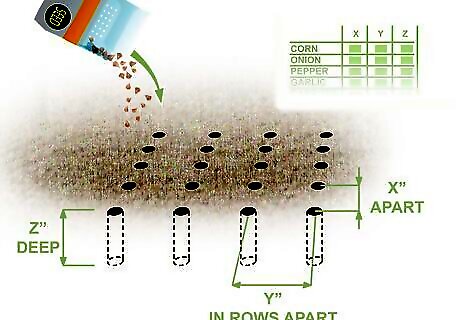
Plant each crop according to its recommended depth and spacing. Use the seed packages, gardening guides, and knowledgeable local gardeners for guidance. To name a few examples: Corn seeds should be planted 1 to 2 inches (2.5 to 5.1 cm) deep, 8 to 12 inches (20 to 30 cm) apart, in rows 30 to 40 inches (76 to 102 cm) apart. Onion seeds should be planted 0.5 inches (1.3 cm) deep, 2 to 4 inches (5.1 to 10.2 cm) apart, in rows 20 to 36 inches (51 to 91 cm) apart. Pepper seeds should be planted 0.25 inches (0.64 cm) deep, 12 to 24 inches (30 to 61 cm) apart, in rows 24 to 36 inches (61 to 91 cm) apart.
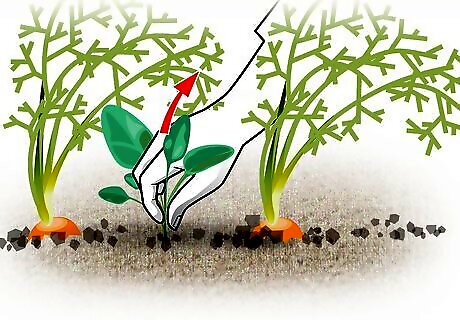
Pull weeds and maintain your garden regularly. Spend time every day or 2 keeping up with your watering, weeding, and other garden care. If you don’t, you’ll end up with struggling veggie plants and abundant weeds that take hours to remove. Pinch the stems of weeds right at the soil line and pull out the entire root structure. This is more easily done right after watering the soil. Stake and tie up climbing plants, like pole beans, and plants with heavy fruits, like tomatoes. The veggies will be more susceptible to rot and animals if left on the ground.
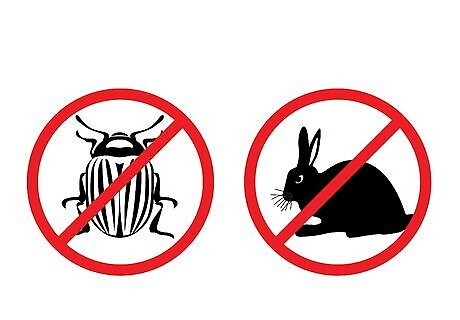
Keep pests out of your garden. You can protect your veggie garden in a variety of ways. You can use several types of fencing or covers, or use deterrents like sprays or scarecrows. Use trial-and-error to find the combination of defenses that works best against your invaders. Before trying pesticides, contact an agricultural extension program near you for advice on your specific pest problems.
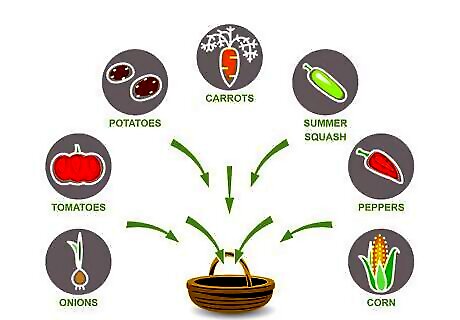
Harvest veggies on or near their projected harvest dates. Veggie-specific harvesting guides are a great resource, but remember that the harvest dates or details they give are only estimates. Especially for crops with visible fruits, like tomatoes, learn to recognize visual cues for when they’re ready to harvest. For veggies with edible parts that aren’t visible, you can often use the stems or leaves as a guide. Onions, for instance, are “just right” when their stems start to turn yellow and are about three-quarters of the way bent over.
Creating a New Garden Space
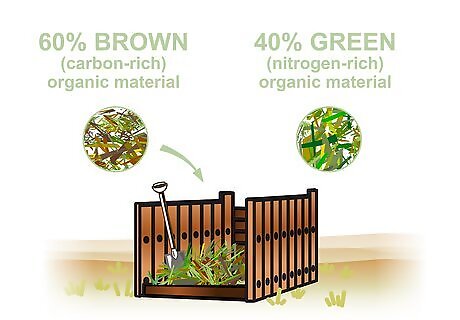
Create a compost pile months before you plant crops. Store-bought compost will nourish your soil and plants, but an at-home composting operation saves money and uses food and yard waste. You can create a pile or use a bin for composting. For a compost pile, create layers of a roughly 60/40 mix of brown (carbon-rich) and green (nitrogen-rich) organic material, stir it regularly, and keep it warm and slightly moist. If you start this pile in the fall, it should be ready to feed your garden by spring.
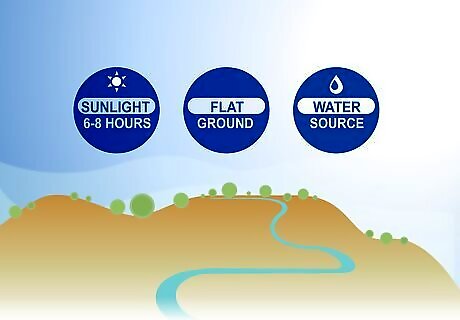
Select a garden site with the right mix of conditions. Abundant sunshine isn’t usually a problem in the Southwest, so look for a location that gets between 6-8 hours of sunlight per day. Also, flat ground is easier to work than uneven terrain, but you can create terraces perpendicular to the ground’s slope if needed. Since water is at such a premium in the Southwest, it’s best to place your garden as close to your primary water source as you can. It’s easier and cheaper to keep your irrigation system as compact as possible.
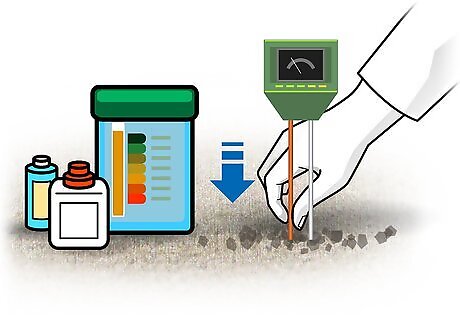
Buy soil amendments based on testing results. Your plants will be greatly impacted by the characteristics of the soil they’re grown in. Test the makeup of your intended garden plot so you can buy the specific fertilizers that will create more ideal growing conditions. You'll add these when you till the soil for your garden bed. Use home testing kits or probe-style pH testers to get a quick readout of your soil makeup, or send samples out to a lab for a more detailed analysis. If you have a nearby agricultural extension program, they may be able to test your soil samples and recommend specific fertilizers (such as ammonium phosphate or ammonium sulfate) to add to your soil. Ideally, you should test your soil every year before planting season.
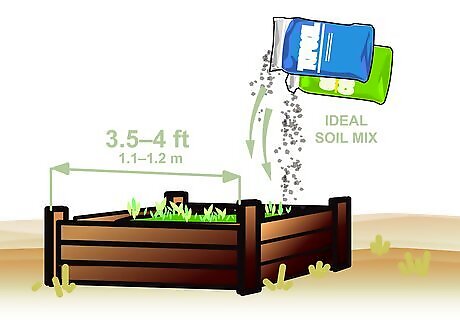
Consider raised garden beds to improve your growing conditions. With only limited DIY skills, you can make raised garden beds and fill them with an ideal soil mix yourself. Raised beds also improve your control over moisture levels, and provide some extra protection against garden invaders like rabbits. Don’t make your garden beds more than 3.5 to 4 feet (1.1 to 1.2 m) wide, or you might not be able to reach the plants in the middle.
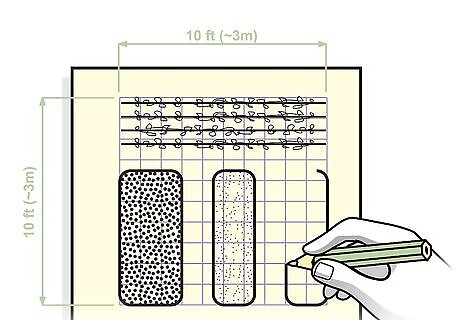
Start out with a garden of around 100 square feet (9.3 m). It’s best to size your garden based on the number of people who will actively work to maintain it. For a novice veggie gardener working alone, 100 square feet (9.3 m) — e.g., a 10 by 10 ft (3.0 by 3.0 m) square — is a good starting point. Draw a sketch of your garden before you start digging. This diagram will help you decide what to plant, how much to plant, and where to put everything.
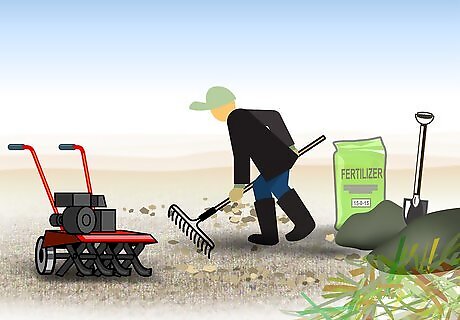
Prepare the soil in your new garden. Clear away surface obstructions like rocks, then remove any grass or ground cover with a shovel. Till the cleared land with a tiller or hand spade to a depth of 12 to 18 inches (30 to 46 cm). Work in compost and, based on your soil testing, any soil amendments needed. Then till the soil again to work these additions through the soil. For the best results, apply fertilizers 10-14 days before planting. Call your local utilities before you start digging -- you don't want to hit a gas, water, or power line!


Comments
0 comment