views
Getting Started
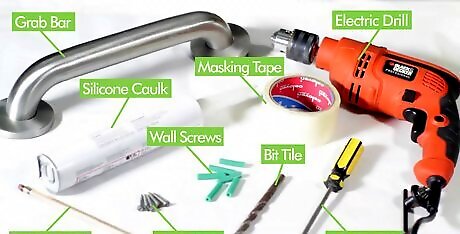
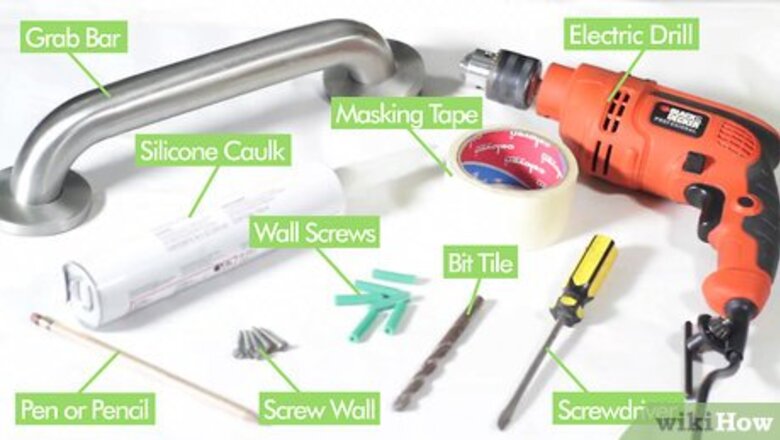
Assemble the necessary tools. Grab bars are relatively simple to install for experienced home repairers as well as weekenders with the proper tools. To do the job right, you'll need: Pen or pencil Masking tape Electric drill Grab bar, available at home repair stores Drill bits for tile, one the size of the wall anchors and one smaller for pilot holes. Wood bit for pilot holes into wall studs Hand screwdriver Wall screws to mount into tile and cement board if not mounting into studs. (4) Heavy 2 1/2" ( cm) wood screws if mounting into wall studs. Silicone shower caulk
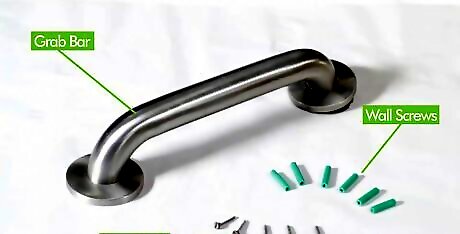
Examine the grab bar kit. Take everything out of the box, making sure the grab bar is in good condition. Check to see what screws are included and whether or not the anchors match the diameter of your tile bit. If not, you'll need to get a new tile bit.
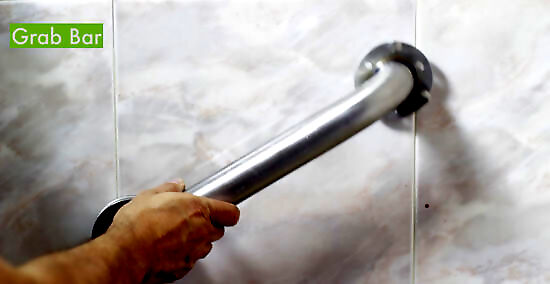
Determine the mounting location. This will depend on who will be using it, and the location of the wall studs if you are mounting it to them, and the locations of the joints between the tiles. In general, the bar needs to be about waist high for the shower users. The bottom of the bar should be 6" to 10" (15 cm to 25 cm) above the top of the tub. If the wall is not tiled, use a stud finder to locate the two studs to screw the grab bar to. Studs are normally spaced 16 inches (40.6 cm) apart, measured from center to center. Carefully find both edges of each stud and mark the exact centers. If you put a screw into the edge of a board, it could crack and the screw would have almost no strength. If the wall is tiled, but not all the way to the ceiling, you could use a stud finder to find the studs above the tile. However, if there is cement board where you will mount the grab bar, you do not need to mount to the wall studs. If the wall is tiled to the ceiling, a stud finder probably could not be used. Tiled shower walls are almost always covered by cement board, and a stud finder cannot detect studs through it and the tile. The grab bar will then be mounted using wall anchors in the cement board, as grab bars normally are. If wall anchors are packaged with your grab bar, this is what they are designed for. If wall anchors are not in the package, buy the heaviest short, plastic wall anchors available. These must have 14 gage pan head screws in the package to be strong enough.
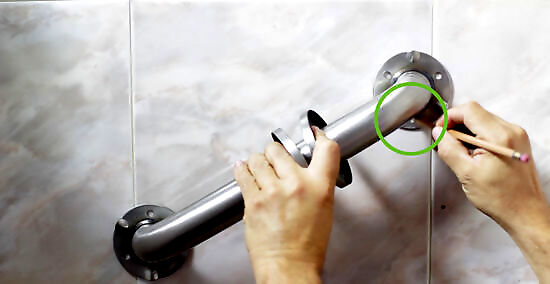
Mark the locations for the screws. If you have located the studs above the tiles, use a 48" (1.2 m) level to find their locations where the grab bar will be mounted. If the wall is tiled, put masking tape where you will drill the holes. This is to keep the drill bit from skating across the tile and scraping it up, and to prevent the tile from cracking. .Watermark wikiHow to Install a Grab Bar Place marks on the masking tape to drill the holes. Instead of marking all of the holes, there is a method that guarantees that the holes will be in the perfect location. Drill only one hole and mount the grab bar with one screw. Holding the grab bar steady, drill the remaining pilot holes through the grab bar.
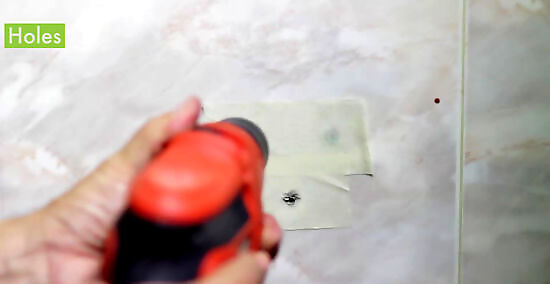
Pre-drill pilot holes. If the wall is tiled, make pilot holes using a bit about half the size of the larger bit. Both bits should be "glass and tile" bits. Most anchors will recommend the appropriate hole size to drill. If mounting to wall studs, drill through the tile with a tile bit, then drill 1/8" (3 mm) holes into the stud with a wood bit. Watermark wikiHow to Install a Grab Bar
Securing the Grab Bar
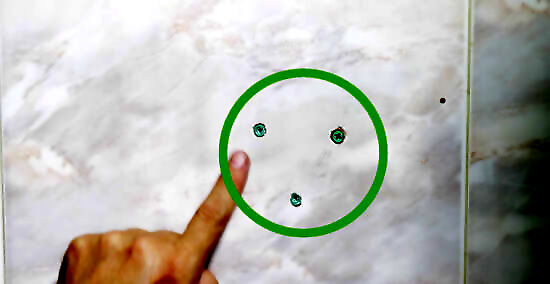
If the wall is tiled, stick in the wall anchors and hammer them to be flush with the wall. Put the grab bar on the wall, and tighten the screws with a screwdriver. Follow the instructions included with your grab bar kit. If the wall is not tiled, use the heaviest wood screws that will fit into the holes in the grab bar. A cordless drill may be needed to drive in the screws. The screws should penetrate the studs at least an inch, but they should be long because you will need to angle at least one of them to drive all three screws into a stud. Use 2 1/2" (6 cm) screws.
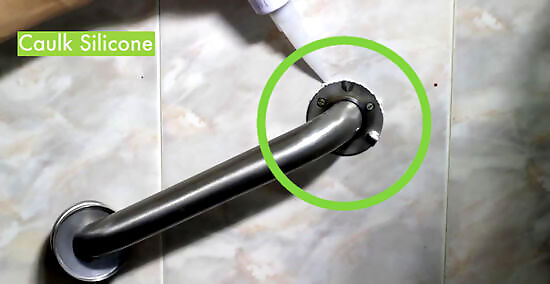
Seal the seams with silicone caulk. To keep water from seeping through the tile into the holes you've drilled, put a small bead of silicone around the seam. Cut a small angle through the tube of caulk, then run a very small bead around the grab bar, where it meets the wall. Some people like to caulk the back of the flange before screwing the bar to the wall. This helps to create extra security and strength in the bar.
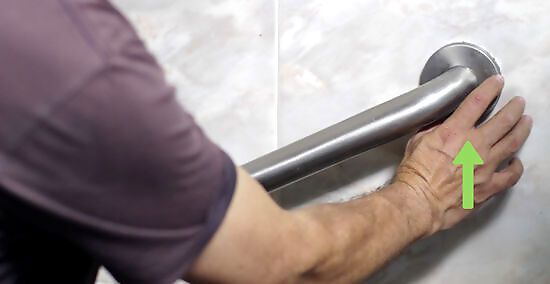
Test at the end by pulling on it. Give the caulk an hour or two to dry thoroughly, then give a small amount of force to make sure it is not loose, then try more force. Give the bars a good solid yank to test their holding power. Let the caulk dry for at least 24 hours before running water in the shower.






Comments
0 comment