views
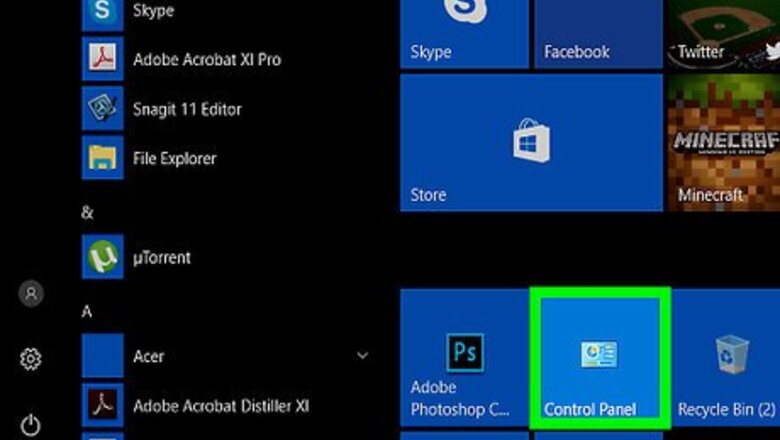
Open the Control Panel.
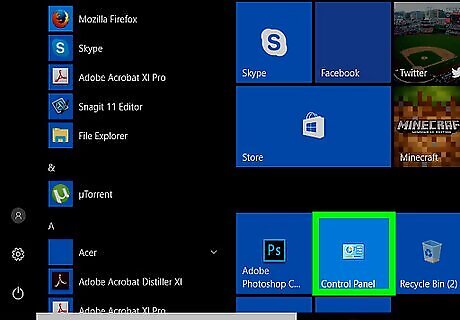
You'll find Control Panel in the Start menu. A new window will expand.
Click "Click Regional and Language Options."
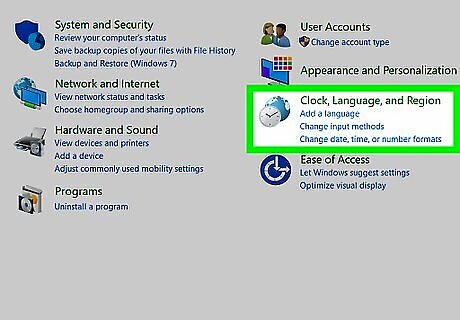
This option appears in the Control Panel. If you don't see it, click Clock, Language, and Region instead.
Click the "Languages" tab.
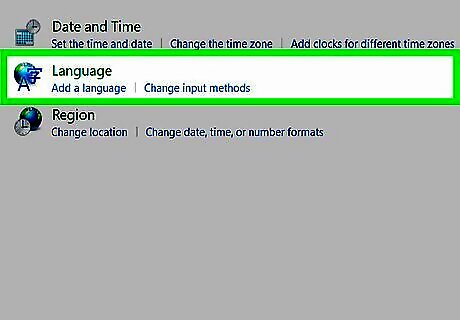
You'll see a Languages tab at the top of the panel in Windows XP. In later versions, click Language instead.
Check the box next to "Install files for complex script and right-to-left languages."
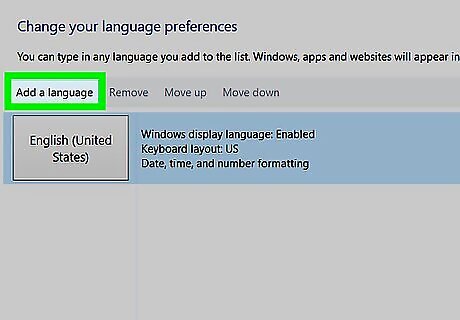
If the checkbox isn't selected already, click to select it now. This option may have a slightly different name on your version of Windows. If a warning message appears, click OK.
Click "Apply."
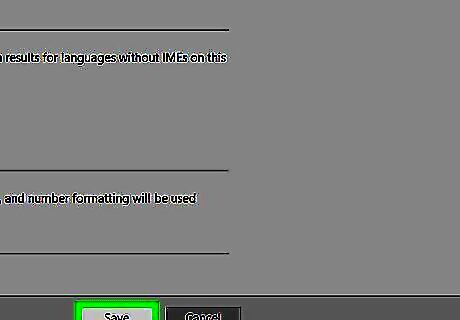
Clicking Apply prepares the files to install. If prompted to restart Windows, click Yes to do so. Depending on your computer, you may have to put the Windows XP CD into the drive to install the Hebrew language files on your PC.
Return to the "Languages" tab and click "Details."
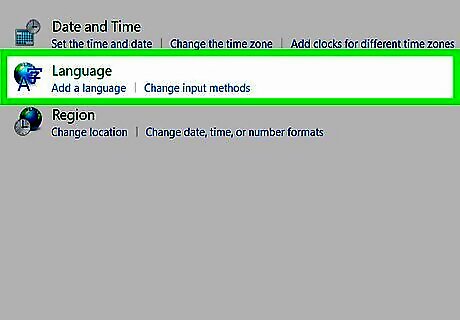
This time, you'll see the Hebrew language available to install.
Select "Add" and select "Hebrew"
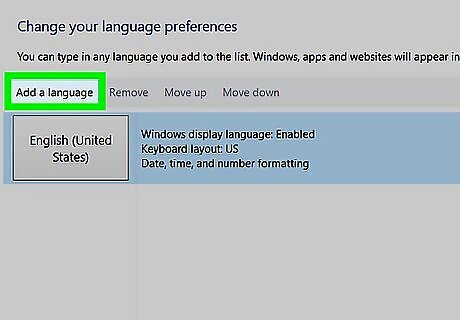
This adds Hebrew to Windows. You can add additional languages now if you'd like.
Click "OK."
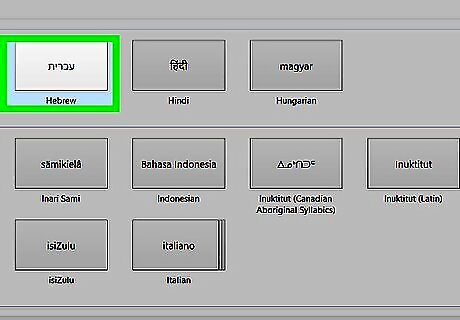
The Hebrew keyboard is ready to use. After the software is installed, you will have a keyboard tool appearing in your system task bar. From there, you can switch between the English and Hebrew keyboard.


Comments
0 comment