views
- You will need to be signed in as an administrator to install MSI files.
- To install a program from an MSI file, just double-click the file ending with .MSI.
- You can also use the command "msiexec /i [location of MSI file]" to install an MSI file using the Command Prompt or Powershell.
Installing an MSI File
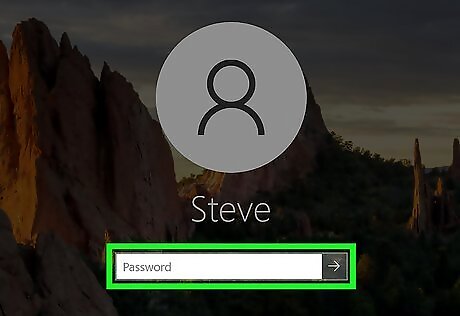
Sign in as an administrator. You need to be logged in as an administrator in order to install a program using an MSI file. Either log into Windows using an administrative account or talk to a system administrator and see if they can make your account an administrative account.
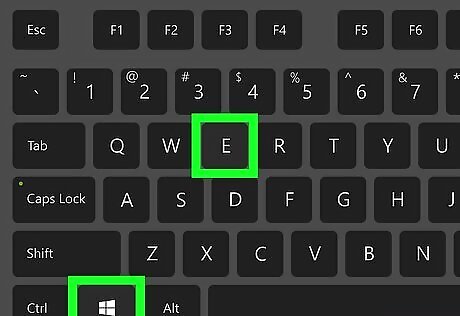
Press ⊞ Win+E to open File Explorer Windows File Explorer. File Explorer has an icon that resembles a folder with a blue clip. You can either click the File Explorer icon or use the keyboard shortcut to open File Explorer.
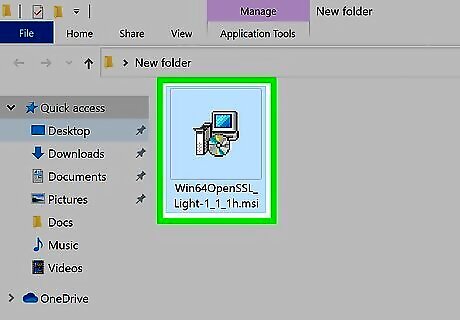
Navigate to the MSI file. Use File Explorer to navigate to the location of the MSI file you want to install. If it's a file you downloaded from the Internet, it will most likely be in your Downloads folder.
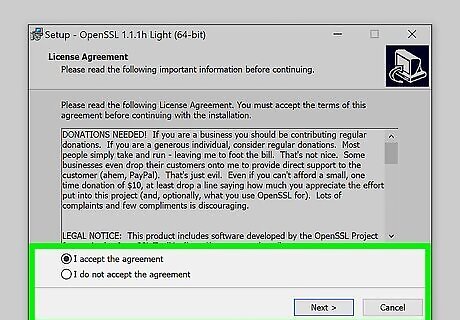
Double-click the file to run it. This will start the installation wizard, and start installing the program. If you're prompted, click Run in the confirmation pop-up.
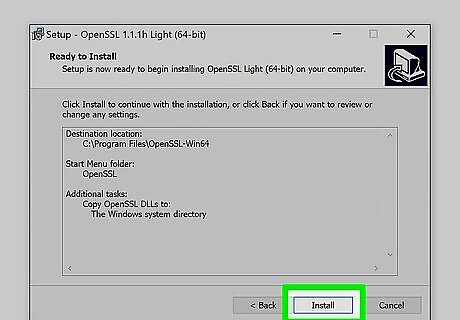
Follow the installation wizard's prompts. The installation wizard will guide you through the setup and install the program contained in this MSI file. The installation steps may vary for different programs. You may be prompted to select an installation location on your computer, or select and unselect program components to install.
Click Close or Finish. You'll see a final message in the installation wizard when your installation is complete.
Using the Command Prompt
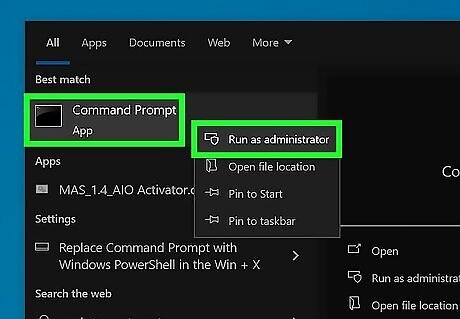
Open the Command Prompt as an administrator Windows cmd. To do this, you must be logged into Windows as an administrator. Use the following steps to open the Command Prompt as an administrator: Click the Windows Start menu. Type cmd. Right-click the Command Prompt icon. Click Run as administrator
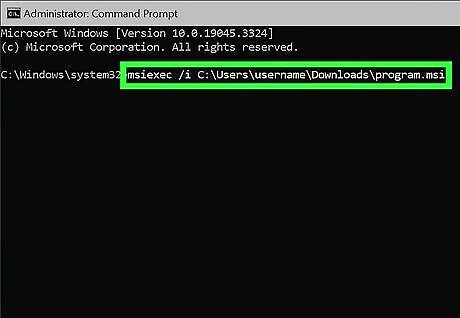
Type msiexec /i [path to MSI file]. Replace "[path to MSI file] with the path to the location of the MSI file. The "msiexec /i" command is used to install an MSI file using the For example, if the MSI file is located in your Downloads folder, you would type something like msiexec /i C:\Users\username\Downloads\program.msi.
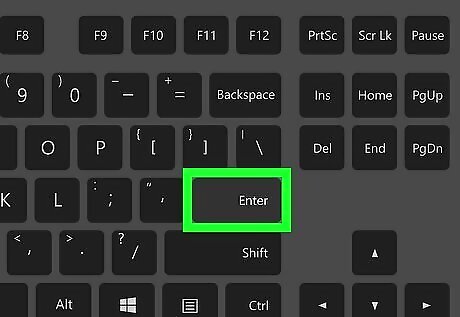
Press ↵ Enter. This will start installing the program using the MSI file you entered in the command prompt. This will either launch an installation wizard or it will install the program in the same location as the MSI file. Alternatively, you can open MSI files in PowerShell, but you need to install the MSI PowerShell installer first. To do so, type [[kbd|msi-installer}} and press Enter. Then you can install MSI file using the same command you would use in the Command Prompt. To uninstall an MSI file using this command, type msiexec /x [path to MSI file] and press Enter.


Comments
0 comment