
Preparing the Floor

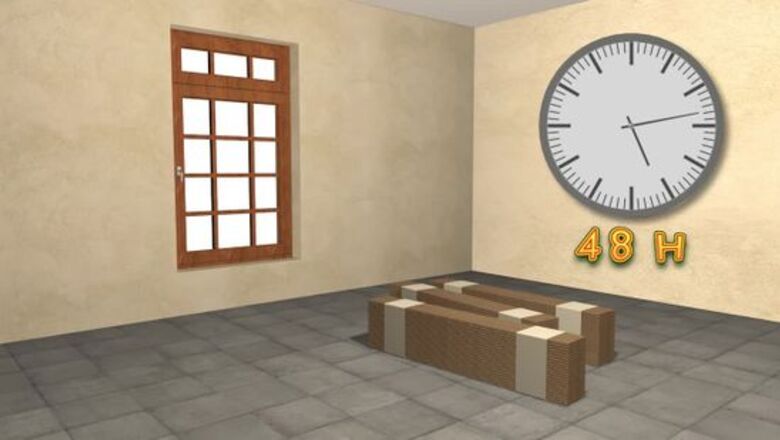
Let the boards acclimate. Place unopened packages of laminate flooring in the room or rooms in which they are to be installed. This should be done at least 48 hours before the laminate boards are placed so they have time to adjust to the temperature and humidity. This will minimize shrinkage or expansion when they react to room temperature and humidity.
Check for moisture levels. Moisture can often destroy a perfect laminate floor installation, so before you begin, it is very important to ensure that your site is perfectly dry. Check the sub-floor moisture content; it should be no higher than 12% on a Protimeter prong test scale. Different meters will have different scales so you must always refer to the manual to ensure the correct reading. Now check humidity levels within the room using a hygrometer. They should be between 45-65% RH (Relative humidity). The sub-floor must also be perfectly level. An uneven sub-floor is another common cause of quality flooring installations failing. Use a spirit level and ruler to ensure that the floor does not have more than 3mm of dips or humps over a 1m length.
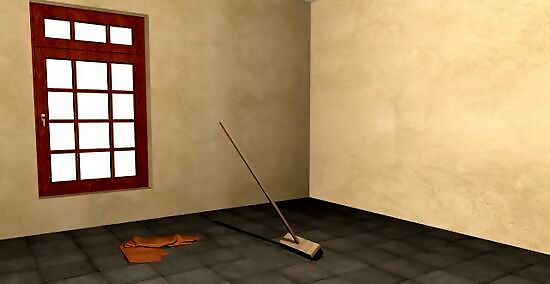
Clean the floor. You will need to clean off the surface where you will be placing the laminate. You can sweep the floor or use whatever method you prefer. Make sure the floor is completely dry as well.
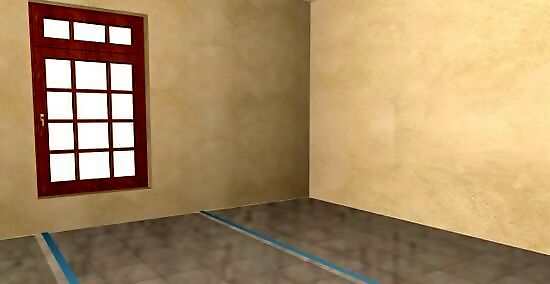
Lay a moisture barrier. Lay plastic lining on the floor of the room that will be covered with the laminate flooring. Tape the plastic together with a moisture resistant adhesive tape. Make sure to avoid overlapping as you do this because it may cause the floor to rise. If you have a concrete floor, run the plastic up the walls an inch or two (not extending above the baseboard).
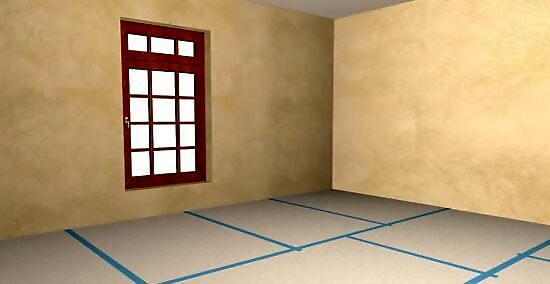
Lay down your padding. Most padding and plastic is all in one, but if yours is not, then cover the plastic lining with a foam floor padding. This is to prevent any residue left on the floor such as small rocks and sand from causing dimples in the flooring and to give it a cushion. It will also prevent any creaking or squeaking noises when people walk on the floor. Cut the foam lining to fit the floor and tape it down. Do not allow the foam to overlap.
Laying Down the Boards
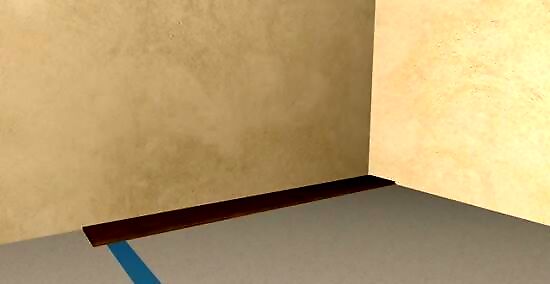
Place the first board. Place a board at the top left corner, finished side up, ridge side facing the wall. It is a good idea to lay the boards so that they are parallel to the longest wall in the room.
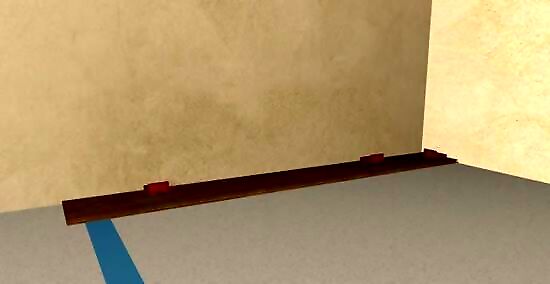
Place spacers. Wedge a spacer between the end and edge of the board and the wall. You can buy spacers or make your own. If making your own, they should be 3/16" to 1/4" thick, L-shaped, and a foot long or so. You will need several, six or more for the first two rows.

Repeat for the second board. Place the next board the same way, laying it end to end, occupying the next spot along the wall. For the best results, make the entire first row parallel to the longest wall in the room. Make sure to check from the edges of the floor boards to the edge of the wall to make sure that the row is even with the walls.
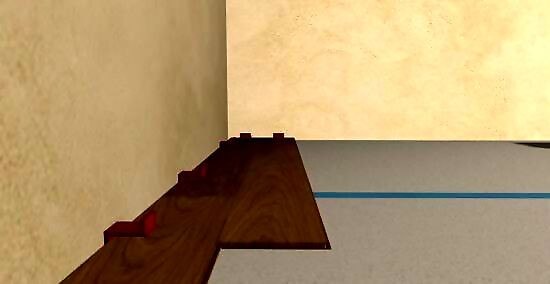
Move on to the second row. Shorten the first piece of laminate flooring so the joints in this row will be offset (staggered) in relationship to the first row. Use a wooden block to tap the next row of boards into the first. Hold the block securely with your left hand and hit the block with a hammer in you right hand. The gap between the first and second boards should be closing. Keep hammering until the gap disappears.

Continue until each row is done. Make sure that the gaps between the boards are properly closed. Check the boards every third or fourth row to make sure that they are staying parallel to the wall.
Trim planks which don't fit into the remaining spaces. When you reach the opposite wall or have to do odd shaped rooms, you will probably have to trim boards. Measure how much you need and then cut the plank with a table saw. Use a sharp miter saw to cross cut the boards shorter and a table saw to make them narrower. It may be easier and provide better results if you cut the boards upside down.
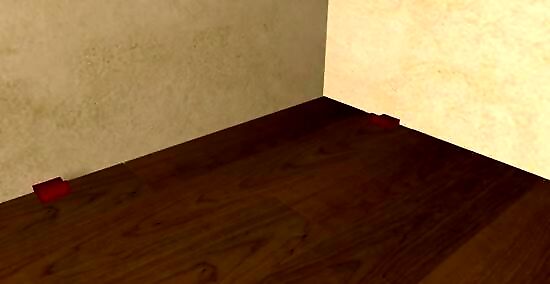
Don't forget your spacers! Don't forget to place spacers along all the edges of the room and remove them when the whole floor is done.
Finish your floor. You can finish your floor by placing baseboards, thresholds, or other finishing touches like staining. Scuffs or holes can be covered with special crayons available at your local hardware store.


Comments
0 comment