
Planning and Designing Your Book
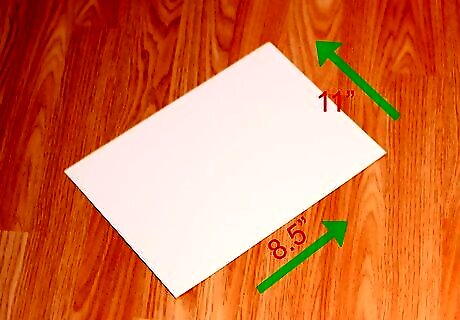
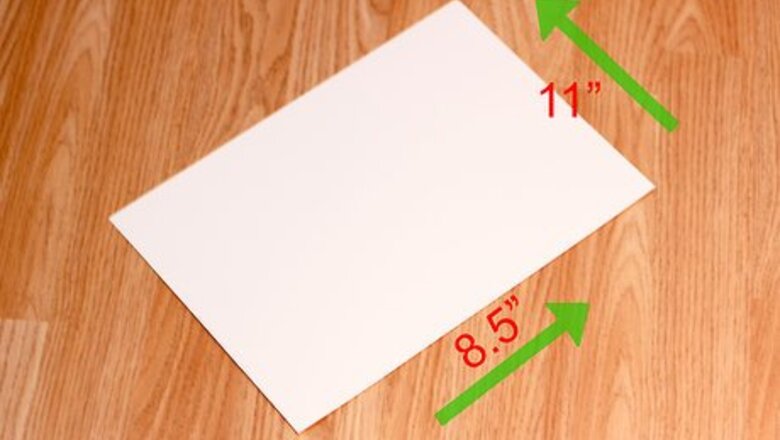
Decide on the book’s size. The most convenient dimensions for your book are 8.5 x 11”, or standard size copy paper. Most commercially-made coloring books fit those proportions, so children are already accustomed to the size. Also, if you’re stumped coming up with your own illustrations, you’ll have the option of printing new designs off of the internet and adding them to your book later.
Determine how many pages your book will be. If your theme is the seasons, for example, a natural number of pages would be 4. Decide on the number of pages early in the planning process, because once the binding process begins, adding or taking away pages could become trickier. Opting for fewer pages might be better given the shorter attention span of young children. If you use more pages, however, your child can get more long-term use out of the book.
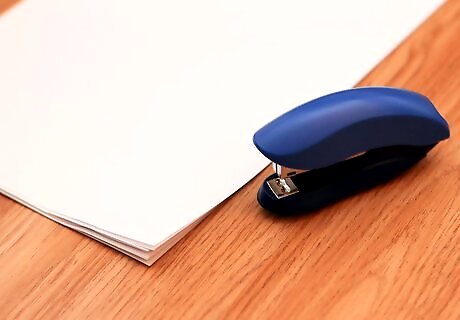
Choose a binding. The quickest and simplest way to bind your finished book together is with a row of staples. For a more finished look, though, you might want to use liquid glue. Or, you could use a hole puncher and create 3 holes in the area to be bound along the left margin of the book (one near the top of the pages, one in the middle and one near the bottom). Then, you could thread twine or decorative ribbon through the holes, bring together the ends and tie them into a bow or knot. Binding the book after you’ve created your hand drawn illustrations makes more sense. That way you’re not struggling to fit your drawings in on the smaller surface of a pre-bound page.

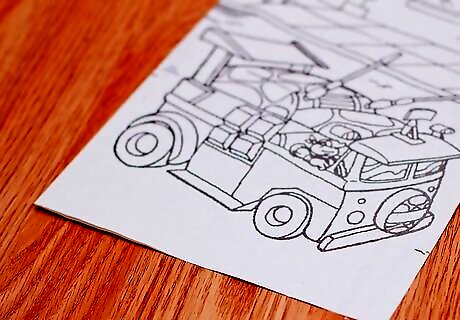
Decide whether you want to draw or use premade, printable designs. With drawn designs you can add a personal, loving touch to the book. Not all of us are accomplished artists, however. So if you choose to use prefabricated, printable designs, take the time to locate pictures that really reflect your children’s personalities. A quick web search will unearth numerous websites that offer free, printable children’s coloring book illustrations. As long as you aren’t planning to sell the coloring book, you don’t have to worry about finding copyright-free images. Pick pre-made coloring templates, or create your own by tracing your favorite images from books or the web.
Develop a theme. Does your daughter love ponies? Or are spaceships more her style? Choosing a theme for the book can help narrow down the endless possibilities out there. Also, keeping a common theme going can inspire the creation of various designs within the same category. For example, if the theme is superheroes, you can make up all types of crazy characters and draw them in different ways (cartoonish, realistic, etc.).
Creating Your Designs by Hand

Grab a permanent marker and paper. Black permanent markers are the most durable for this task. The lines they make can always easily be seen even through the heaviest crayon or colored marker strokes. Further, they are the only permanent markers capable of withstanding multiple erasings. This is important if your child will be using erasable colored pencils on the project. Make sure you place an impermeable surface behind your drawing page, such as cardboard or several sheets of thick scrap paper. Otherwise, the marker might bleed through onto the following pages or onto your writing surface.
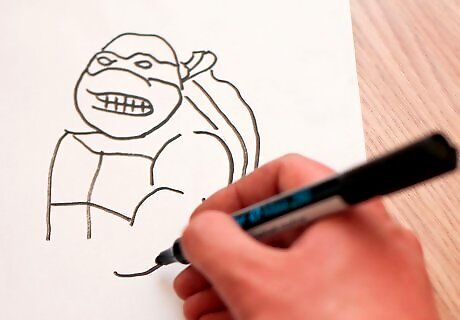
Draw bold and simple designs. Avoid outlines with lots of small, delicate details. Children under the age of 6 are still struggling to develop their fine motor skills, which include holding a pencil or crayon and coloring. So make your images relatively simple, with widely spaced, ample-sized areas for kids to color within the lines.
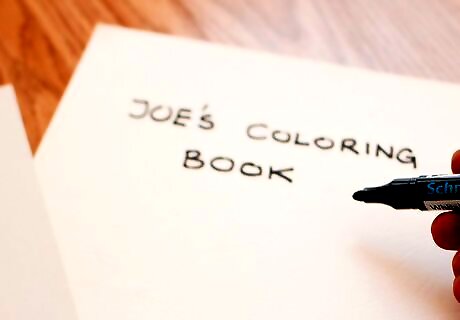
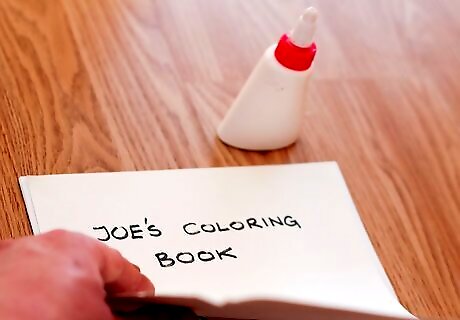
Fashion a front and back cover. Here’s where you can truly add special effects. Think of a name for your book and begin drawing out designs. You might wish to add glitter or use colored markers to add a splash of color to the final product. Utilize a heavier paper like cardboard, cardstock, or construction paper for this task, since these will add more stability to the book. You can add a pretty, decorative finish to your cover by wrapping it in wallpaper samples or wrapping paper. When naming your book, think about calling it after your child. This adds yet another level of personalization to the project.
Assembling the Book
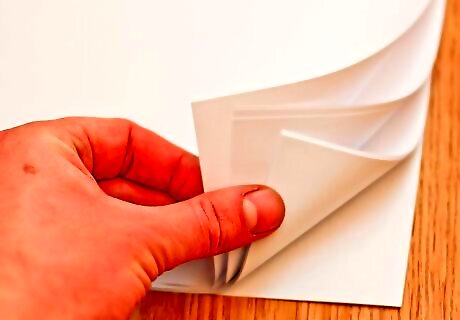
Bring together your designs. On a flat surface, lay out the pages of your book in the order you want them to appear. Don’t forget your front and back cover pages. Add them in the appropriate places.
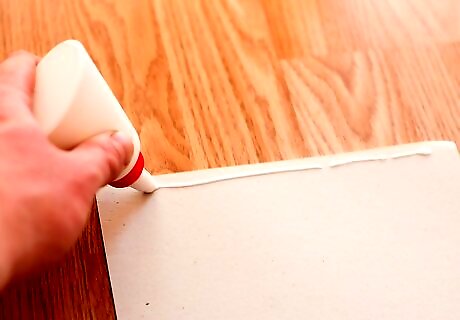
Start the binding process. If using glue, begin with the back cover. Draw a thin line of liquid glue along the left side of the back cover page. Repeat this process on the next pages, working in reverse order. Continue this process until all sheets, except for the front cover, have been glued. Do not put glue on the front cover page.
Pick up the sheets in order and press them together. Now start from the beginning of your book with the front cover. Pick it up and place it over the first page of the coloring book. Repeat this process for the remaining pages. Try to align the pages as evenly as possible when you join them together this way for a finished look.
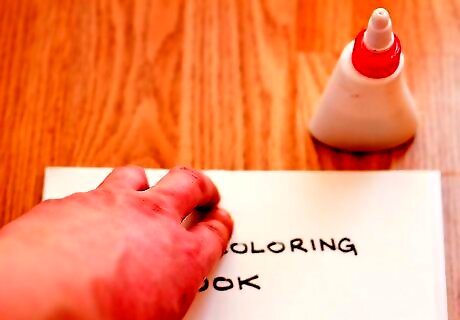
Press the closed booklet together to set the glue. Using your fingers, squeeze the left binding firmly multiple times across the bound left edge. To aid in the adhesion process, you might want to set a few heavy books on top of your coloring book while the glue dries.
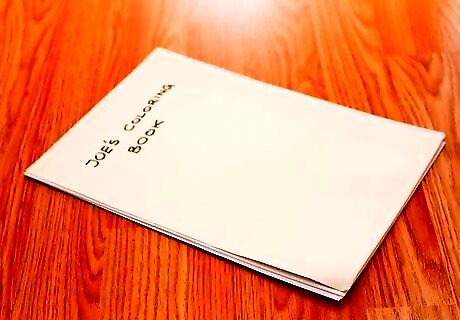
Allow the glue to dry completely before use. If you’re using glue to bind your book, give it sufficient time to dry (1-2 hours) before turning your little artist loose. Otherwise, the pages will start to come apart and wet glue will get everywhere.


Comments
0 comment