views
Planning Your Video
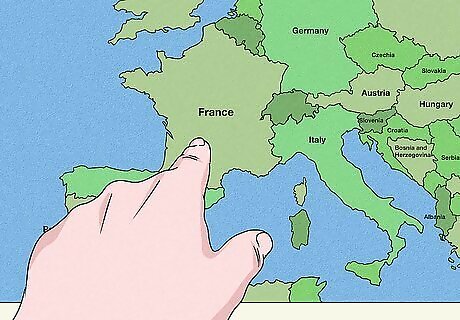
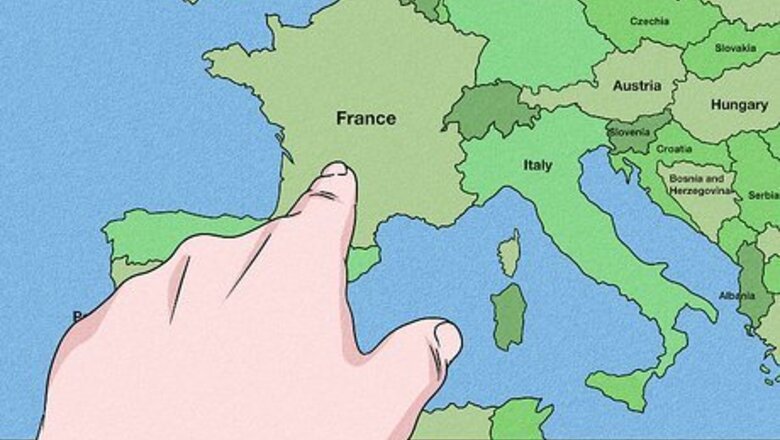
Plan where you’re going. Try to plan out your trip as much as possible beforehand so you have a good idea of what kind of video you’ll be making. Knowing your destination will help you plan out important elements of your video ahead of time and start to build an engaging narrative. For example, you could plan a trip to Paris with all of the different shots you want, such as clips of a street market, food, exploring the city, and looking up at the Eiffel Tower at night. If you’re traveling to India and you want to focus on local cuisine, plan out some of the main places you’ll be eating at and what order they should go in. You could start small with street food and work your way up to a fancy full meal.
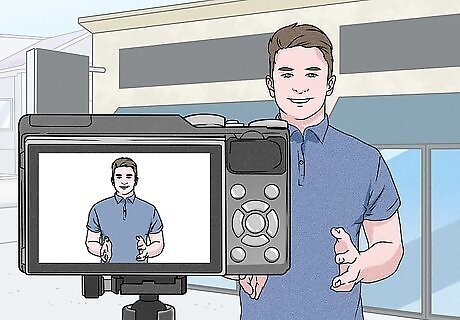
Make a vlog if you want a more personal and informal video. In vlogs, you act as the host of the trip, talking directly to the audience and giving commentary and updates from time to time. You’ll need a camera with a front-facing screen so you can tell where you are in the frame.
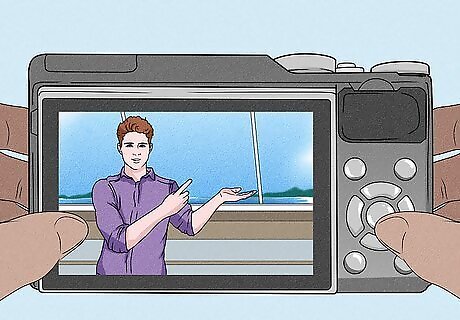
Film a travel guide if you prefer more informative videos. This style is usually a bit more distanced and professional than a vlog. You’ll show off the destination rather than the personal details of your specific trip. You’ll probably want a higher quality camera, as the quality informs your authority as a guide. Viewers are less likely to watch a travel guide filmed on a cell phone camera.
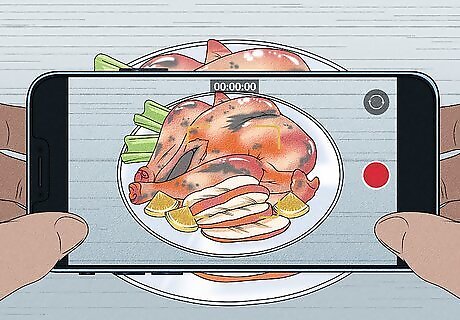
Make a niche video if you just want to focus on one aspect of travel. This could include food, historical events, adventure activities, or fashion. Consider your destination and what it’s known for, such as surf culture in Hawaii, wine country in the South of France, or the fashion industry in New York.
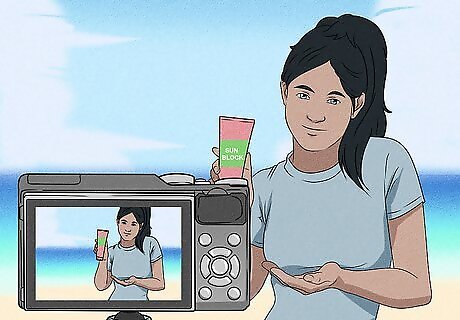
Follow any directions from your sponsor if your video is made for a company. If your video is sponsored for marketing purposes, you’ll need to follow certain requirements set up by the company. Make sure to come to an official agreement with the company that works for both of you. Make sure you know any specific shots they want and whether they want product placement. This could involve you using the product or otherwise incorporating the product into the shot. You should also find out how you’ll need to brand the video. For vlogs, some companies ask that you give them a verbal thank-you and acknowledgment. For promotional content, they may ask that you include their logo at the end of the video.
Packing Your Bag

Use your smartphone if you don’t have anything else. If you want to make a travel video but you don’t have any equipment, don’t worry—you can still make a great video with your smartphone! Your footage likely won’t look professional, but you can still get some clear, vibrant shots with your phone camera. This option works best with vlogs, as they’re more informal and personal. Make sure to set your video quality to its highest setting, such as “1080p HD at 60 fps” on an iPhone. Smartphones generally don’t capture low light well, so try to film during the day as much as possible.
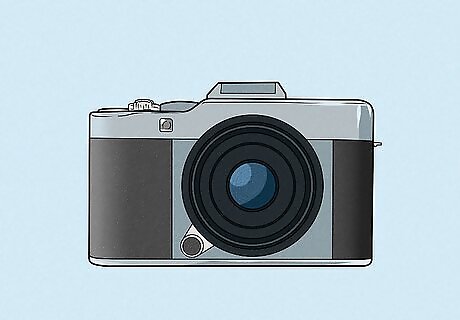
Use a point and shoot camera for quality at a lower cost. If you’re nervous about your equipment getting damaged or stolen, bring a less expensive point and shoot camera. This will still give you clear, higher-quality footage but won’t break the bank if something happens to this camera. Some of the most popular point and shoot cameras are currently the Canon Powershot G7 X and the Sony RX100. These are around $400-600 USD and also have front-facing screens that are perfect for vlogging. This type of camera will record quality video as well as take great photos. You should also pack a case so the camera doesn't get damaged.
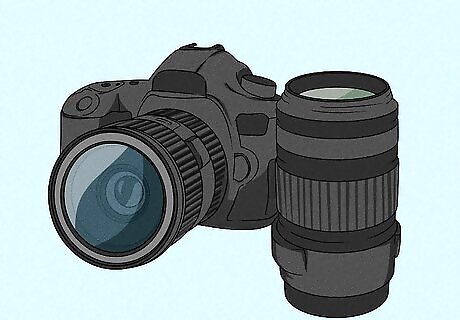
Shoot with a DSLR camera for high-quality footage. For beautiful, professional footage, bring a DSLR camera and some good lenses. Although this equipment will definitely be heavier and bulkier than the other options, it will likely give you the best results for videos as well as photos. Some of the most popular DSLR camera bodies for videoing are the Canon 70D for around $600 USD, or the Nikon D3300 for around $375 USD. For lenses, some great options are an 18-35 mm lens or a 70-200 mm lens. These will allow you to film a variety of shots, whether far away or up close. You'll also need to bring a case to protect the camera.
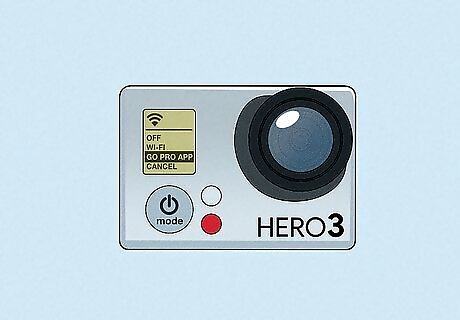
Use a GoPro for adventure activities. If you’ll be filming activities like surfing, skiing, or motorcycling, you’ll want a hardy camera that mounts easily to your equipment. Use a GoPro and make sure to buy any accessories you may need, such as straps, mounts, and protective cases. The basic GoPro model starts at $150 USD, but the company also makes a wide variety of accessories and higher-end GoPro cameras. GoPro footage tends to look more washed out, so make sure to bring back the colors when you edit the video.
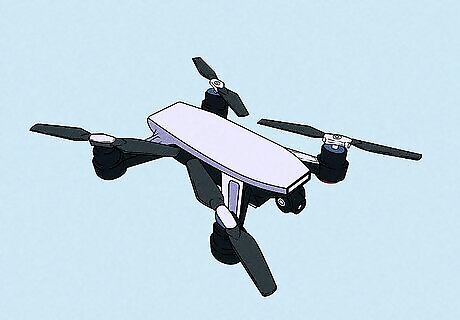
Use a drone for some dramatic, high-quality footage. Drones are great for travel guides and sponsored videos. You’ll be able to capture sweeping, dramatic views of your location that not many people would normally get to see. If you want to start making travel videos professionally, a drone is a great piece of equipment to have. You can find a simple drone for around $50-100 USD, or a high-end model for $1,000-1,500 USD. You'll definitely want to bring a case for your drone to protect it.
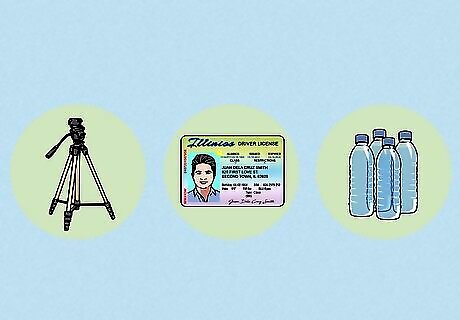
Plan for any extra gear and supplies you’ll need. Pack any extra gear you may need for specific conditions as well as any documents and food supplies you may need. Remember to travel as light as possible. Your trip should still be fun and exciting—don’t get too bogged down with worrying about tons of equipment. For example, if you’ll be traveling to somewhere windy or a destination that requires shaky transportation such as boats and jeeps, you may want to bring a monopod or tripod. These will help keep your footage steady and smooth. You may also want to bring a microphone cover to protect the audio and block the microphone from strong wind, or a water-tight case for your camera if you want underwater shots. If you’re traveling across the border, you’ll need proper documentation and identification. Check ahead of time for what you’ll need, such as a travel visa, driver’s license, or green card. Pack some snacks like granola bars, veggies and dip, chips, and cheese sticks, as well as a water bottle.
Filming During the Trip
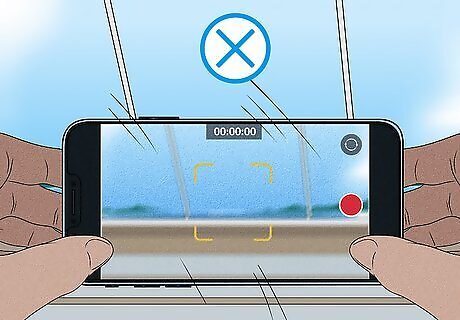
Avoid shaking the camera or zooming while filming. This lowers the quality of the footage and tends to look amateurish. Try to keep the camera as steady as possible for smooth, professional footage.
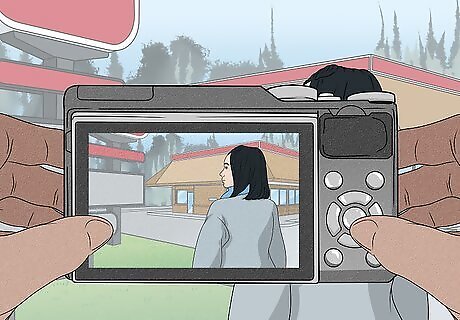
Include people in your video. Travel videos aren’t just about beautiful landscape and detail shots. Inserting shots of people's enjoying and reacting to a location can also really connect with viewers’ emotions. Dialogue and interviews with people can also make your video even more compelling. Including people in your shots may also help show the scale of the place you’re exploring. For some dialogue, ask people how they feel looking at a location. Try to capture their genuine reaction—ask them if it’s like how they imagined or different. You could also ask “What are we doing right now?” and have them narrate activities or excursions. For interviews with locals, ask them for some basic information and what an average day would look like for them. In some cases, the language barrier may make this more difficult, so stick to questions in basic English like “What is your name?” and “What do you do?”
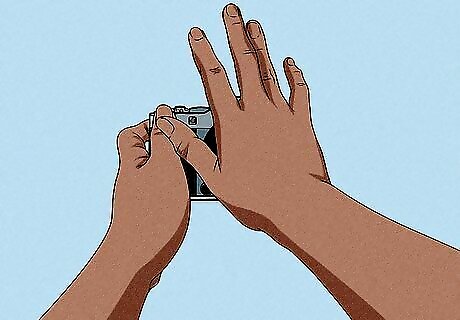
Remember to film consistent transitions. Transitions are physical or digital effects that help you move smoothly from one clip to the next. Most popular travel videographers have a consistent signature transition, such as a spin or a high-five. Choose one of these moves to do at the beginning and end of each video clip and stick with it. For the spin transition, move the camera so it pans or spins quickly to the side at the beginning and end of your clips. This will create a blurred effect, which will give the illusion that your clips are blending together. For the high-five transition, use your hand to block the lens at the beginning and end of each clip, as if you were high-fiving the camera. If you cover the entire lens and the frame is completely dark, it will create a fun and exciting transition from one location to the next. You can also manually add in transitions when editing, such as a fade to black or dissolve. However, having your own signature transition can make your video look even more professional and add some personality.
Editing Your Footage
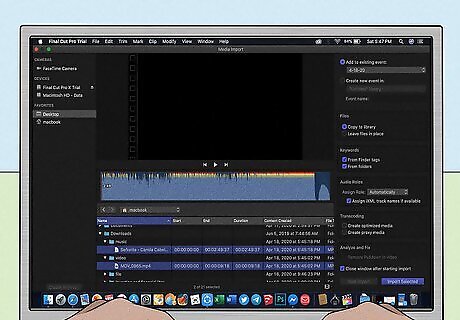
Choose and learn a video editing software. To put all your footage together, make it look professional, and add creative flair, you’ll need video editing software. Some high-quality options include Adobe Premiere Pro and Final Cut Pro X. If you have a Mac, you could buy iMovie, a basic video editing software, for a low price in the App store. Some free options are Lightworks and Windows Movie Maker for PC users. YouTube is a great resource for learning how to use these different programs. Watch tutorials to learn basic use as well as specialized skills.

Pick great background music. Music is one of the most important elements of a good travel video. Find a song that matches the mood of the video, preferably with some good dynamics like a breakdown and build. If you monetize your video on YouTube or Vimeo, remember to get the artist’s permission first or use royalty-free music. You’ll also need to credit the artists when you post your video. The FMA Archive also has an extensive library of songs you can browse by genre and use for free. Consider the content and goal of your travel video when choosing music. If your video is full of adventure and excitement and your goal is to get people excited and active, choose an upbeat, fun song with a good beat. If your video is calm and thoughtful, featuring shots of fog, the ocean, or religious locations like monasteries and temples, use slower, more introspective music. Some simple strings or guitar can create a really beautiful effect.
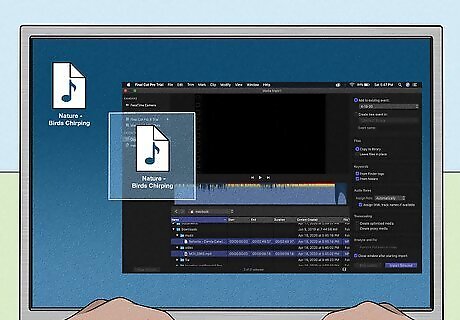
Keep some natural background sounds. Viewers love hearing the natural sounds that create atmosphere in travel videos. Although they may seem boring to you, including some natural background sounds like rain falling in the jungle or cars honking on a city street can help the viewer feel like they’re really in that location.
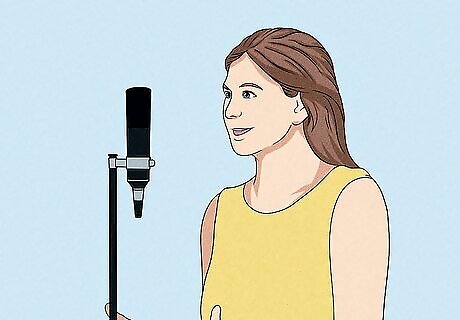
Add in a voiceover for a personal touch. Recording additional audio over your video is a great way to add engaging information and enhance your story. You can record voiceovers while you’re editing with your computer’s built-in speakers in a pinch, or a microphone for a more professional effect. Adding narration after the trip is over can be helpful. You can wait and see how the narrative forms as you edit, then fill in any gaps with voiceover audio.
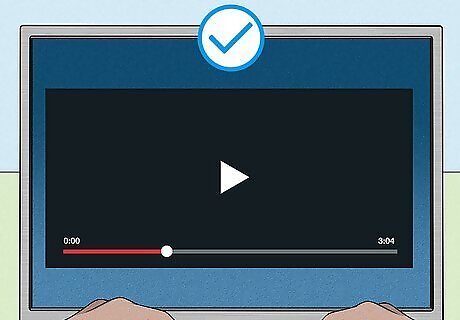
Stick to the ideal travel video length, which is between two to three minutes. The closer to two minutes you make it, the better. After the three-minute mark, viewers start to lose interest. This is another reason why story becomes so important—if you include a compelling story, you can hold viewers’ attention longer. An easy way to internalize this advice is to remember that your video should generally be the length of a song or shorter.
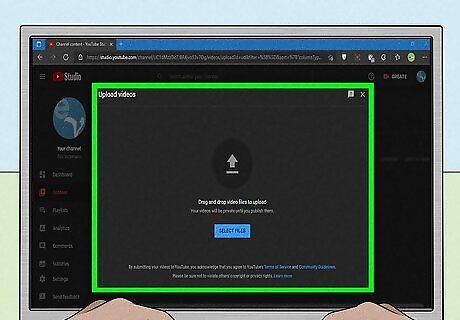
Post your video on social media. Once your video is finished and saved, you can post it to your personal social media accounts, such as Facebook or Twitter. You could also post it to some popular platforms specifically for video sharing, such as YouTube or Vimeo. To publicize your video, tell your family and friends about it and have them share it with their followers. This is a great way to build an audience if you plan on making more videos!








Comments
0 comment