views
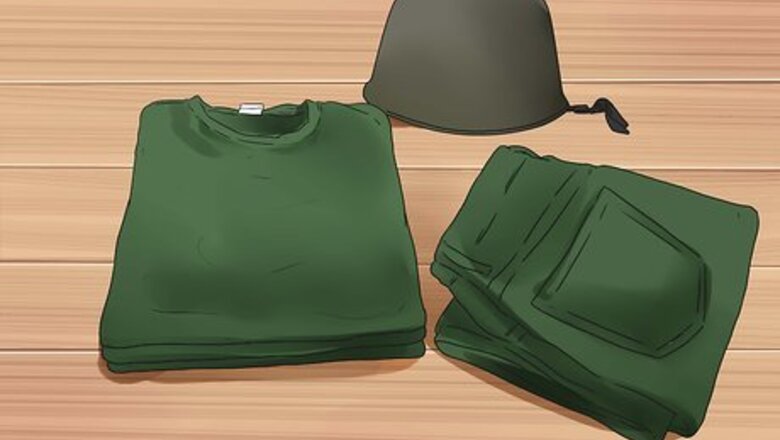
- Start with a base of a green or brown shirt, pants, and hat. Use transparent thread, like fishing line, to sew mesh all over the suit base.
- Tear up lengths of burlap for the faux foliage, and dye them green or brown with RIT dye, then let them air dry for a few hours.
- Use transparent thread to tie clumps of burlap fiber to the net of the suit, evenly distributing it and covering the underlying material. Tie on leaves or twigs for accents.
Constructing Your Materials
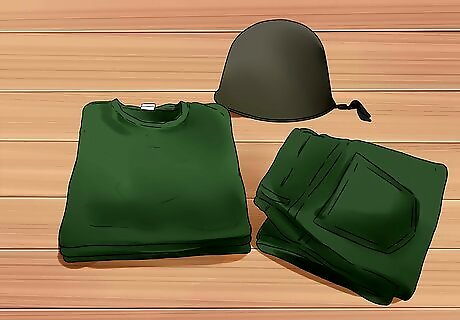
Select a usable suit to start your ghillie suit with. Though it’s easiest to start with a camouflage outfit, you can make a camo suit out of normal clothing using spray-paint and/or fabric patches that match the surroundings. An expensive suit can be bought which already has a good deal of camouflage built in. It will likely look like a basic camo with a flap on it. Cheaper suits can also be bought which only break up your outline (no camo, only a solid color), but with a few branches and such from your surrounding attached, it can blend in quite nicely. Basic ghillie suits can be bought that consist of a net poncho with flaps attached to it. This is a great start as it breaks up your outline and gives you many locations to attach items to it. Military flight suits and BDU's (Battle Dress Uniform) work very well. You might re-purpose a durable mechanic's suit or similar work outfit. Always choose base colors that will match the terrain you are trying to hide in. In a brush desert environment, a heavy green woodland suit stands out almost as badly as a city-dressed person.
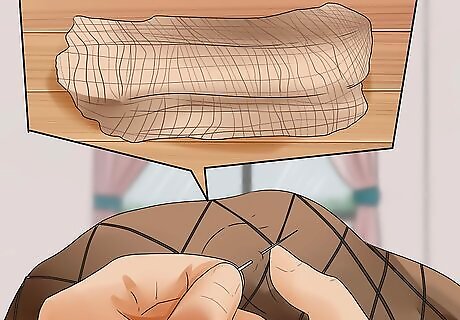
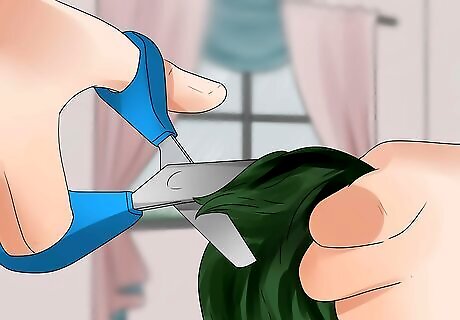
Apply the netting to your suit. Sew knots of mesh netting to the fabric with transparent thread like fishing line. Dental floss, though white, works very well and will not fray. Apply a drop of glue for extra strength. (Shoe glue works the best.) Another way to apply the mesh is to glue it onto the suit. Take mesh netting that's roughly the same size as the suit and apply glue to shoe glue to corners of the netting every couple inches. Allow to dry. With a pair of scissors, cut the mesh off around the suit, being careful not accidentally cut into parts of the suit proper. When you're done, the mesh netting shouldn't raise off the suit more than 2 inches (5.1 cm) at any one point.
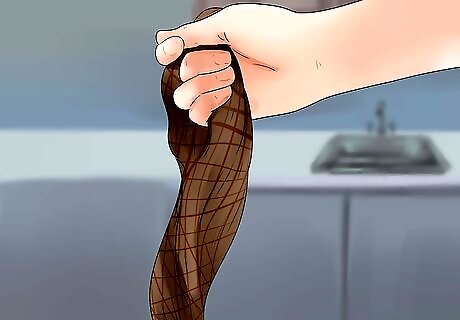
Decide on your jute. Jute is a vegetable fiber that forms the bulk of the outside camouflage of a ghillie suit. You can purchase jute twine from most supply stores, or you can simply buy a burlap sack and make the jute yourself. Here's how: Cut a large (~2'x5') rectangle out of a burlap sack. Make a cut along the upper or lower seam so that the burlap material is ready to be loosened. Sit down, anchor the sides of the burlap with your two heels, and start pulling out the burlap fibers that are running horizontal to you. Pull out enough horizontal fabric until the remaining vertical fabric is roughly the same length as the horizontal fabric you've already pulled out. When it is, take a scissor and cut the fibers off from the sack. Place these along with the rest of the fibers you've shorn from the sack. Shoot to get your burlap strands about 7" to 14" in length.
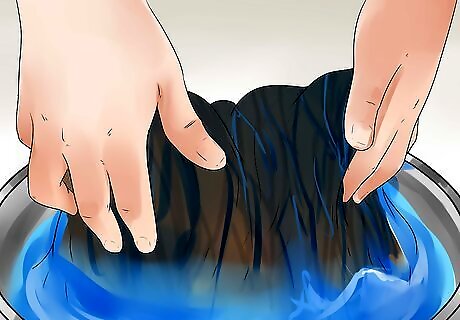
Dye the jute if it isn't already dyed (optional). If you decide to use a cheap burlap sack as your jute, you're going to want to dye the burlap the color of your surroundings. Identify greens, browns, even greys in the environment in which you'll be using the ghillie suit and match them with specific dye colors. Follow the instructions on the dye packets for staining the jute strands. Once the jute strands are dyed, run them through cold water until the water starts coming out clear. Set the strands out to dry in the sun. Don't be alarmed if the colors turn out darker right out of the dye. While they're still damp, the dye tends to look darker. As it dries, the color turns lighter. Let the jute dry completely before making a determination about the color. If you think the color is too dark and not realistic, you can submerge the fabric in a water solution diluted with bleach. Start off with a 1:10 bleach to water ratio to begin with and adjust from there.
Finishing the Suit
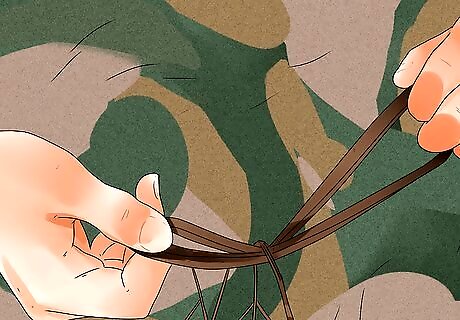
Tie clumps of jute to the netting with simple knots. Grab about 10 or so strands of jute, clump them together, and then tie them to the mesh netting using a simple overhand knot. Remember to choose 3 or 4 colors that are prevalent in the environment you'll be using your ghillie suit in. You want to try to randomize colors to avoid over saturation of one type of color in one spot. Work with clumps of a single color at a time, and place them as randomly on the suit as possible. Remember, the longer the strands, the less of a "natural terrain" look you will have.
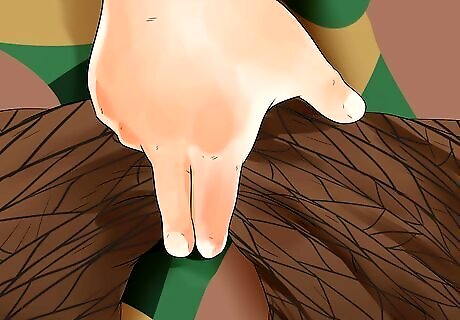
Fluff up your ghillie suit after you've done most of the jute tying to look for bald spots. Bald spots are where there's insufficient coverage, making the suit look less realistic. Pick your ghillie suit up, lightly wave it in the air, and set it back down again. Add necessary clumps of jute to any bald spots.
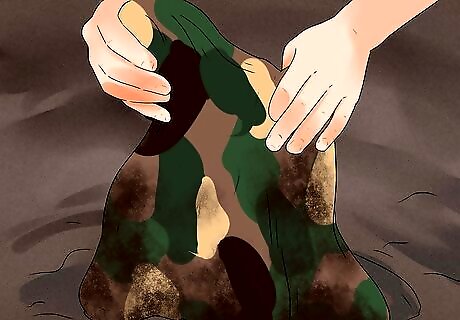
Wear in the webbing (optional). If you've done a good job dying your jute and tying it to the suit, you may not need to do this. But, at the end of the day, it really can't hurt. Wear in the webbing by dragging it behind a vehicle, soaking it in mud, or applying manure. This will help eliminate human scent, especially if the ghillie suit will be used for hunting purposes.
Make a ghillie hood (optional). There are essentially two ways to make a ghillie hood. The easiest way is to cut out an oval piece of mesh netting and simply drape it over your head like a veil. (This tends to fall off easily.) The second way is to glue an oval piece of netting over a hat, the same way you attach the mesh webbing to the suit. After you've decided on the form of your hood, use the same approach to tie clumps of jute to the suit that you used in previous steps. Weave a bit of organic material, such as shrubbery, grass, or even sticks into the mesh. Make sure that the amount of jute on the hood is proportional to the amount of jute on the suit. Lay the hood over the suit itself and see if the jute blends in. If it looks a little light, add more jute; if it looks a little heavy, take some off.
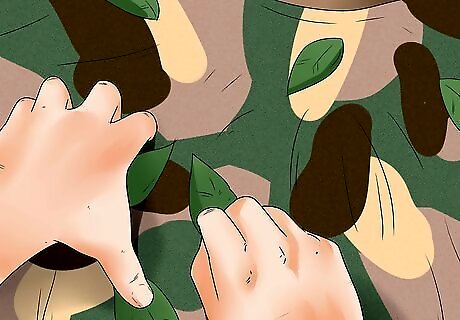
Integrate items from your surroundings to keep the best profile. Do this each time you intend on wearing the ghillie, and spend a good 15 to 20 minutes interlacing organic material from the area into the webbing. If you are in a wooded area, for example, attach small branches and leaves to the upper half of the suit and feather it to the bottom with items such as grass or twigs. Attach more items to the back of the suit than the front; sneaking in a ghillie suit usually involves crawling. Items on your stomach or chest as you belly-crawl will likely get damaged or make noise. Attach wider items around your head and neck. The human head is the most commonly identified part of the body and the shoulders and neck exaggerate the head. When standing still, your outline must be broken to prevent easy identification.
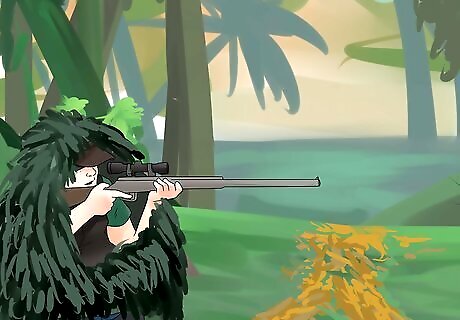
Be aware of your settings as they change. If it is possible to stay in the same kind of terrain as you get from point A to point B, do so. Otherwise, you'll have to incorporate the materials of the new setting you're moving into as you go along.


Comments
0 comment