views
Fashioning an Improvised Outdoor Slingshot
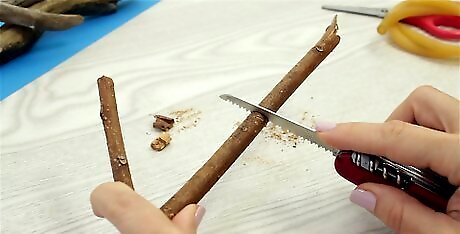
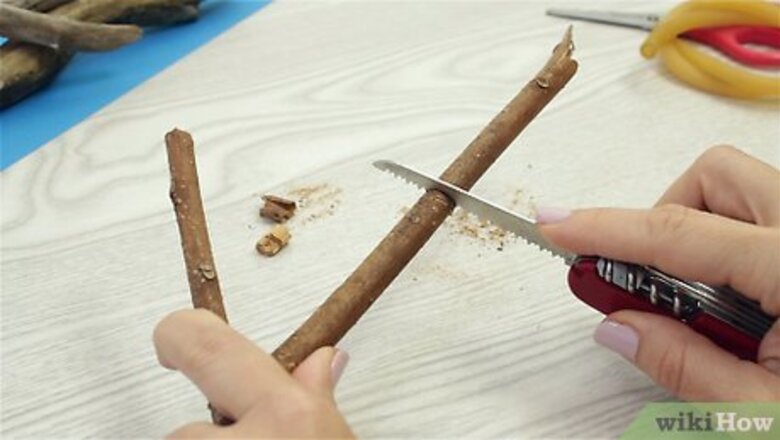
Find a sturdy, Y-shaped piece of wood. Keep your eye out for fallen branches that can be broken or whittled into the correct shape. You can use just about any type of wood to make a slingshot, provided it’s strong enough to hold up when you pull back the sling. A piece that’s roughly 6–8 inches (15–20 cm) long and 1–2 inches (2.5–5.1 cm) thick, however, will be the most comfortable and easiest to use. Search the ground near heavily wooded areas. These places will give you the most raw materials to choose from. Stripping loose, wet, or mossy bark from the outside of the wood may give you a better grip.
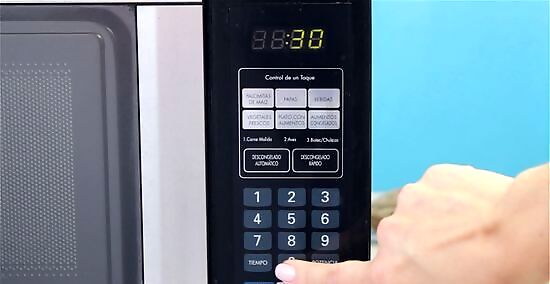
Dry out the wood. Hang the frame of your slingshot over a heat source, such as a campfire or portable stove, turning it occasionally. Allow it to dry for several hours. As it heats up, the moisture it contains will slowly be released. That means that when you use the slingshot, the frame will have less give. Be extremely careful not to burn yourself when working near an open flame. Assuming you have access to household appliances, you can also wrap the damp wood in a towel and microwave it for 30 seconds at a time until the moisture has evaporated out of it.
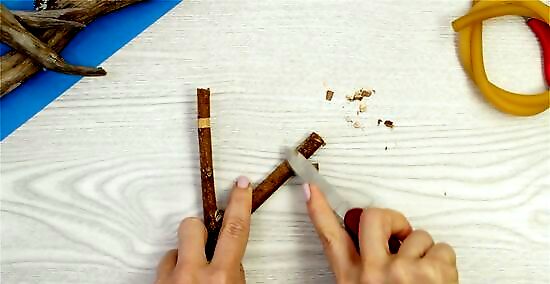
Carve a notch at the top of each prong. Use a pocket knife or a rock with sharp edges to cut a shallow groove all the way around the arms of the ‘Y.’ Make each notch about 1 inch (2.5 cm) from the top of the prongs. This will provide a neat little slot for the bands you’ll be using as the sling. If the notches are higher up on the prongs, the tension from the sling could cause them to snap. If they’re too low, the projectile you’re shooting could clip the bottom of the frame.
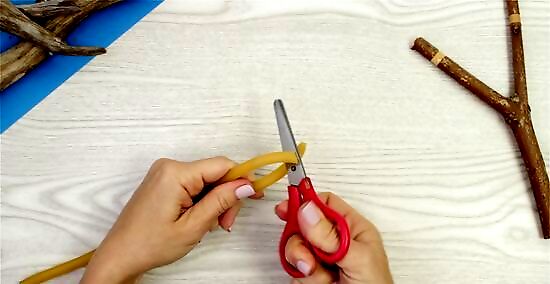
Cut an elastic band to serve as the sling. Any thick, stretchy material that you have on hand can be converted to an effective firing mechanism. Heavy rubber bands, strips of latex sheeting, and even medical tubing are all good options, and will make for a slingshot with a lot of force. Once you’ve gotten your hands on a suitable material, double it over and cut it into two identical pieces. Each piece should be approximately the same length as the frame. The exact length of the sling will depend on your preferred shooting style, as well as the materials you have to work with. A shorter sling will generate more power, but will also be more difficult to draw back. Leaving the bands a little longer will allow you to adjust the slack or start over if you make a mistake.
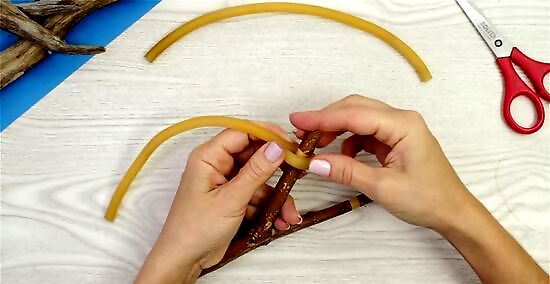
Attach the sling to the frame. Take one of the two cut bands and wind it around one of the notches you carved in the prongs earlier. Then, tie it down securely. Do the same with the remaining band. Snip off the short ends of the bands to get rid of the excess length. Your handmade slingshot is now finished! To ensure that your slingshot fires accurately, make sure the loose ends are close to the same length as possible. Otherwise, the sling will be lopsided. Test the knots around the pouch to make sure they’re secure. If one of them comes loose while you’re firing the slingshot, it could result in a painful accident.
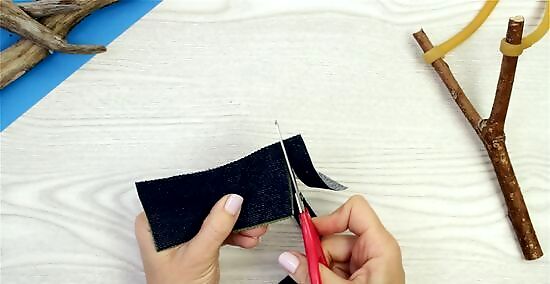
Create a makeshift pouch. Get your hands on a piece of strong cloth and trim it down to a size of about 4 inches (10 cm) wide by 2 inches (5.1 cm) high. About ⁄2 inch (1.3 cm) from each end of the rectangle, open up a hole just large enough to fit the ends of the sling through. The resulting pouch will create a nest for the projectile, holding it in place until it leaves the sling. A stiff fabric that offers some resistance, like leather or thick canvas, is ideal. Use the point of a pocket knife or similar tool to bore holes in the pouch. You can also cut a small slit in the fabric, though this may tear after a few uses.
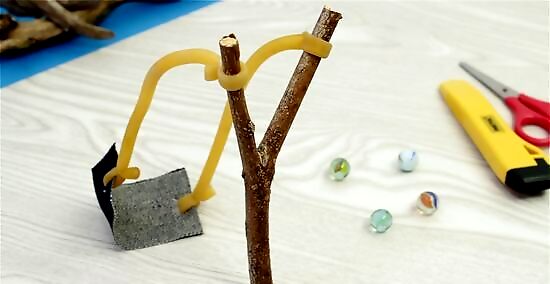
Tie the sling to the pouch. Thread the end of one band through one of the holes you punched in the pouch. Knot it tight to the outer edge. Repeat with opposite hole. The sling should now be one long piece, with the bands on either side and the pouch in the middle. If you want, you can reinforce the ends of the pouch by wrapping the bands in dental floss, then tying it off. Use a wooden slingshot to fire small stones, marbles, or metal BBs with maximum velocity. Slingshots are useful tools, but they can also be dangerous weapons. Never fire your slingshot at another person, even if you're just playing around.
Making a Slingshot from Ordinary Household Items
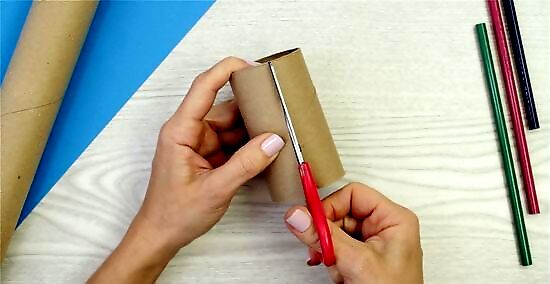
Cut a toilet paper roll in half lengthwise. Run a pair of scissors up one side of the roll so that it uncurls into a single sheet. Be sure to make only a single cut—you still want the roll to be in one piece, just open. Try not to bend or crumple the cardboard tube as you cut. The smoother the edges stay, the more manageable it will be. If you don’t have a toilet paper roll on hand, you can also cut a longer paper towel roll in half, then up through the center to open it.
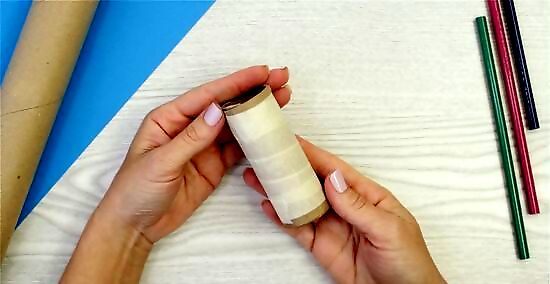
Roll up and tape the toilet paper roll. Put the ends of the roll together so that they overlap, then roll it up like a newspaper. When you’re finished, it should be about half the diameter of the original roll. Wrap a long strip of tape around the roll to secure it, leaving about 1 inch (2.5 cm) of cardboard exposed on one end. This piece will serve as the internal plunger for the slingshot, where you’ll load the projectiles. The inner toilet paper roll must be narrow enough to hold whatever sort of projectile you’ll be firing without it simply falling through. You may want to compare the sizes of both objects before taping up the tube. If it’s too wide, roll it up a little tighter until you get it just right.
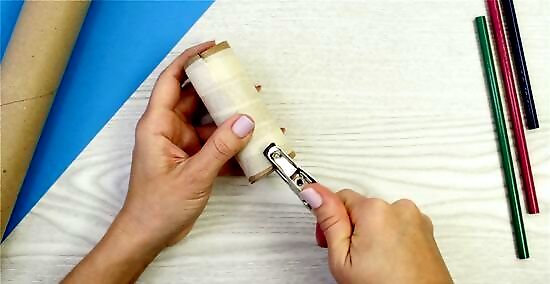
Punch two opposing holes on one end of the plunger. These holes should be just big enough to stick a pencil through. Position them directly across from one another, not on different ends of the roll. It may help to get a top-down view of the roll to make sure that they’re lined up properly. A manual hole punch will make the cleanest openings. Assuming there isn't a hole punch around, you can bore a hole using a pair of scissors or the tip of the pencil.
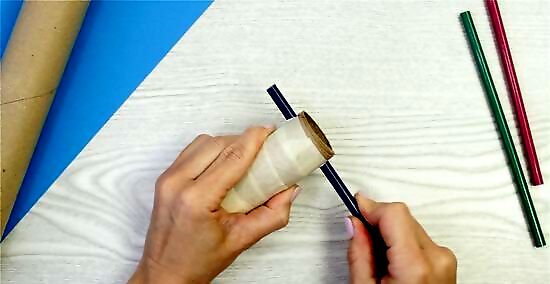
Insert a pencil through the holes in the plunger. Guide the pencil into one hole and straight out through the other. It should be perfectly centered inside the roll. Keep pushing the pencil until there’s an equal length sticking out both ends. A short, stubby utensil, such as a golf pencil, will work best, since there will be less of a chance of it breaking. Be careful not to damage the holes when you’re inserting the pencil—they should be just large enough to accommodate the pencil. If either of the holes should tear, simply turn the plunger and punch two new ones.
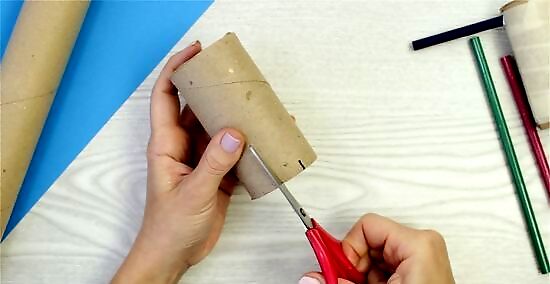
Cut a series of slits into one end of a second toilet paper roll. Use a pencil to draw two vertical lines extending about ⁄2 inch (1.3 cm) inward from the rim of the roll. These lines should be roughly a finger’s width apart. Rotate the roll and make two identical marks on the opposite side, then cut over the lines carefully with a pair of scissors. This second tube will function as the body of the slingshot, and will fit over the more slender first roll.
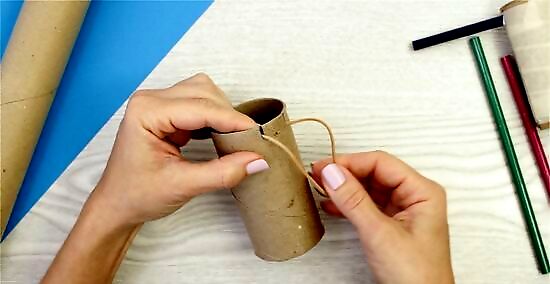
Loop a rubber band around either side of the roll. Drape the rubber bands over the notched flaps so that they sit at the bottom of the slits. For this type of slingshot to work, you’ll need one rubber band on each side. You’ll get the best results using two of the same kind of rubber band. If you’ve got no choice but to make do with what you can find, try to make sure that they’re similar in size and thickness.
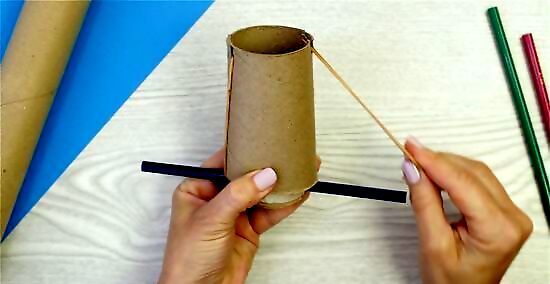
Fit the plunger into the larger toilet paper roll. Put the unmodified ends together, so that the pencil and rubber bands are on opposite sides. Slide the plunger in until the pencil rests against the edge of the grip.
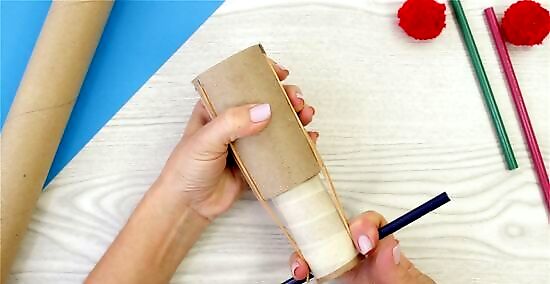
Stretch the rubber bands over the ends of the pencil. Pull the rubber bands down carefully, one at a time, to avoid bending the flaps. Now when you load a small projectile into the outer tube and draw back on the plunger using the pencil as a grip, it will sail across the room! Keep in mind that pulling too hard on the slingshot may break it—after all, the it is made of cardboard. Your homemade slingshot can launch marshmallows, foam pom-poms, or other soft projectiles for some good, clean fun.


Comments
0 comment