
views
Preparing the Garment and Workspace

Wash the garment that you plan on altering. Whether the garment is brand-new or has seen a few wears, it is important that you wash it. New garments often contain dyes and coatings that may prevent the bleach from working; you also want to remove any potential shrinkage before you start.
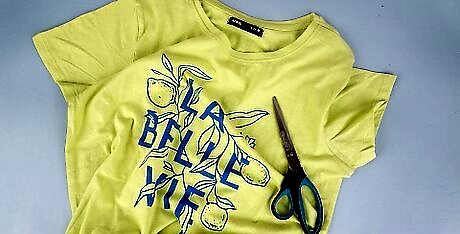
Choose a workspace that can get messy or ruined. A garage or an outdoor location would work the best, but you can use an indoor location too. If you are working indoors, choose a surface that can get scratch or stained. If there isn't one, cover it up with a cutting mat, newspaper, or plastic bags. If you plan on working with bleach, ensure that you have good ventilation. Have some rubber gloves ready.
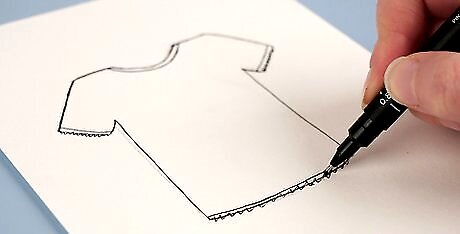
Plan out your look and much distressing you want. It is easy to get carried away when distressing clothes. Unless you want something that looks like it went through an alien war or zombie apocalypse, you want to choose only 1 or 2 things to do to your garment, such as fraying the hems and doing minor fading with bleach. Look at pictures online or in magazines to get ideas. If you know how to draw, you can sketch your ideas out instead. EXPERT TIP David Reeves David Reeves Bespoke Tailor David Reeves is a Bespoke Tailor and the Founder of Reeves: Modern English Tailoring, based in New York City. David has been in the bespoke tailoring business for over 25 years and specializes in designing and creating custom, high-end suits. David has worked with influential names in the United Kingdom and the United States such as Richard James of Savile Row, Prada, Commes Des Garcons, and Timothy Everest. David Reeves David Reeves Bespoke Tailor Achieving a vintage aesthetic requires an understanding of fashion history. To create vintage-inspired looks, blend meticulous observation of historical styles with analysis of era-specific color palettes. Study old movies for inspiration on hues and shapes. Don't just copy — analyze trends and work them into modern interpretations. Use real vintage fabrics to add authenticity to your look.
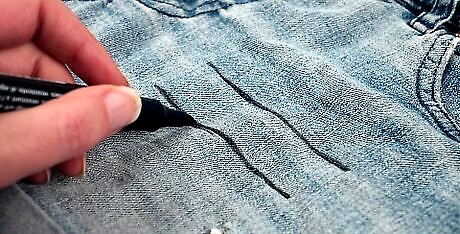
Mark your garment where you want to cut it, if desired. You don't have to do this, but it will reduce the amount of mistakes you might make. If you want to cut the sleeves off of your shirt or turn your jeans into shorts, draw some cutting guidelines. If you wish to add a hole to your jeans, put the jeans on, draw the line for the hole, then take them off. You can also use a piece of masking tape to mark off sanding areas. A piece of tailor's chalk or a dressmaker's pen will work the best, but you can use an ordinary chalk or pen if you have nothing else.
Cutting and Tearing
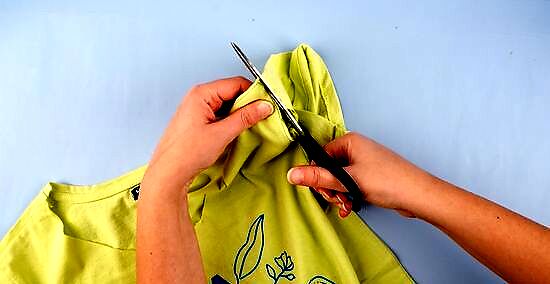
Give your T-shirt a vintage feel by cutting the hems and collar off. You can also cut the hems off of the sleeves, or cut the sleeves off all the way to create a tank top. Make your shirt shorter by cutting more off of the bottom instead of just the hem. You can even cut the collar off into a scoop-neck or a V-neck.
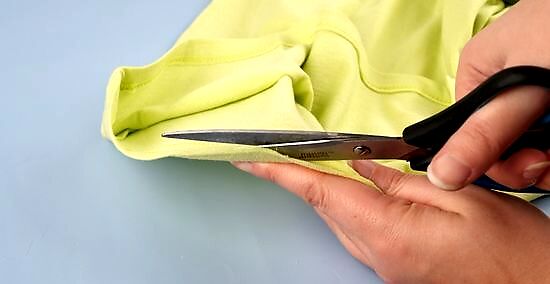
Rip the hems instead if you want to create a jagged look. Cut a small slit into the hem that you want to tear--make sure that the cut is parallel to the hem, not perpendicular. Hold the fabric to either side of the cut, then pull it apart. Keep pulling until the entire hem separates from the garment. You can use this technique on T-shirts and jeans. Use this technique to create holes in the knees of your jeans or to create cut-off shorts.
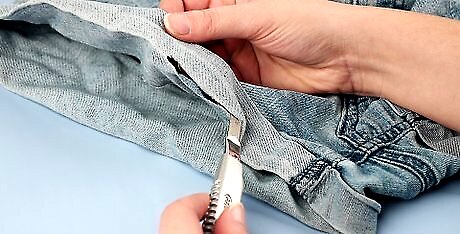
Use razor blades to nick the hems if you want a more precise design. Cut small nicks into the hem or collar of a T-shirt, or into the waistband or cuffs of a pair of pants. You can even do it on pocket hems, but tuck a piece of cardboard into the pocket so that you don't tear up the fabric behind it. Don't get too carried away with the nicks. They will fray the next time you wash the garment. For best results, cut along the edge, not against it. For a rougher look, try a serrated knife instead.
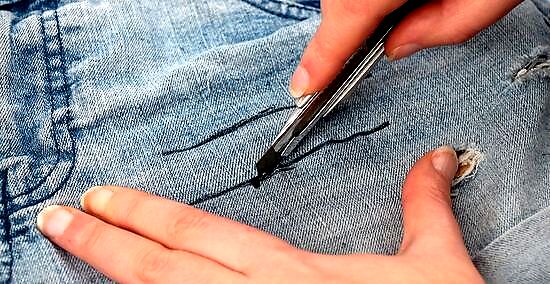
Cut holes into the knees of your jeans with razor blades. Tuck a piece of cardboard into the leg that you want to cut. Find an area that looks worn, and slice your razor blade horizontally across it. Use your fingers or tweezers to fray the cut edges.

Wash the garment after you cut or tear it. This will help soften the edges and make them look more frayed and natural. You can use the recommended setting on the care tag inside the garment, but hot water will help distress the garment even further. Be aware, however, that hot water may cause the garment to shrink, so it's best to do it on items that are already too big.
Sanding and Distressing
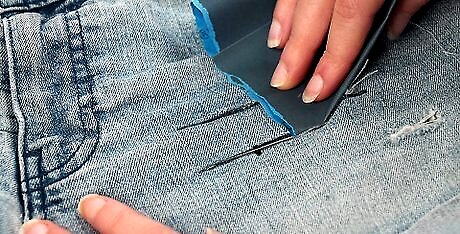
Use sandpaper to distress hems, cuffs, knees. Tuck a piece of cardboard into the garment first. This way, you won't accidentally tear up the fabric on the other side. Sand the area with sandpaper until you get the look you want. Focus on the areas that will get the most wear, such as hems, cuffs, and knees. You can sand just enough to make the fabric look fuzzy, or you can sand until you create a hole. Use coarse-grit sandpaper for tough fabrics, like denim and canvas. Use fine-grit for delicate fabric, like jersey or T-shirt.
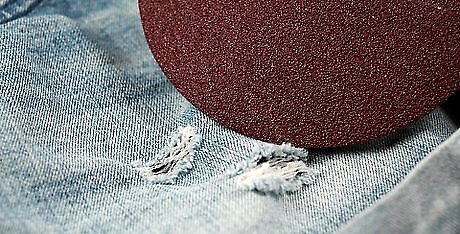
Use a rotary tool or dremel to distress tougher fabrics. Sometimes, sandpaper is not enough for tough fabrics, such as denim or canvas. In this case, you might want to try a rotary tool or dremel. Use a coarse-grit sanding drum attachment--it looks like a cylinder with a sandpapery texture. How much you sand is up to you. Again, tuck a piece of cardboard into the garment to protect the fabric on the other side. Focus on the areas that get the most wear.
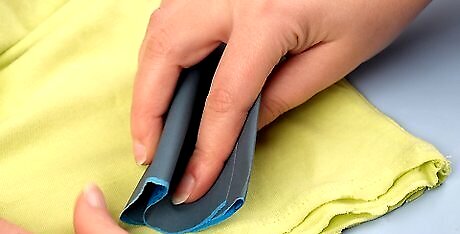
Fade prints by scuffing them with fine-grit sandpaper. Spread your shirt out on a flat surface. Take a piece of fine-grit sandpaper and move it across the print using circular motions. Move the sandpaper with the grain of the shirt to over stretching it. How much you sand the print is up to you.
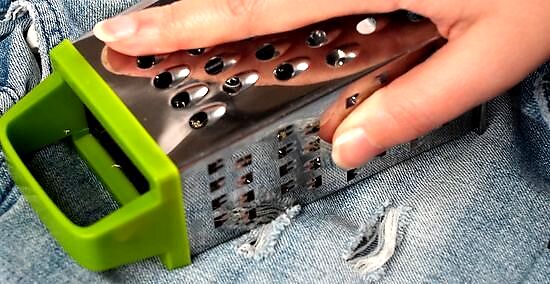
Try other rough-textured tools, such as rocks or cheese graters. Just about anything with a rough, abrasive texture can be used to wear and distress fabric. Great examples include: cheese graters, pumice stones, nail files, rocks, and wire cleaning brushes. Save the more abrasive textures, such as cheese graters and rocks, for tougher fabrics, like denim and canvas.
Bleaching and Fading

Fade clothing in a solution of bleach and water. Fill a large container with 4 3/4 quarts (4.5 L) of water, then add 1 cup (240 mL) of bleach. Put on some rubber gloves, then submerge the garment in the solution for 5 to 10 minutes. Rinse the garment with hot water, then wash it as usual. This won't be enough to turn your clothes pure white, but it will be enough to give it a faded look. Work in a well-ventilated area and remember to wear rubber gloves.

Add 1 cup (240 mL) of bleach to your laundry cycle as an alternative. Allow your machine to fill with hot water, then add 1 cup (240 mL) of bleach. Agitate the water, then wash your garment on a gentle cycle for 5 minutes. Let the article soak for 1 hour, then continue with a normal cycle. Wash the garment a second time as usual without bleach. Dry the garment as usual in the dryer or hang it out in the sun to fade it further. If you plan on cutting or ripping your clothing, do that first. The washing machine will do the rest for you.
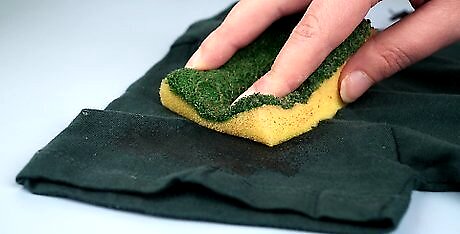
Sponge T-shirts with a bleach and water solution for a patchy fade. Pull on a pair of plastic of rubber gloves, then mix some bleach and water. Dip a sponge into the solution, then squeeze the excess out. Blot your shirt with the sponge, let it sit for a few minutes, then rinse it out. Wash your shirt in hot water, then hang it out to dry in the sun. Use equal amounts of bleach and water for a drastic effect. Use more water for a subtle effect. Work in a well-ventilated area and put on some rubber gloves.

Use hot water and sunlight if you don't want to use bleach. Make sure that your clothing can withstand hot water first by reading the wash tag. Wash your clothing in the washing machine using a regular cycle and hot water. Allow the clothing to air-dry outside in the sun to further fade them. You may have to repeat this process a few times before you get the desired effect. If you plan on cutting or ripping your clothing, do that first.

Rub jeans with coffee beans to fade them. This may sound strange, but it is effective. Due to their acidic nature, coffee beans can help fade the dye from denim. Simply take a handful of coffee beans, and rub them across the areas that you want faded, such as down the lap or the hem of the waistband. Wash the jeans afterwards with hot water.
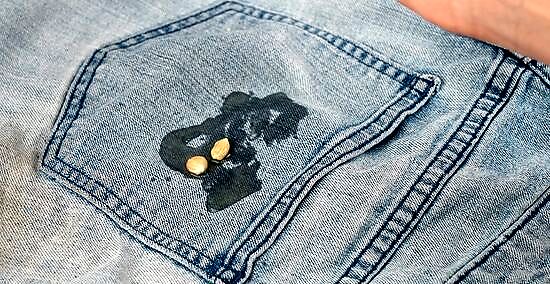
Fade your jeans with lemon juice. Soak your denim in water first, then wring the excess water out. Pour lemon juice onto the areas that you want faded, then wait a few hours until you get the look you want. Wash the jeans with plain water to stop the reaction, then hang them out in the sun to dry. Keep the jeans wet after you add the lemon juice. Tucking them into a plastic bag would work great. If you have a lot of lemons and want an all-over fade, fill a bucket with lemon juice, then put the jeans into it. Leave them there for several hours.
Using Other Methods

Wash and wear your clothing often to speed up the process. The more often you wear something, the faster it will wear out. If you need this look by a certain date, simply tearing the garment up with razors and sandpaper may not be enough. You can break in the item faster by wearing it around the house or even to bed. Be sure to wash it often!
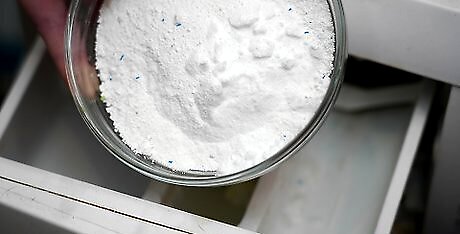
Soften T-shirts by washing them with salt and washing soda. Place your shirt and a towel into the washing machine. Let the machine fill with hot water past the load, then add 2 cups (600 g) of salt and 1/4 cup (175 g) of washing soda (sodium carbonate). Add your usual detergent and run a normal cycle (still using hot water). Dry the load in the dryer on high heat. Your shirt may shrink during this process. Start with something 1 or 2 sizes larger than what you normally wear. You will need to repeat this process 3 to 5 times before your shirt becomes soft and worn. Use sandpaper to rough up any logos or graphics after the process is done.
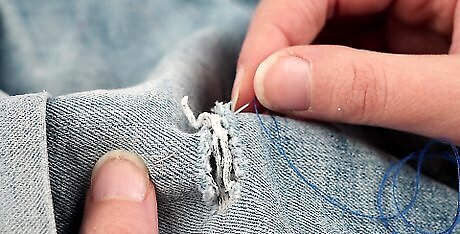
Repair things by hand rather than with a sewing machine. Instead of sewing up rips or tears on a sewing machine, do it by hand. If you get a hole, don't just iron a patch on and leave it there. Reinforce the patch by hand sewing it around the edges. This way, you get the original strength from the iron-on adhesive as well as the DIY look from the hand sewing.
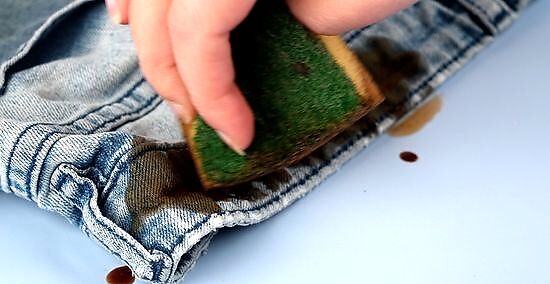
Dye garments in black tea or coffee. This is a great way to give white clothing a dingy look, but you can use it on colored clothing as well. The stronger you make the tea or coffee, the darker the color will be in the end. The weaker you make the tea or coffee, the more subtle the look will be.


Comments
0 comment