views
Preparing the Illustration
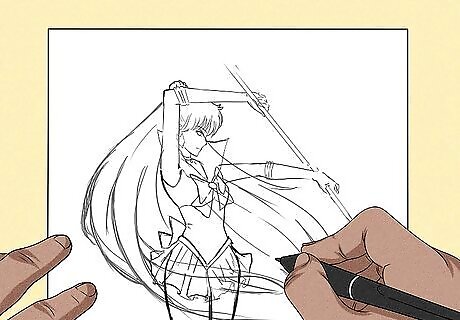
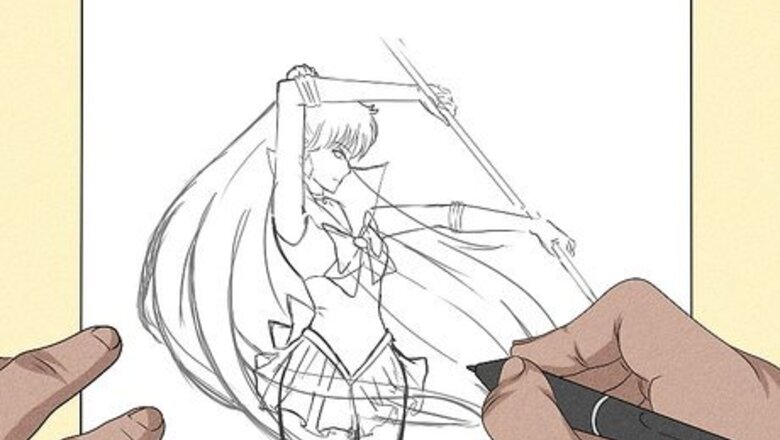
Sketch out your idea on paper. Unless you don't have a scanner, this is the best way to start. Try to get the anatomy and physiology of your subject as close as possible, but don't fret, as adjustments can be made later. Don't add too much detail such as fur or clothing texture just yet. Be sure to use pencil if you want to fix mistakes. With the sketch, getting the details right isn't as important as getting the general ideas and feel of the illustration down. The drawing will likely change a lot between this step and the final result.
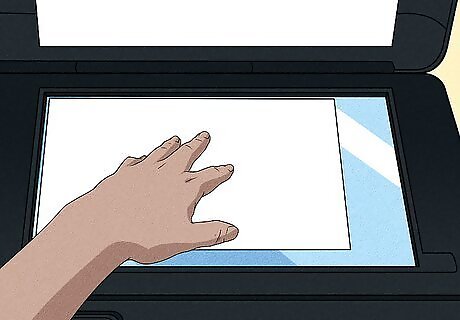
Scan your drawing. Place your drawing face down on the scanner. Close the scanner and then start the scan. Name the file once it's finished scanning and save it as a .PNG or .JPEG for the highest quality.

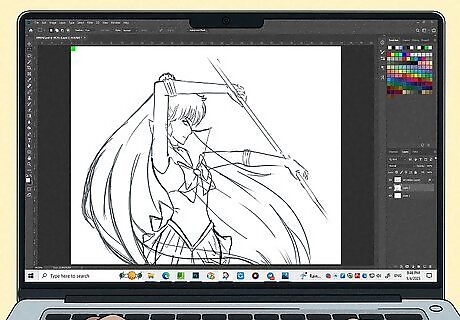
Open the file in whatever program you want to use. GIMP is good for beginners since it is free to download. It's probably not a good idea to use Microsoft Paint because of its limited features and hard to view canvas. A lot of people use Adobe Photoshop for making digital art.
Alternatively, sketch directly in the art program you're using. If you do not have a scanner, you can make your sketch directly in the program you're going to use. Plug the tablet into the computer using the cable that came with the tablet, and follow the instructions with the tablet to install the software. Open the program you chose to draw with, and connect your tablet. Then create a new file, and start sketching.
Outlining and Coloring
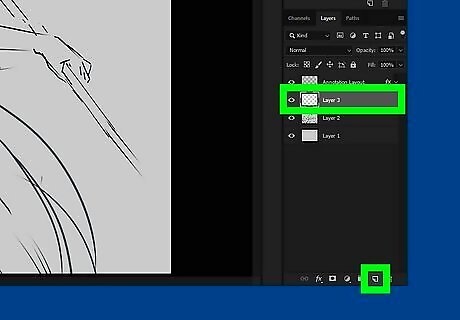
Make layers. Right now your sketch is the only layer in the file. First, create a background layer by hitting the new layer button, and using the fill-in tool to fill the transparent layer in white. Then drag that layer to the bottom, so that it's the first layer of the drawing. For each major part of the drawing, like the face, hair, clothes, and background create a new layer above your sketch layer, and name them appropriately. Multiple layers allow for more detail and flexibility without the risk of messing up the entire piece.
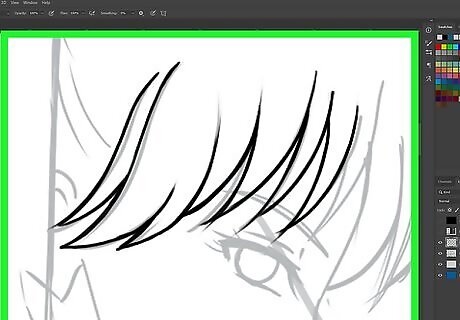
Outline the drawing. On each layer you've created, start outlining the sketch with the brush tool. Set the brush to a small size like 2 to 4 pixels. The outline will make things easier to color later on. In this step you can also fix any anatomy mistakes that you made while sketching. After outlining the whole drawing. Delete or hide the sketch layer, so you can color in the outline without being distracted by the sketchy lines of your original sketch.
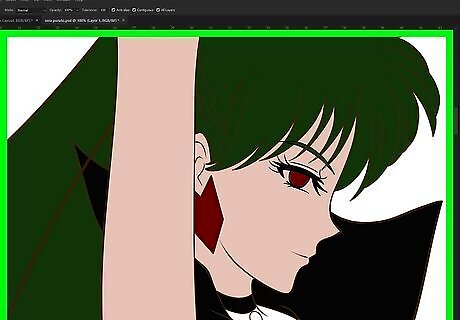
Get the basic colors in. After you've outlined your drawing, you'll need to sketch out the colors of your drawing. Use brushes of varying sizes, depending on how big of an area you're filling in, and color in all the different sections of your drawing. Just use a single color for each area, like the face, hair, and each article of clothing.
Finishing Your Art
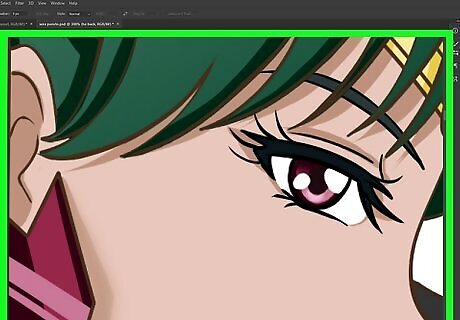
Add detail. Depending on your skills, style, and ease with the program, you can do many different things here. You can add more layers and get even more detailed, or skip straight to the shading section. Just remember that more layers are good if you want to fix one aspect of a picture and not the entire thing. This is when you can add things like more detail to the eyes, pockets, and creases in the clothing, and structure to the background.
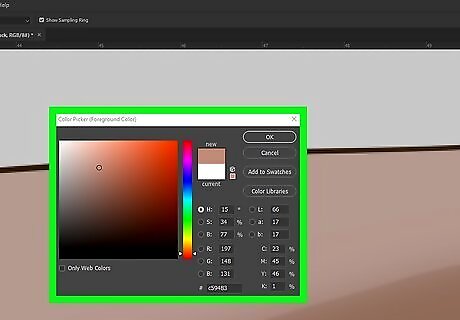
Shade your drawing. To start shading, pick the eyedropper tool and use it on the area you want to shade. Then go into the color picker and drag the color to a darker shade. Use that color and the brush tool to shade the area you're working on. Repeat to add more shading and shade the entire drawing.
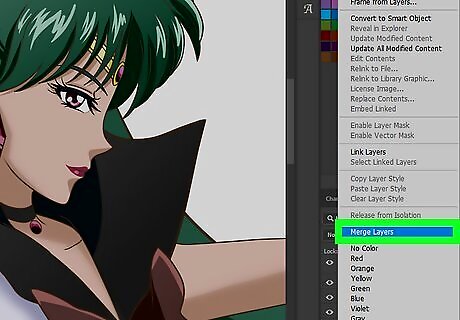
When finished, be sure to merge all the layers. First, save a copy of the file so that you can go back and work on it later if you choose. Since .PNG and.JPEG can't handle them, you'll have to merge all layers into one in order to save in those formats.
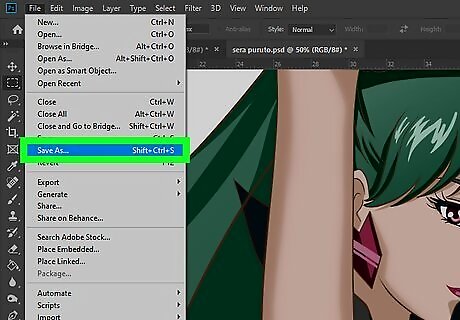
Export the file. Go to file, and save as. Save the file as a .PNG or .JPEG. If you ever want to go back and change something in the drawing, you can open the .PSD file, or whatever file type the program you have used.





Comments
0 comment