views
Pulping the Paper
Gather used paper. The texture and color of the old paper that you repurpose will directly inform the quality of the "finished" recycled paper. You can use printer paper, newspaper, (clean) napkins and tissues, photocopier paper, wrapping paper, brown paper, lined paper, and even old envelopes. Remember: the paper will shrink and contract through the soaking and drying process, so you will need to find much more scrap paper than the amount of recycled paper that you want to create. As a general rule of thumb, 4-5 sheets of newspaper should produce two small sheets of recycled paper. This ratio may vary depending on the type and thickness of the paper that you pulp. If you want your recycled paper to be "plain" with a consistent color, be mindful of the variety of scraps that you use. If you use mostly white paper scraps, for instance, your finished product will more closely resemble a standard piece of printer paper.

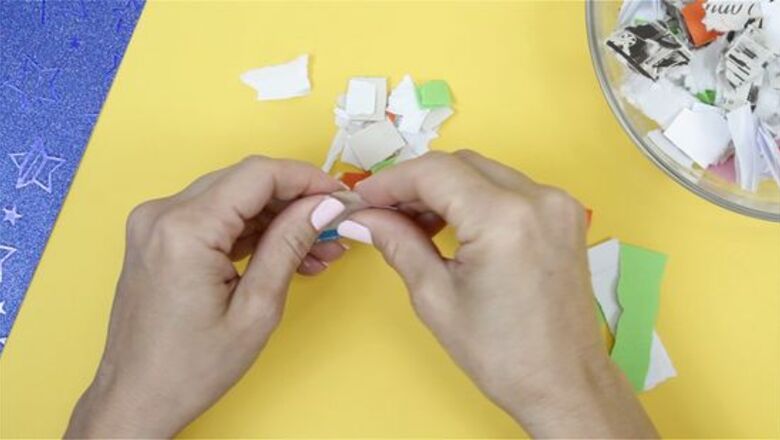
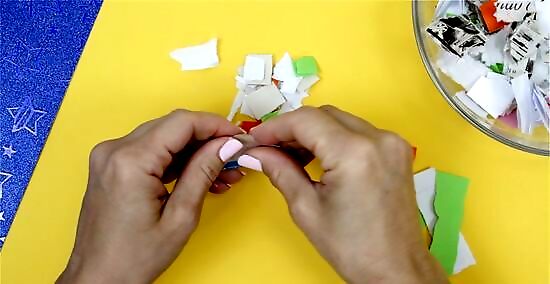
Shred the paper. Rip up your paper scraps into small, fairly equally-sized pieces – the finer, the better. If the pieces are large, then the finished product will be jumbled and chunky. Try putting the pages through a shredder, then grinding or ripping the shredded pieces into even smaller bits.
Soak the shredded paper. Place the finely ground-up scraps into a dish or a pan, and fill the container with hot water. Stir the mixture to ensure that all of the paper is thoroughly soaked. Leave the paper to stew for a few hours, stirring occasionally. Consider adding a few tablespoons of cornstarch after a few hours to firm up the consistency. This step is not mandatory, although some recycled paper crafters swear by it. If you add cornstarch, stir it thoroughly into the mix, and add a bit of hot water to aid the soaking.
Blend the soggy paper mixture. After a few hours, place two or three handfuls of the soggy paper mixture into the blender. Fill the blender about half-full with water. Turn on the blender in short bursts to break up the paper into mush. When the paper is ready to use, it will have the mushy texture of cooked oatmeal. If you don't own a blender, then shredding and soaking should suffice. However, this added act of mechanical pulping will make your finished product much smoother.
Straining the Paper
Procure a screen. You will use this device to strain the wet pulp, filtering the water from the clumps of paper. When the paper mush dries onto the screen, it will gradually congeal into recycled paper. Thus, the dimensions of the screen must match the size of the paper sheet that you want to create. A cut-out piece of window screen is ideal here – roughly 8 inches by 12 inches, or as large as you like. Try to fit a border around the screen to hold in the pulp. An old wooden picture frame will do, but you can also glue or staple thin pieces of wood around the outside of the screen to make your own "frame." If the screen is made from metal, be sure that it is not rusty. The rust may stain your paper.
Fill a pan with pulp. Use a dishpan, a baking pan, or a wide, shallow bucket. It should be at least 4-6 inches deep. Pour the pulp into the pan until it is about halfway full. Then, add water until the mixture is 3-4 inches deep. The pan should be mostly full, but not so much that the addition of the screen will make the pulp-and-water mixture spill over.

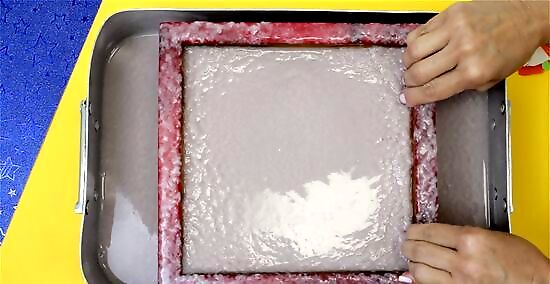
Lay the window screen into the pan. Slide it into the bottom of the pan so that it lays beneath all of the water and pulp. Gently slide the screen back and forth through the mixture to break up any clumps. Then, lift the screen straight up. The pulp should be spread evenly in a thin layer on top of the screen. Alternately: lay the screen into the bottom of the pan before you add the water and pulp. Then, pour the paper pulp over the screen. When you lift the screen out of the water, it should still sift out the pulp from the liquid.
Put the screen on a towel to drain. Make sure that the paper-side of the screen is facing up and away from the towel. The sifting process alone will not strain out all of the moisture. The pulp will still need at least another hour to drain. Leave it to dry, and do not disturb it.
Pressing the Paper
Squeeze out the excess water. After an hour has passed, lay a piece of sheet or another thin fabric on top of the pulp on the screen. Then, press down firmly on the sheet with a dry sponge to squeeze out all the excess water from the paper pulp. The goal is to transfer the paper from the screen to this sheet. The sheet should be flat, clean, dry, and unwrinkled so that it is a suitable mold for your paper.
Lift the screen and turn it over. The paper should release onto the sheet. Lay it on a flat surface to dry overnight, or for a few hours at minimum. Keep it in a warm, dry place. Try not to place the drying paper under direct heat, or very close to a powerful heating source. This might cause the paper to crinkle and dry unevenly.
Peel the paper from the sheet. When the paper pulp is dry, carefully peel it away from the cloth. You should now have a sheet of dry, firmly-pressed, functional paper! If it works, you can use the same equipment to produce as much recycled paper as you like.
Test it out. Write on the paper with pencil and pen to gauge its quality. Figure out whether it is absorbent enough; whether it is clear enough to see the words; and whether it will hold up as a durable and passable sheet of paper. If you plan to make more paper, take notes on this batch so that you can improve your product next time. If the paper grit is too rough, it's probably because you didn't grind up the pulp finely enough. If it's falling apart, then you may not have used enough water to bind the paper fibers together. If the paper is too colorful (to the point that it's difficult to see the words that you write,) then you may need to use more consistently-colored source paper. Try using all white paper next time.


Comments
0 comment