views
Determining What’s Wrong
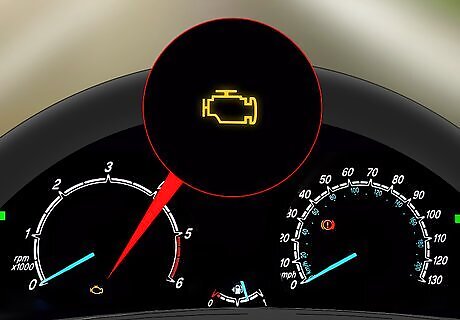
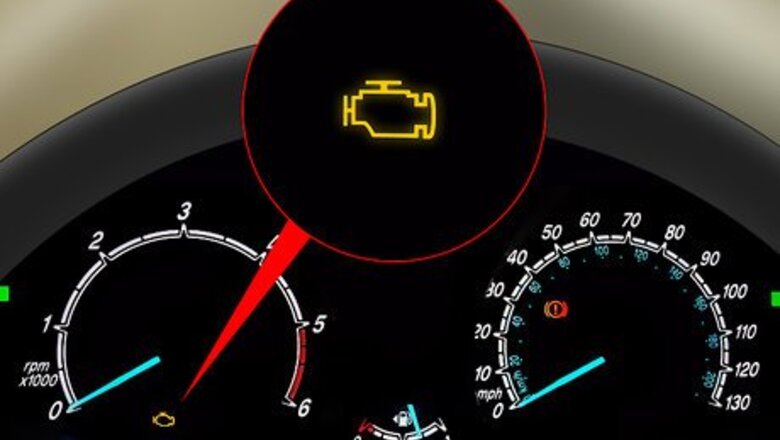
Check your dashboard for warning lights. Many problems that can come up with your vehicle prompt warning lights on your dashboard. Pay close attention to any that come on and what they do, so they can help you determine what the issue is. A flashing check engine light usually means your engine is misfiring. Having misfires occur when the engine is under an increased load (like when going up hills) is a fairly common problem. You should also look for any warnings indicating high temperature (if equipped with a temperature light) and low voltage (which looks like a battery).
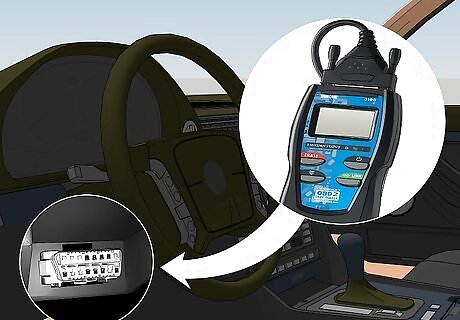
Use a code scanner to read any engine error codes on the dash. If the check engine light does come on, plug an OBDII code scanner into its port found beneath the dashboard on the driver’s side. It will look like an open trapezoid shaped plug with rounded edges. Then turn the key to the accessory position on the ignition and turn on the code scanner to scan the error codes. The error codes will be a combination of letters and numbers, but most code scanners will also provide the English description. If your scanner doesn’t show the English description, write down the code and find it in the vehicle’s repair manual or on the manufacturer’s website. Many auto parts stores will scan the error codes in your vehicle for free.
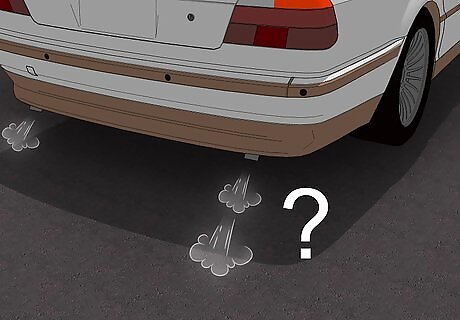
Listen for engine sputtering. If you can hear an audible sputtering coming from your engine or the exhaust, it’s probably a sign that one of the cylinders in the engine isn’t firing properly. You may need to get out of the vehicle while it’s running to hear it. Sputtering will often be accompanied by a flashing check engine light, but it doesn’t have to be. Make sure you only get out of your car while it’s running when it’s safe to do so, and with the vehicle in park (or in neutral with the parking brake engaged for vehicles equipped with a standard transmission).
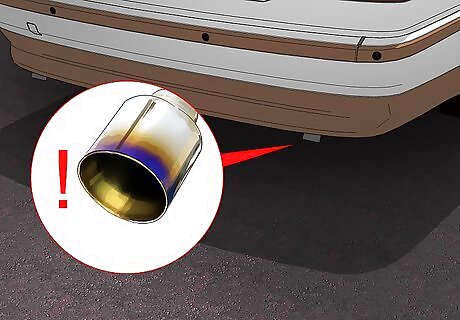
Look for a bluish hue in your exhaust. The head gasket is a seal located between the engine’s block and cylinder head. If it goes bad, the engine will suffer a loss of compression, which will really reduce the power it can produce. Blue smoke in your exhaust is a strong indicator of a blown head gasket. A blown head gasket can begin as a pinhole and grow in size and severity quickly. If you see blue smoke coming from your exhaust, stop driving the vehicle immediately.
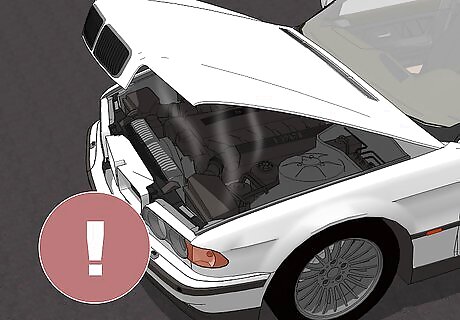
Make sure the engine isn't overheating. If your engine is overheating, it will almost certainly stop producing as much power. Many vehicles will enter “limp mode” that limits the engine to a certain RPM to protect it from damage, but others may experience power loss because of damage being done by the heat. Your temperature gauge will have clear indicators for hot and cold, as well as a middle range that’s considered normal. If the indicator goes out of the normal range and points to “hot,” the vehicle is overheating. A severely overheated engine can warp the cylinder head and drop compression in the piston cylinders, permanently reducing power output. Overheating may also be a symptom of other issues, which when combined with other symptoms you notice can point you toward the problem.
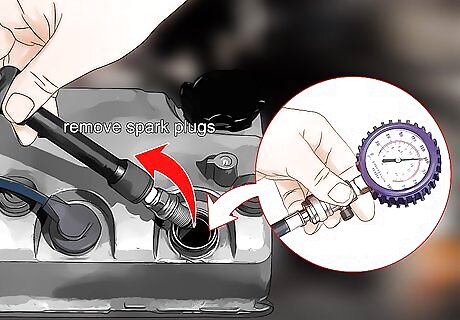
Do a compression test on the engine to determine if an issue is internal. If the code scanner indicated an issue with a particular cylinder, disconnect the spark plug wire from it, then remove the spark plug. Insert a compression tester gauge where the spark plug was, then turn the motor over 4 times. Write down the compression rating, then repeat the process for each of the other cylinders. If there’s a compression issue with the cylinder, the readings on the gauge will be much lower than it is for the others. A loss of compression may be caused by failed piston rings, a blown head gasket, or a number of other issues, but all of them will likely require removing either the cylinder head from the engine or internal work in the engine’s block, all of which may be best left to professionals.
Repairing Problems with the Vehicle
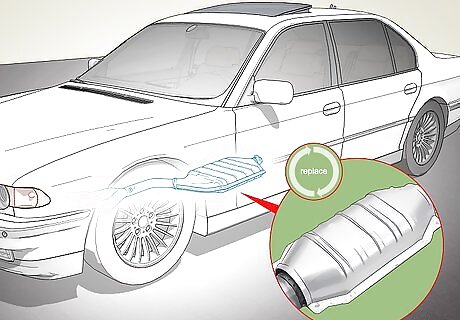
Install new catalytic converters if they’re clogged. If your code scanner indicated a problem with the vehicle’s catalytic converter(s), you’ll likely need to replace them to solve the problem. You can find the catalytic converter on the exhaust piping beneath the vehicle. It will be wider than the surrounding pipe and often covered with a metal shield. In some vehicles, you can remove the two bolts in the flange on either side of the catalytic converter to drop it from the vehicle. In others, you’ll need to cut them out with a hacksaw. If you cut the catalytic converter out, slip the new one over the exhaust piping in your vehicle and secure it in place using exhaust clamps to make sure it doesn’t leak. Tighten the clamps around the pipe by using a socket wrench to tighten the two nuts on the clamp. If your vehicle uses a flange with bolts instead, make sure to place a gasket between the flanges when installing the new one. You can get the gaskets from your local auto parts store.
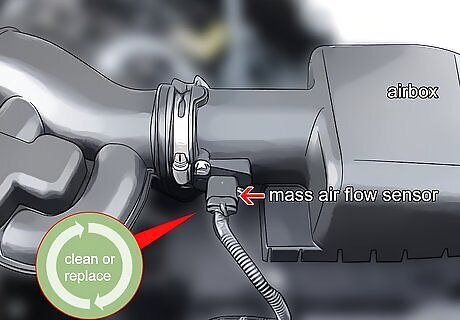
Clean or replace the mass air flow sensor if it causes an error code. If the error codes indicate an issue with your mass air flow sensor, locate it by first finding the airbox connected to the intake pipe going into the engine. Just past the box for the air filter, you’ll find wiring plugged into the mass air flow sensor. Remove it by unplugging the wires and unscrewing the screws or bolts holding it in place. Clean the mass air flow sensor by removing it and spraying it with carb cleaner, which you can get from your local auto parts store. You can replace the mass air flow sensor simply by plugging in the new one and then securing it using the screws or bolts.
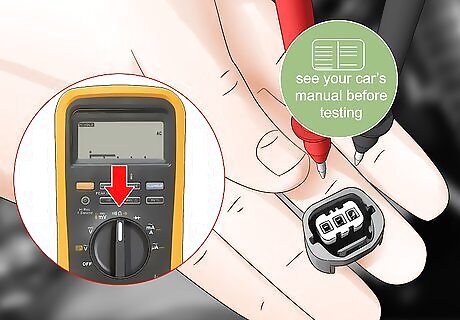
Use a multimeter to test your camshaft position sensor if it causes a check engine light. A bad camshaft position sensor can cause a reduction in power, poor fuel economy, stalling and more. First, locate it by referring to a vehicle specific repair manual, then stick the probes for your multimeter into the two leads going into the sensor, turn it on, and set it to read resistance (ohms). A reading of zero or “infinite” resistance means the sensor is bad and will need to be replaced. Compare any other readings to the specifications listed in the vehicle’s repair manual. If the resistance figures don’t match, there’s an issue with the sensor and it will need to be replaced. Replacing a camshaft position sensor requires specialized tools and may be best left to certified technicians.
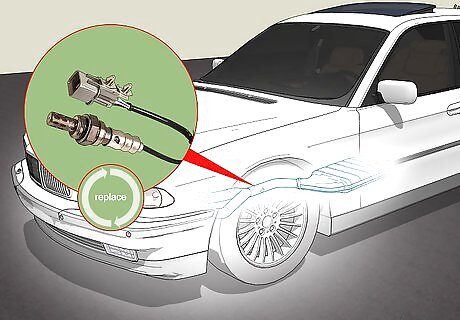
Put in new oxygen sensors if one has failed. If the error codes show a problem with an oxygen sensor in your vehicle, you can locate it by climbing beneath the car or truck and looking for where wiring runs into the exhaust piping. Disconnect the wire pigtail leading to the sensor by unplugging it, then just use the appropriate sized wrench to unscrew the sensor and slide it out. You can purchase a replacement oxygen sensor at your local auto parts store. To install the new one, connect it to the wires and then screw it back into the bung you removed the old one from.
Ensuring the Vehicle is Properly Maintained
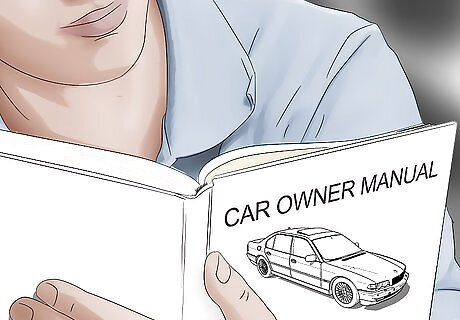
Check the owner’s manual for required maintenance. Poor maintenance can really suck the performance out of your vehicle, but many modern cars and trucks have different maintenance schedules. Use the owner’s manual to apprise yourself of the maintenance your specific vehicle requires so you can make sure to get it done. Many vehicles will break down maintenance requirements by the number of miles on the vehicle. Look at how many miles are on yours, then compare it to the list of things that should have been done. Ignoring general maintenance will sap the vehicle’s performance and reduce the lifespan of the engine. If you don’t have the owner’s manual, this information can commonly be found on the manufacturer’s website.

Change the oil every 3,000 miles unless otherwise specified. Too little or bad oil in your engine can not only reduce its power, it can lead to catastrophic engine failure. If it’s been more than 3,000 miles since your last oil change or the oil looks thick and black on the dipstick, slide a container beneath the oil pan and locate the drain plug (the only bolt sticking out of the pan). Remove the bolt and drain the oil into the container you slid beneath the vehicle. Once it’s drained, replace the drain plug and unscrew the oil filter. Screw the new one on in its place and refill the engine with the appropriate kind and amount of oil. You can find the location of your oil filter, the type of oil, and how much is needed in the vehicle’s owner’s manual.
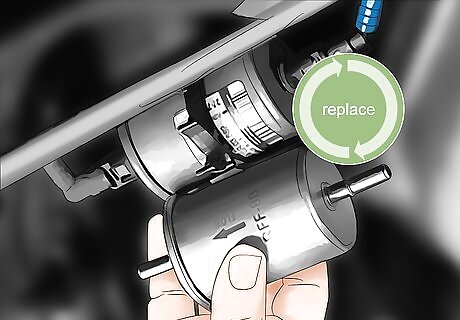
Swap in a new fuel filter if it’s not flowing. If your engine begins to struggle or even stalls on hills, then starts up and runs again after a few minutes, it’s likely because the fuel filter is getting clogged with sediment that will settle again when the engine’s not running. First, find the fuel filter along the line running from the gas tank to the engine, beneath your vehicle. Remove the plastic clips on either side of the fuel filter, then unscrew the bolt holding it in place. Slide the new filter into the bracket and reinsert the bolt. Then connect the fuel lines to either side and slide the plastic clips into place to secure them.
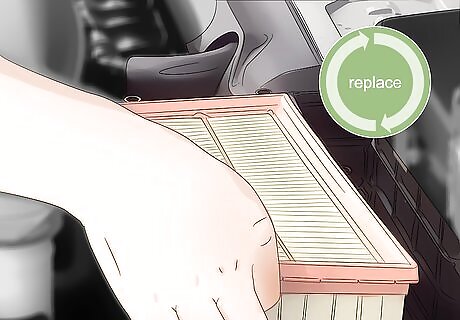
Replace the air filter if it’s dirty. A clogged air filter can dramatically reduce the amount of power an engine produces. Open the airbox by releasing the clips holding it together. The air filter should be white and clean of debris. If it’s not, you’ll need to install a replacement. If the air filter looks fine, make sure there is no debris in the air box, then close it up using the clips. A new air filter will drop into place after you remove the old one.
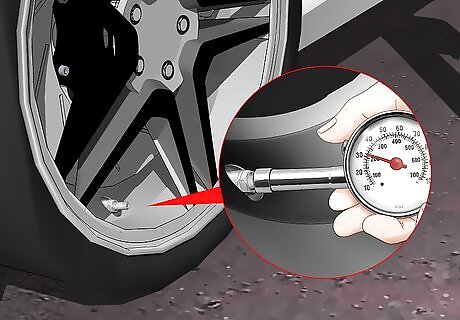
Check your tire pressure and add air if necessary. Low tire pressure increases the amount of tire coming into contact with the road, which can make the vehicle feel underpowered or sluggish. Check the air pressure in your tires using a tire gauge, then look on the side of the tire to see what the pressure rating should be. The pressure rating will be clearly indicated on the tire as “maximum pressure” followed by “PSI” for pounds per square inch. Underinflated tires are also prone to blowouts, due to damaging the sidewall as you drive. Low tires will also harm fuel economy.
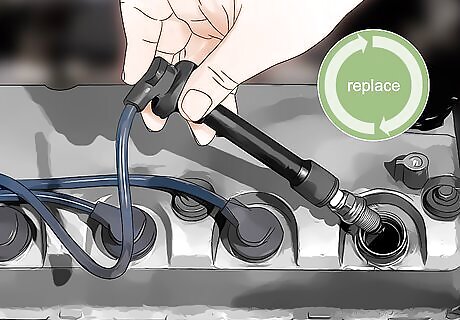
Swap in new spark plugs if they’re bad. Most vehicles need new spark plugs every 30,000 miles or so, but you should replace them any time they show signs of damage. Disconnect the plug wire going into the spark plug, then use a spark plug socket to unscrew and remove it. Once the new plug is gapped properly, just screw it in where you removed the old one. Repeat that process for each spark plug. Use a gapping tool to gap the new spark plugs before you install them. Insert the gapping tool into the gap between spark plug and its electrode, and just rotate the tool until its at the right measurement. Get the gap measurement from your vehicle’s repair manual or the manufacturer’s website. Be sure to reconnect the spark plug wires to the same cylinders you disconnected them from. EXPERT TIP Jason Shackelford Jason Shackelford Auto Technician Jason Shackelford is the Owner of Stingray Auto Repair, a family owned and operated auto repair shop with locations in Seattle and Redmond, Washington. He has over 24 years of experience in auto repair and services, and every single technician on Jason’s team has more than 10 years of experience. Jason Shackelford Jason Shackelford Auto Technician Lessening car weight improves speed and mileage. One easy way to make your car run better is to lighten it up. Taking out just 20 pounds can help it speed up and use less gas. This works because lighter cars need less power to get moving. So try cleaning out heavy stuff you don't need — extra tools, sand bags, car parts. Every pound counts when helping your car!


Comments
0 comment