views
Choosing and Prepping the Mat Board
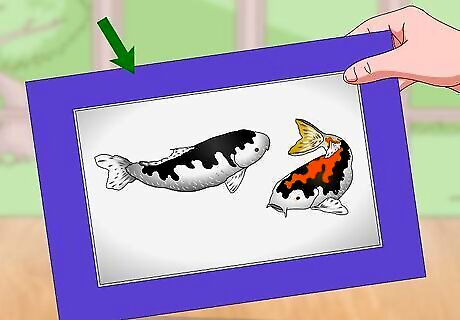
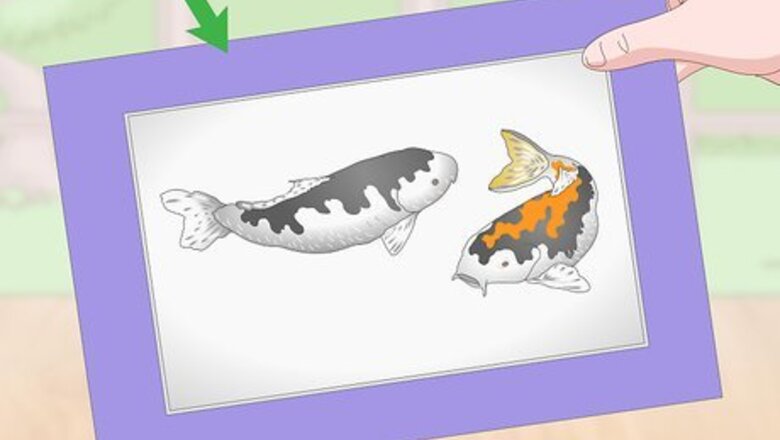
Choose a colored mat to complement the picture you want to frame. Create something that’s visually alluring by matching the color of the mat to a color in the background of the photo. For example, if your photo is of a sunset, pick a mat that is a shade of blue that matches part of the sky.
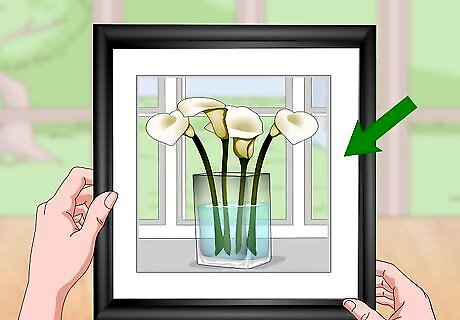
Use a white mat to make the picture pop against a dark frame. A white mat is often a classic choice, regardless of what kind of frame you use; but, if you’re using a dark frame, it can really highlight the actual photo so it doesn’t get lost. Especially if the photo itself is dark, it’s a good idea to differentiate the space between the photo and the frame. For example, if your frame is a deep mahogany wood and your picture is full of darker shades (like brown, gray, black, green, or purple), a white mat will really draw the eye to the picture itself. If you don't like white mats, any neutral color, like grey, black, or cream, is usually a safe choice.Tip: If your picture also features a lot of white, make sure to match that shade to the color of the mat so that neither part looks faded or yellowed.
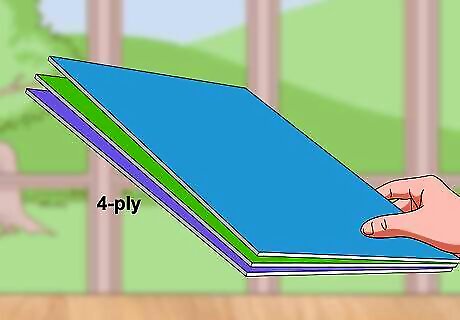
Buy a 4-ply piece of mat board for your standard-size photos. Use 8-ply for photos that are wider than 30 inches (76 cm). Visit your local craft or framing store to get all the supplies you need. Look for acid-free or archival-grade mats. You can also make your own mats at home using thin pieces of cardboard or thick pieces of crafting paper. Keep in mind that these won’t be of the same quality as an actual mat board, but they’re good substitutes if you’re looking for a quick and easy matting option, or if you just want to practice your matting technique.
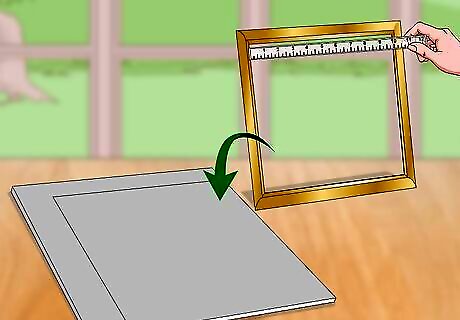
Measure the inside of the frame to get its dimensions and mark the mat. You may already know the size of the frame, especially if you bought it specifically to fit a picture. But if you don’t know, use a ruler to measure the width and height of the frame. Write down the measurements on a piece of paper so you have it to reference. Use a ruler to mark the back of the mat board where you’ll need to cut. Take your time when marking the mat. You need your measurements to be exact so that it’ll fit snug inside the frame.
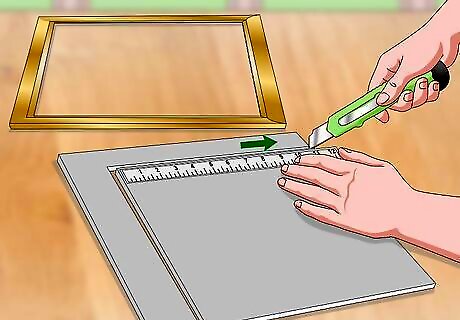
Trim the edges of the mat board so it’ll fit inside your frame of choice. Use an X-ACTO knife or something similar to carefully cut the mat board to size. Cut along the length of a metal ruler to keep your lines as straight as possible. There are special mat cutters and rulers that you can purchase if you want to. The ruler has a rubber bottom so it won’t slip while you’re cutting, and the mat cutter helps you make more precise cuts. They aren’t a requirement to mat photos, but if you do it a lot, they could come in handy. Be very careful when using any kind of cutting instrument, and make sure to work on top of a cutting board, self-healing mat, or large piece of cardboard.
Cutting the Mat
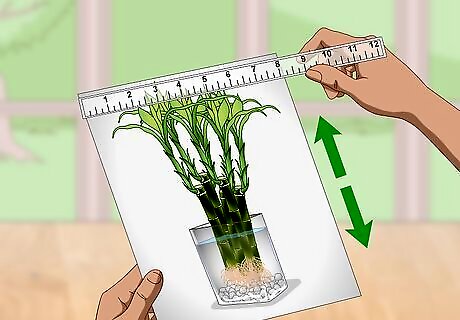
Measure how big the picture is that you need to mat. To determine where you need to cut your mat, you first need to know how big the picture is. Take your ruler and measure both the width and the height of the photo; write down your measurements on a piece of paper. If you’re framing a photo with a white border, measure from where the actual photo starts so that the white won’t be visible once it’s framed.Tip: If there is a signature beneath the picture that you want to show, make sure to take that into account when you’re taking the measurements.
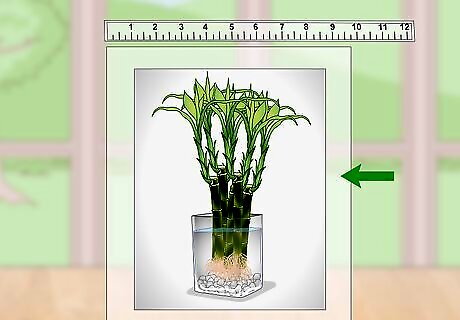
Calculate how big the border should be. Now that you know how big the picture is and how big the frame is, you can do some math to determine where you’ll need to cut the mat board. In general, you want anywhere from a ⁄2 inch (1.3 cm) border to a 2 inches (5.1 cm) border going all the way around the photo. For example: If your picture is 7 inches (18 cm) wide and 12 inches (30 cm) tall and the frame is 16 inches (41 cm) wide and 20 inches (51 cm) tall, you’ll subtract the picture’s height from the frame’s height and divide that answer by 2 to figure out where you’ll need to make your mat cuts. Similarly, you’ll subtract the picture’s width from the frame’s width and divide that answer by 2 to determine where you need to cut for the width of the mat. If your picture is a lot smaller than the frame, you’ll be left with a much bigger mat border.
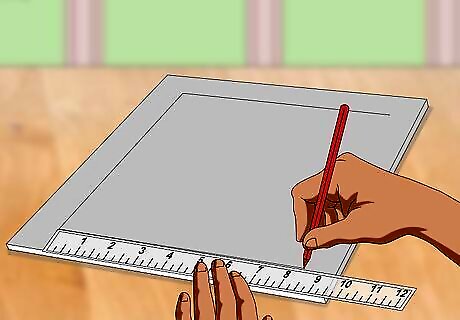
Mark the back of the mat board so you can line up your cuts. Always mark the back of the board rather than the front. If you mark on the front, you’ll have to erase your pencil lines which could change the color of the mat or ruin its appearance (especially if it’s not white). Use your metal ruler to mark off the entire square that needs to be removed to create the border for the picture. Use a pencil rather than a marker to make your notations. A marker could bleed into the mat board or could get on your hand and then transfer to the front of the board or picture later on.
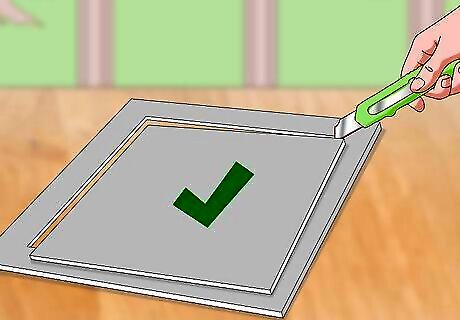
Cut out the center of the mat based on the measurements you made. Line up your metal ruler along one of the lines for the border. Use your X-ACTO knife to carefully cut along the ruler, making sure to start and stop at the intersections with the other lines. If you go too far, you’ll be cutting into the border itself and will need to start over. Cut the board on all 4 sides and then pop out the interior section to reveal the border. You can save that interior section of mat board to use on other projects. You could always make another border for a smaller picture, or use it in other crafting projects.
Mounting the Photo and the Mat
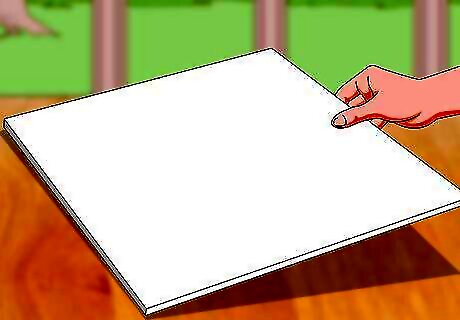
Use an archival foam core for the mount board. Using archival-grade material will protect your photo from chemicals that could potentially damage it over time. Buy this mounting board at your local craft or frame store. The mount board will sit against the back of the picture frame. It helps protect the photo and keep it in place so it doesn’t get warped over time. The “mount board” is the same thing as “foam core,” and you’ll see these terms used interchangeably on different products.
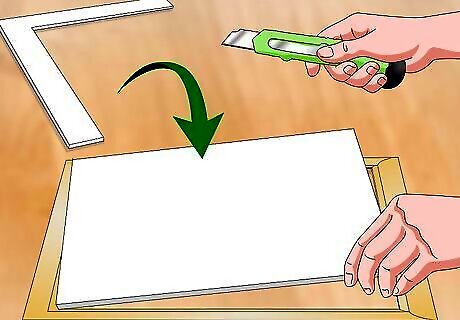
Cut the mount board to fit inside the frame of your choice. Just like you did with the mat board, you’ll need to cut the mount board down to size so it’ll fit snuggly in the picture frame. Use your metal ruler and X-ACTO knife to make your cuts. It’s really important that the mount board can’t move around in the frame, so take the time to measure and carefully cut. If it is loose, the picture will get off-center and not look right in the frame.
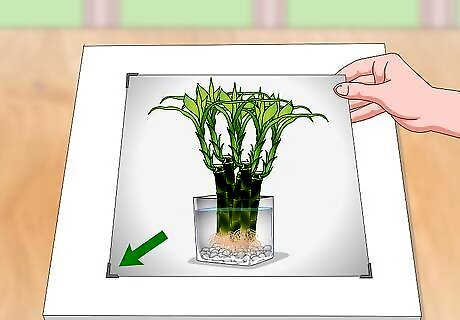
Attach the picture to the mount board with photo corners. You can buy these at your local craft store. Position the picture in the middle of the mat board. Slip a photo corner over each corner of the picture, remove the adhesive, and press the corner down onto the mat board. Photo corners make it really easy to remove and switch out the picture in the future. There’s no adhesive attached to the back of the actual picture, so there is no chance that it could get damaged. If you decide to just sandwich the picture between the mat board and the mount board, that is called a “floating mount.” If you do this, make sure there is a firm fit in the frame so that the picture doesn’t come loose and fall down.
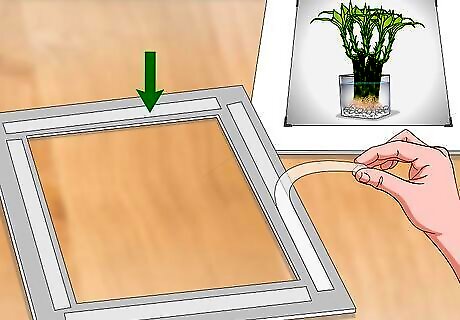
Apply a transfer adhesive to the edges of the back of the mat. Look for an archival-grade adhesive tape. Most of these come in an easy-to-use dispenser, and you can use it much like you would packing tape. Line the edges of the mat board on each side with the adhesive. You can also use: linen hinging tape, press-on mounting tabs, or archival-grade double-sided tape.
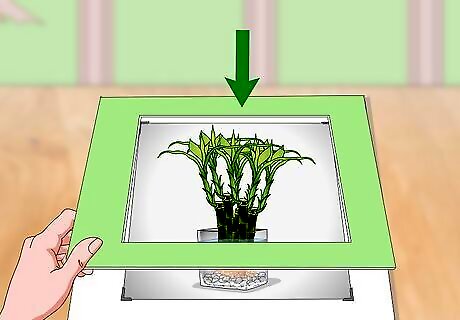
Line up the edges of the mat to the mount board and press down firmly. Be very careful to get the edges of the mat lined up perfectly with the edges of the mount board. Once it’s in position, firmly run your hands along the edges to secure the 2 pieces together.Tip: Make sure your hands are clean before you press down on the mat.
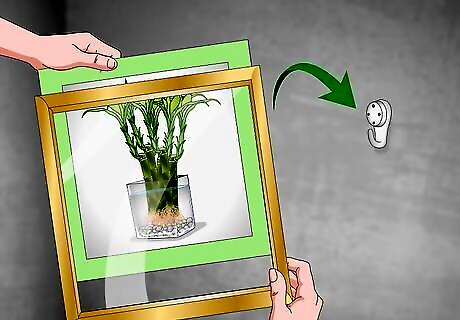
Insert the matted picture into the frame and hang up the picture. Position the matted picture so that the picture itself is facing the glass part of the frame. Put the back of the frame in place and secure it down with the available tabs. Hang or display your new framed picture and enjoy your handiwork! If you’re hanging the picture on the wall, make sure to use a level so that it’s perfectly straight.




Comments
0 comment