views
Melting Chocolate with a Double-Boiler
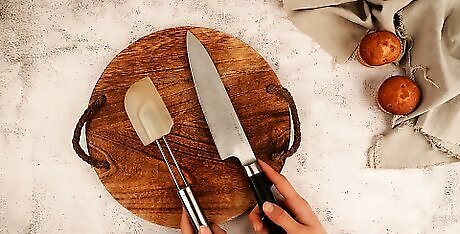
Work with clean, dry kitchen tools and dishes. Even the smallest amount of water can cause your chocolate to seize, or become dry, hard, and grainy. Before you get started, make sure your double boiler, cutting board, spoon, and any other tools you’ll use are clean, then dry them thoroughly. If you do happen to introduce a bit of water into the chocolate while melting, a little bit of vegetable oil will make the chocolate more usable, but it may still be grainy.
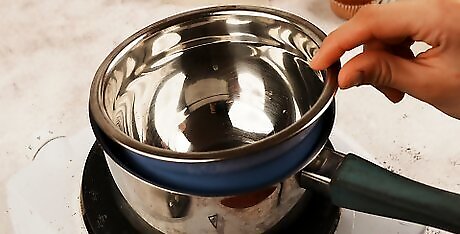
Fill the bottom of your double boiler with water and heat it. Pour enough water into the double boiler to cover the bottom of the pot, but not so much that the water touches the top bowl. Then, turn your stove to medium and heat the water until it starts to steam. If you don’t have a double boiler, place a glass, ceramic, or metal bowl over a pot of steaming water. Avoid using plastic, as it could melt or potentially release chemicals into the chocolate. If the top bowl comes into contact with the hot water, the bowl might get too hot, scorching your chocolate instead of melting it.
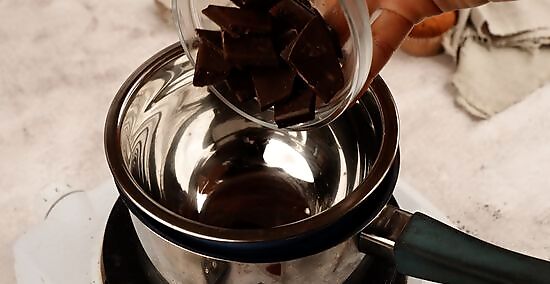
Measure the chocolate you need and add it to the top of a double boiler. As the water is heating, measure out the chocolate for your recipe and place it in the top bowl of the double boiler. Set the bowl on top of the double boiler so the chocolate can begin heating. Your chocolate will melt faster and more evenly if you chop or grate it first.
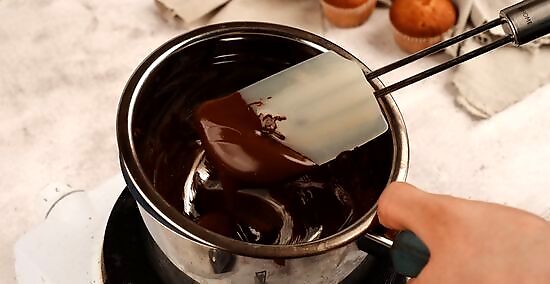
Stir the chocolate constantly until it melts. Use a spoon or a rubber spatula to move the pieces of chocolate around in the bowl, and scrape the sides and the bottom of the bowl frequently. You should see melted chocolate starting to coat the bottom of the bowl almost immediately, but it may take 5-10 minutes to fully melt the chocolate. Because chocolate is very easily burned, do not leave the room or stop stirring for too long. If the chocolate is melting too quickly and you’re concerned it will scorch, turn the heat down slightly on your stove.

Remove the bowl from the heat and use the chocolate immediately. Once it’s melted, you can use your chocolate however you like! However, it will start to set up again within just a few minutes, so use it as soon as possible. If the chocolate starts to harden before you're finished, return it to the heat and melt it again.
Using a Microwave
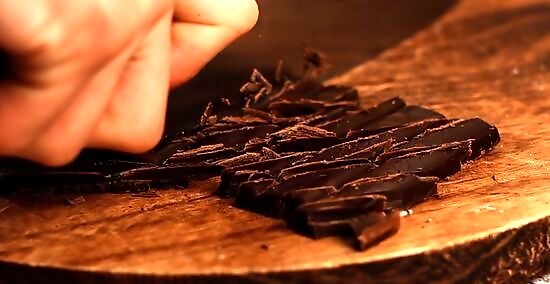
Measure out how much chocolate you want to melt and break it up. To melt chocolate in the microwave, it’s best if you break it down into smaller pieces first. You can either cut the chocolate with a knife or you can grate it with a box grater.
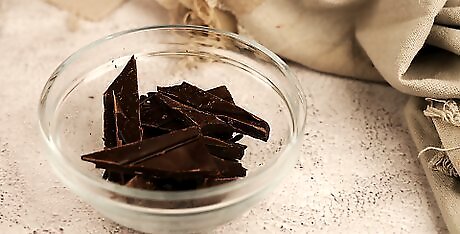
Place the chocolate into a microwave-safe bowl. Once you’ve measured and chopped your chocolate, put it into a container that’s safe to go in the microwave. Typically, these include dishes made of glass, ceramic, or plastic that’s labeled for use in a microwave. If you’re not sure if your bowl is safe to put in the microwave, check the bottom for a symbol that looks like 3 wavy lines, or one featuring a dish with wavy lines above it. These both indicate that a dish is microwave-safe. The dish may also say something like “Microwave safe” on the bottom. Using a dish that’s not microwave-safe could cause the chocolate to scorch, your dish could break, or it could even be a fire hazard.
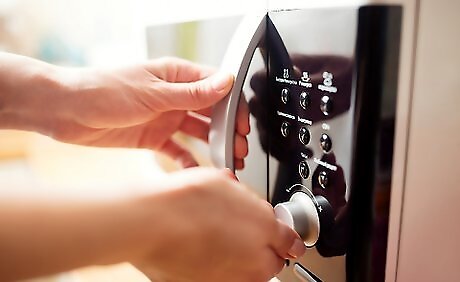
Microwave the chocolate on the lowest heat setting for 15-30 seconds. Turn the power down to the lowest heat possible on your microwave. Then, heat the chocolate for 15-30 seconds. When the timer goes off, remove the bowl from the microwave right away. Opt for 15 seconds for small pieces of chocolate, like mini chocolate chips. For larger pieces, your first blast should be closer to 30 seconds. Do not microwave the chocolate for longer than 30 seconds, or it will scorch. If the chocolate doesn’t seem melted at all after 30 seconds, change the microwave to 50% power instead.
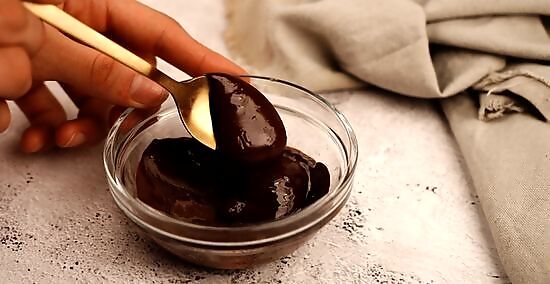
Stir the chocolate and microwave it again for 10-15 seconds, if necessary. Stir the chocolate with a wooden spoon. If there are still unmelted chunks of chocolate, heat it again for 10-15 seconds. Continue stirring and heating until the chocolate is completely smooth. Remember to double-check that the microwave is still on the lowest power after each burst. Unfortunately, there’s no way to get rid of the taste of burnt chocolate. If your chocolate does scorch, throw it out and start over.
Trying a Slow Cooker
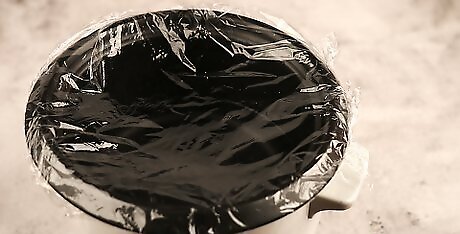
Place a liner in your slow cooker to make cleanup easy. While this step is optional, it will make it a lot easier to clean your slow cooker when you're finished with your chocolate. Just pull out one of the liners and place it into your slow cooker. When you're finished with your chocolate, just pull out the plastic liner and throw it away! You can buy liners for your slow cooker wherever most cooking and baking supplies are sold. Concerned about heating plastic? The major brands of slow cooker liners have not been found to emit phthalates or BPA.
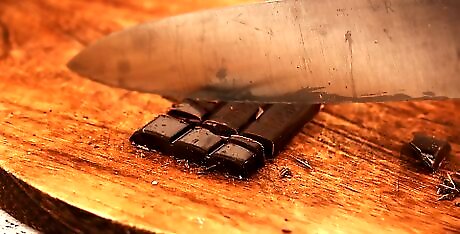
Chop bars of chocolate into uniform pieces. To ensure your chocolate melts evenly, use a knife to cut it into small pieces if it's in a bar or a block. While the exact size of the chocolate pieces doesn't make much of a difference, do try to get them all roughly the same size; otherwise, the larger pieces will take longer to melt. If you're melting chocolate chips, you don't need to chop them up. This is great for melting large amounts of chocolate, like for fondue!
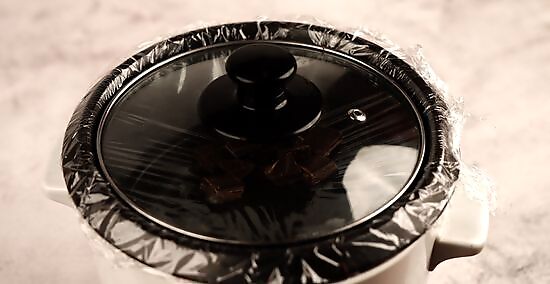
Heat the chocolate in the slow cooker on high for an hour. Spread the chocolate thinly across the bottom of the slow cooker and turn it on. Put the lid on the slow cooker and leave the chocolate undisturbed for about an hour.
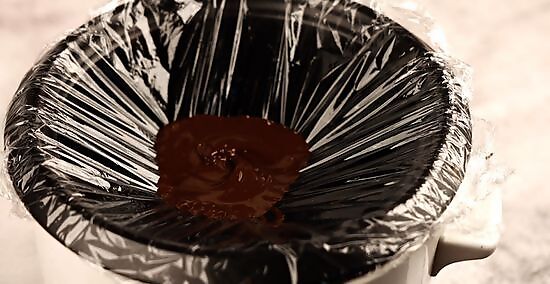
Turn the heat to low and stir the chocolate every 15 minutes for an hour. After the first hour is up, stir the chocolate with a long-handled spoon. Then, turn the slow cooker to low heat and continue cooking the chocolate. Every 15 minutes or so, stir the chocolate again. It should be fully melted after an hour. At that point, you can turn the slow cooker to warm and leave the chocolate in the slow cooker to serve, or you can pour it out if you need to use it in a recipe.




Comments
0 comment