views
Draw five circles using a pencil. Separate them in a random pattern over a sheet of watercolor paper. These will become your flower blossoms. Leave space around them for extending and embellishing the blossoms.
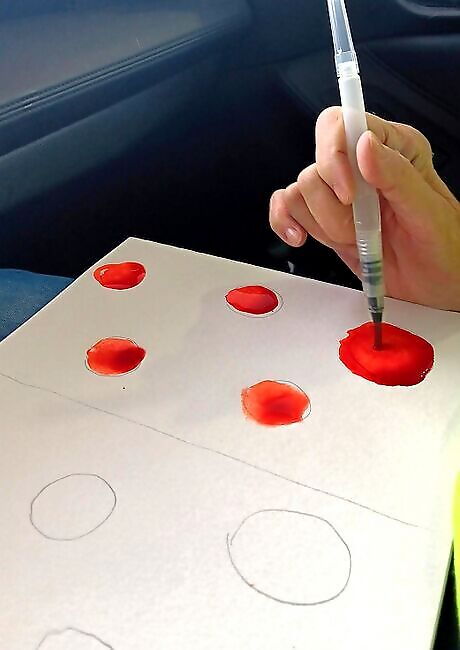
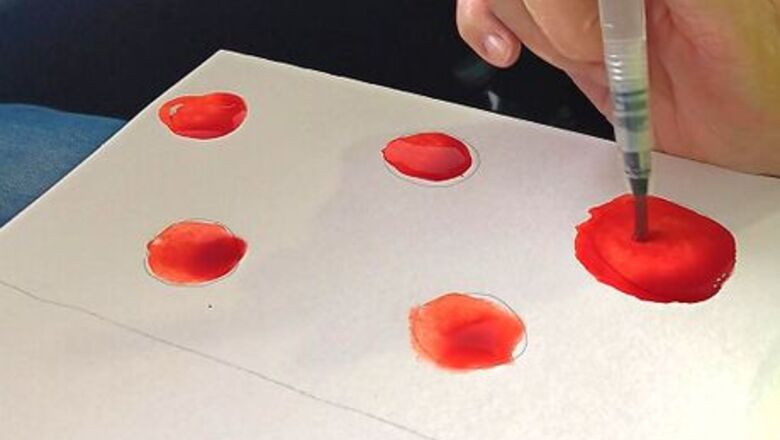
Paint the circles red. If you are using a set of watercolor paints, wet the pads of pigment with five or more generous drops of water. This activates the colors. If using tube paints, squeeze out ⅛ inch of red, green and yellow. Use a plastic plate as a palette. Wet each circle with enough clear water to form a raised layer on the paper surface. Be careful not to jiggle the paper so the water stays within each circle. Fill your pointed brush with undiluted red paint. Touch the tip of your brush to the wet circle and watch the color fill the shape on its own. Ordinary brushes are fine to use, but you can also purchase a waterbrush at an arts and crafts store or online. The handles can be filled with tap water. Give each circle enough paint to become deep red.
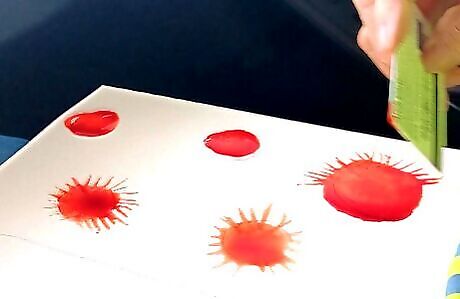
Form the spikes of your flowers. Use the corner of a credit or other plastic card and pull red from the edges outward to form a pattern of lines around the circle. Do each of the five circles, turning your paper as you go for easy accessibility. Let the flowers dry.
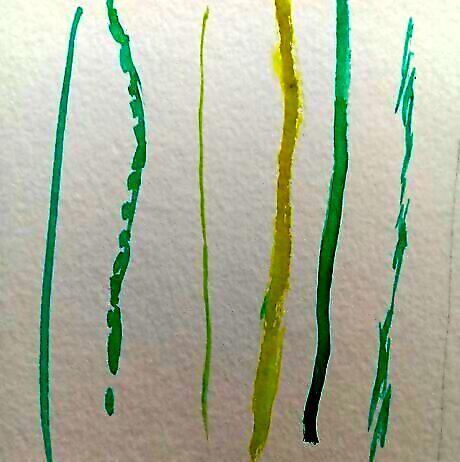
Practice stems. On a sheet of scrap paper, practice various ways to make stems. Simple, clean, lines are good. Load your pointed brush and make a fast swipe from the flower to the paper's bottom edge, going off the page. Do stems using various shades of green. Get yellow-green by mixing. Make variegated lines with your brush by adding tiny dashes and dabs to a line. Sketchy stems are done by lifting your brush every inch. Skinny stems come from light pressure on the brush and painting with the tip only.
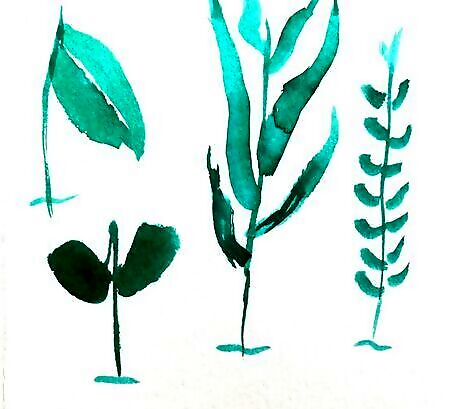
Practice leaves by following these examples. You can also gather actual leaves and copy their shapes and vein patterns. A white vein is made by painting both sections separately. Long, graceful leaves are done by using a fully loaded brush. Begin at the stem, pull paint upward and lift the brush off for a graceful point. Tiny leaves are dabs with a full brush along the stem. Juicy, fat leaves are formed by simply rubbing a circle or oval with a full brush.
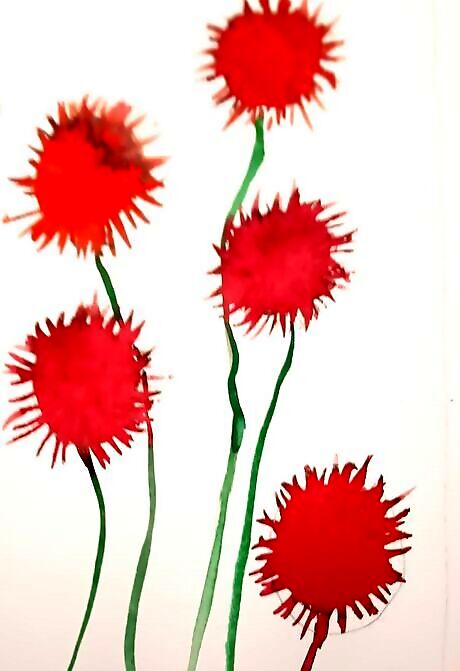
Assemble the flower. Draw green stems coming off the bottom of each red blossom. Make a slightly wavy line to mimic a growing stem.
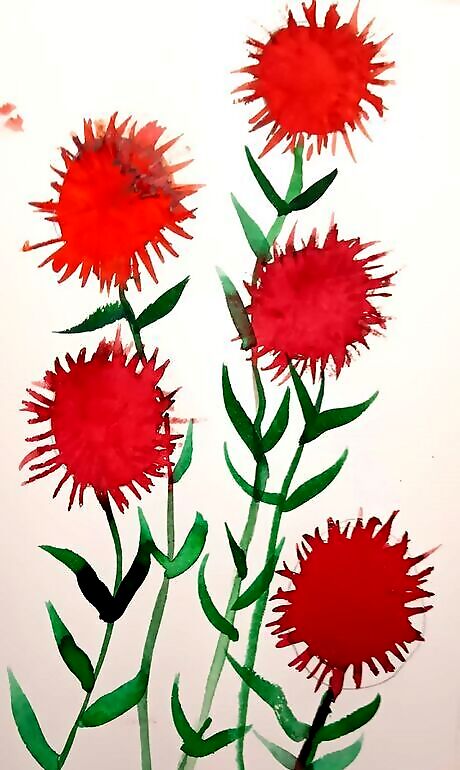
Add leaves in the negative space. Negative space is the blank areas on your page. Study the page and decide where the leaves will go.
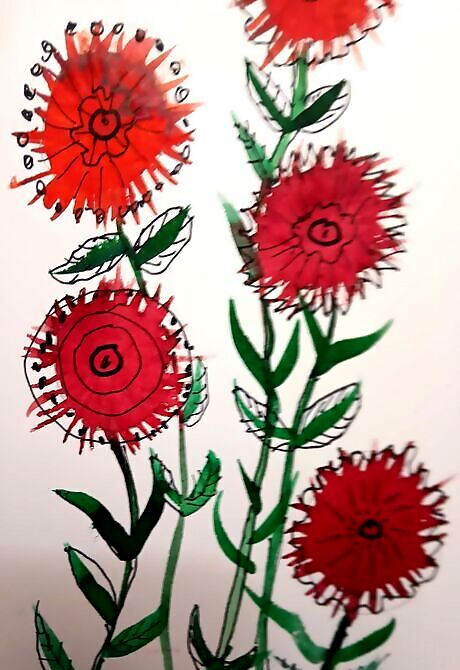
Finish the piece. Stand it up and study it. Adding details will take it from a simple representation of red flowers to giving it a unique and finished look. Do details in paint or use black marker.
Add details. This can be centers on the flowers, veins on the leaves and anything you wish to add.
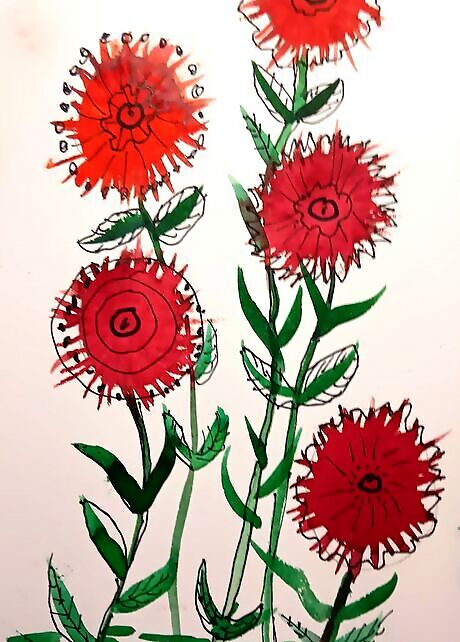
Fill in the ground beneath the flowers.
Stop while ahead. Overworking takes the life and freshness out of an artwork. Put down the supplies when the painting feels complete.
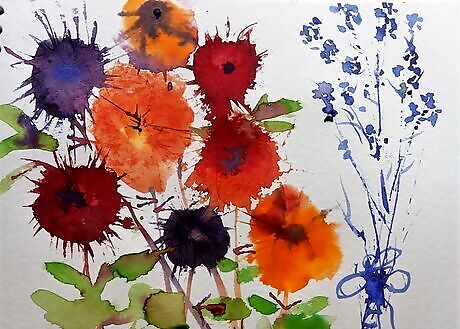
If you have more ideas, do another painting. This simple technique for painting a flower can be done again using different colors.


Comments
0 comment