
views
Getting WiFi Prioritizer
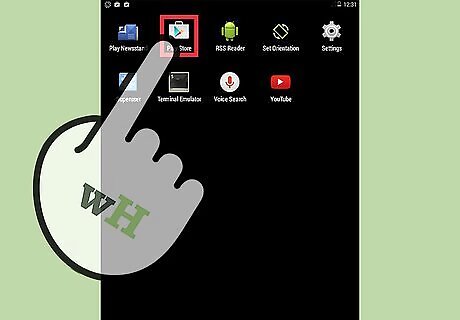
Open the Play Store. Tap on the Play Store icon on the device home screen or application drawer to launch the app. The icon will look like a small white bag with a play symbol in the middle.

Search for Wi-Fi Prioritizer. Tap the magnifying glass in the upper right-hand side of the screen. Type in “WiFi Prioritizer,” with no quotes, and hit the magnifying glass at the bottom right-hand side of the on-screen keyboard to proceed with the search.
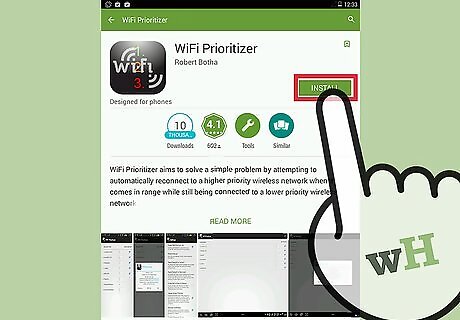
Install Wi-Fi Prioritizer. The first search result at the top of the page should be a gray box that says “Wifi,” and has “1.2.3.” going through it, inside of a white box. In the upper right-hand corner of the box should be 3 dots rising vertically. Tap the 3 dots. A small box will appear that says “Install”; tap it, and a Permissions page will appear. Tap on “Accept,” and the installation process will begin.
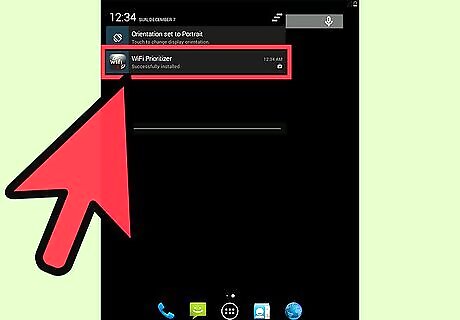
Confirm successful installation. From the top of the screen, slide a finger down to bring out the black notification bar. Under the section titled “Notifications,” there should be the “Wifi 1.2.3.” icon on the left-hand side. It should say “WiFi Prioritizer” and under it “Successfully installed.”
Changing WiFi Settings to Optimize Wi-Fi Prioritizer
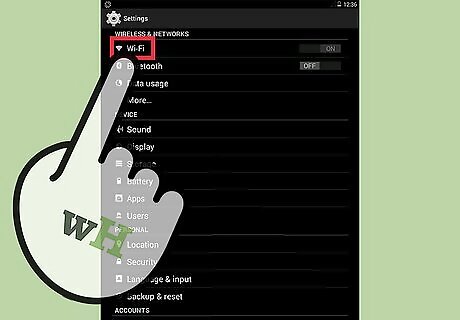
Head to your Android’s Wi-Fi Settings. Open the app drawer and tap the Settings app. The icon will look like a small gear. Once open, tap “WiFi” on the main “Connections” page then open the context menu by either tapping the device’s dedicated physical Menu key or the 3 dots in the upper right-hand corner of the screen. Tap “Advanced,” or “Advanced WiFi” for some devices.
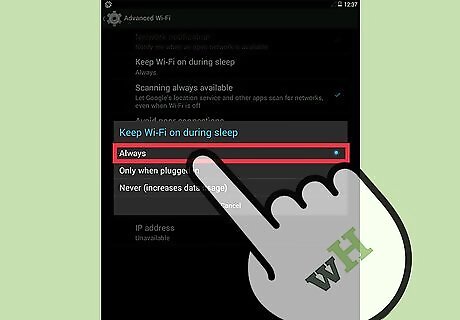
Turn on “Keep WiFi on during sleep.” On this menu are several options, but the one to look for will be “Keep WiFi on during sleep,” or “Keep WiFi on when screen is off” on some devices. Tap this option, and select “Always” or “Yes.”
Using WIFI Prioritizer
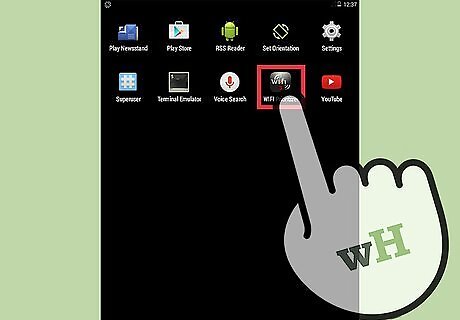
Launch Wi-Fi Prioritizer. Tap the app’s icon on your home screen, if it’s there, or in the app drawer to launch it. When Wi-Fi Prioritizer opens, there will be a list of currently saved networks on the device that appears on the screen. The name of each network will be on the left of the screen, with a small box that has 20 small lines in it to the right. This will be followed by a checkbox.
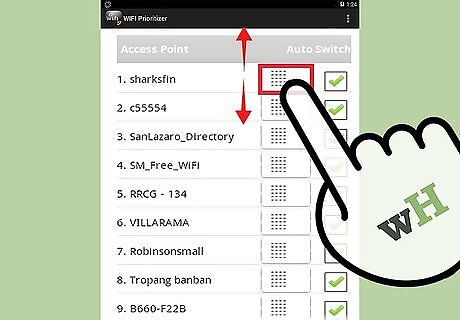
Place the Wi-Fi networks in custom order. Place a finger on the small box and slide the selection up and down the list. The higher on the list, the higher the priority, so place the most used networks at the top of the list. From now on, your Android should give priority to these networks over all others, connecting to them first.


Comments
0 comment