
Using Boiled Eggs

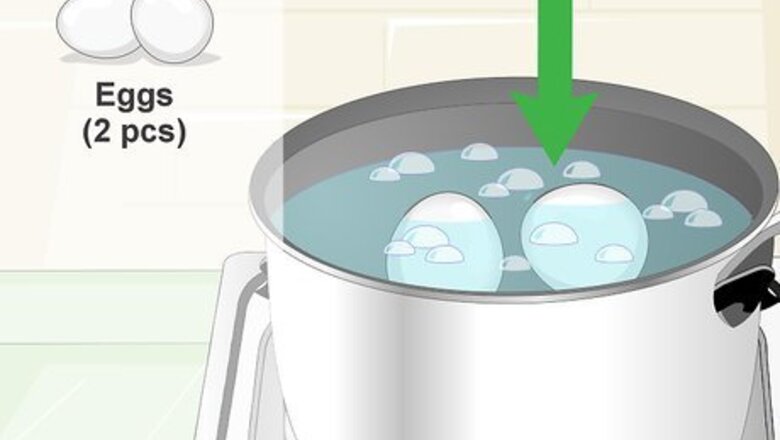
Boil two eggs. For one piece of jewelry, you will need two boiled eggs. Bring a medium pot of water to a boil, then carefully add your two eggs. Boil the eggs for 10 minutes before removing them from the heat source. If you are going to be finishing a large piece or multiple pieces of silver, you will need more eggs. Set the eggs aside to cool. You can pour out most of the boiling water and add cool water to speed the process.
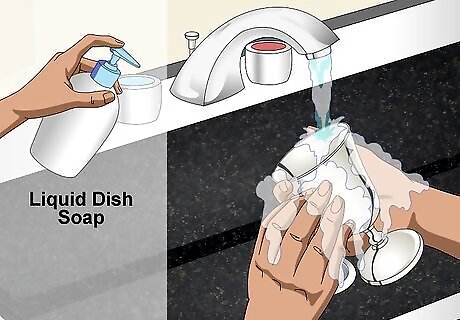
Wash the silver pieces. Use liquid dish soap and water to clean the pieces you will be antiquing. Gently scrub them with your fingertips before rinsing away the soap. Dry your silver pieces well to make sure that there is no lingering water in the crevices of the silver. The purpose of washing the pieces is to remove oils that can prevent the silver from oxidizing. After you wash the pieces, it’s better to wear gloves so that you won’t get finger oils on the silver.
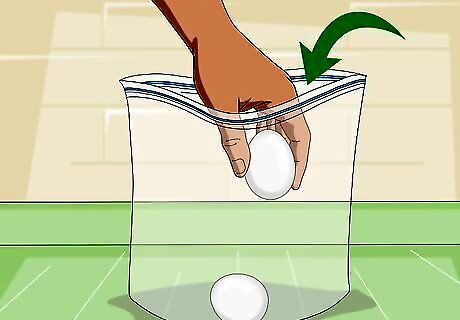
Place the eggs in a plastic baggie. Choose a sealable plastic bag that is large enough to hold both the eggs and the silver pieces you want to finish. Without peeling your eggs, add them to the bag, leaving enough room for the eggs to move around some. Ideally, the eggs should not be piled on top of each other because that will make it hard for you to mash them. If you have a lot of eggs because you are doing multiple pieces, then you can use more than one bag. If your silver piece will not fit in a bag, mash the eggs, then add them to a larger container that fits your item.
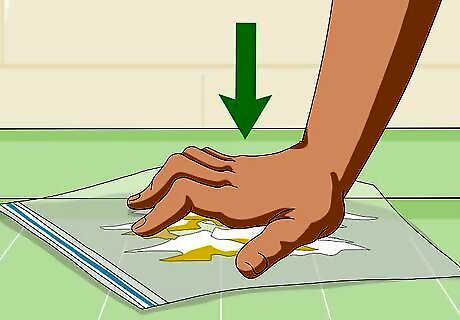
Mash the eggs. Use your hands to press the eggs, causing them to break up into small pieces. Eggs naturally contain sulfur, which will oxidize the silver. The more you press the eggs, the more sulfur you will release, meaning that the process will work more effectively.
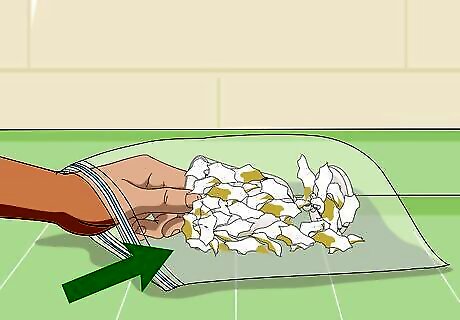
Add your silver pieces to the bag. Place the items in the bag and make sure that they are fully covered with egg. You can roll the silver around in the egg or fold the bag so that the eggs are mashed against the silver.
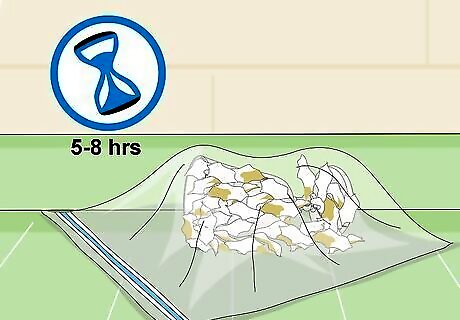
Allow the pieces to set for several hours. While you will start to see a color change after about 15 minutes, your piece will likely need to set for 5-8 hours, depending on your color preferences. If you just want a light antique finish, then the time will be shorter. For best results, check regularly to see if the color matches your desires. Don’t forget about your silver. If you leave it in the eggs for too long, then it may be damaged.
Remove and clean the silver. Knock off the pieces of egg that are stuck to your silver, then wipe it with a clean cloth or napkin. Thoroughly wash the jewelry with soap and water, making sure that all traces of the egg are gone. If you have egg left on your piece, it will start to smell. You can use a toothpick to remove bits of egg from crevices. Dry the silver once it’s completely clean.
Using Liver of Sulfur Patina

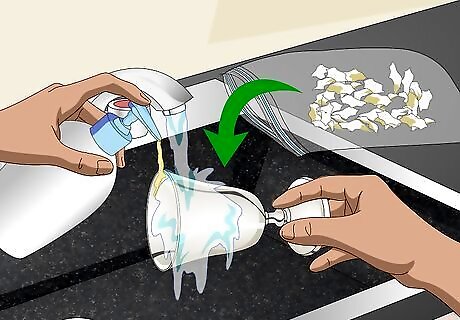
Wash your silver. Mix liquid detergent and a few drops of ammonia into a bowl of hot water. Immerse your silver and scrub away any dirt, oil, or residue that may be on the item. Use a soft bristle brush, such as a toothbrush, to work in the cleaning solution. If you don’t have ammonia, you can still wash your item with just liquid detergent.
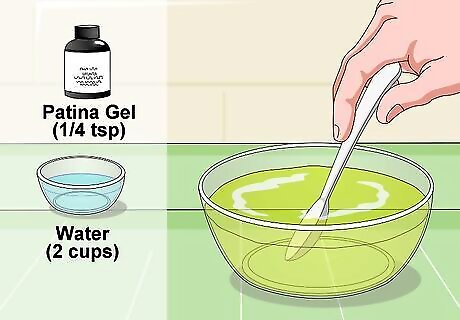
Mix liver sulfur patina into water. Add two cups (.5 liters) of water to a large bowl or container. Add ¼ teaspoon (1.25 milliliters) of patina gel to the water. Stir until the mixture is a pale yellow. A darker yellow solution will work faster, but a quick finish will not be as strong. It’s better to allow your piece to treat for longer in a weaker solution. You can purchase liver sulfur patina gel at craft supply stores or through online retailers.
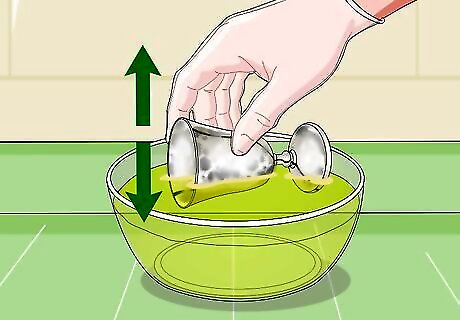
Dip your silver into the mixture and check the color. Don’t immerse your item. Instead, dip the piece into the solution then pull it out after a few seconds. The patina gel will work quickly. After you dip, check the color to see if it is your preferred finish. Wear rubber gloves while you dip the silver to protect your skin.

Continue to dip and check until you reach your desired color. You may need to dip the piece several times to reach your preferred shade, but don’t be tempted to rush the process by immersing it because a rushed process can result in an uneven or damaged finish. Only leave it in the solution for a few seconds at a time. Additionally, allowing the item to oxidize for too long can cause pitting.
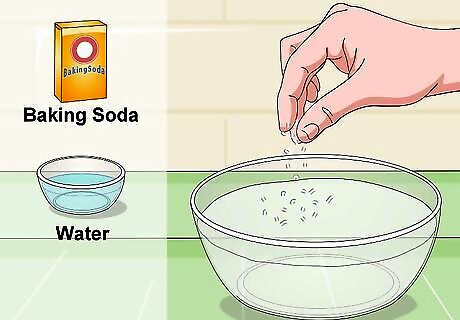
Mix baking soda into water to create a neutralizing bath. Your neutralizing bath should contain water and a small amount of baking soda. Sprinkle a few pinches of baking soda over the water, and then stir it. You don’t need much baking soda to create your solution.

Dip your piece into the neutralizing bath. You need to neutralize the patina gel or it will continue to darken your item even after you have removed it from the solution. The baking soda in your neutralizing bath will deactivate the sulfur, stopping the oxidation process. Dip the piece for a few seconds, then remove it to check the finish. Don’t allow your items to soak, as this could remove the finish you just added.
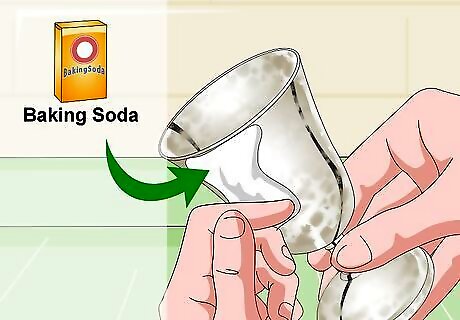
Rub baking soda onto the high points of the silver. If you want your piece to look natural, remove the finish from the high spots. Rub a small amount of baking soda onto the raised areas of your piece to restore the polish to those areas. This will make your antique finish look more natural. If you want a more consistent color or are happy with the look of your piece, you can skip this step.


Comments
0 comment