views
Adding Extensions
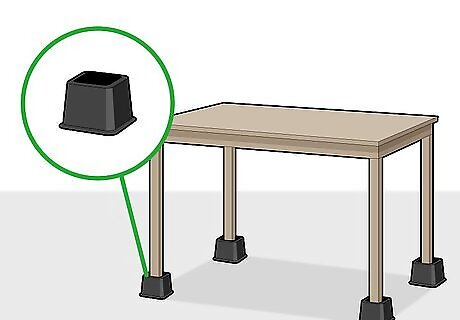
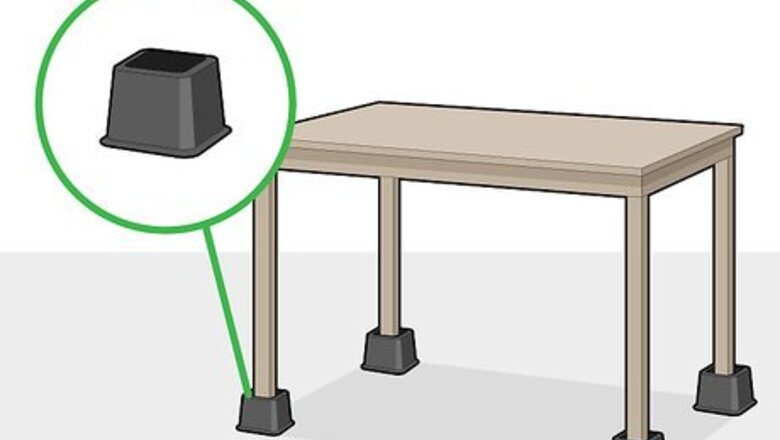
Prop up your table with bed risers. To make your table taller in a hurry, purchase leg extensions or bed risers to place under your table legs. Bed risers can be found in wood and plastic, in an assortment of sizes and shapes. Be sure to purchase a set of risers that will support the weight of your table. If you wish, paint the bed rises the same color as the table legs so they blend in. This method will work for tables of any size, made of any material.
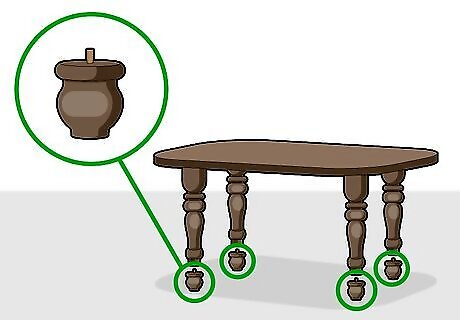
Attach bun feet to the bottom of a wooden table. Buy 4 bun feet with pre-installed hanger bolts from your local hardware store. Drill holes that are approximately 0.25 inches (0.64 cm) deep into the bottom of the table legs, then hammer in tee nuts. Screw in the bun feet until they are firmly attached and the table doesn't wobble. Buy tee nuts that fit the hanger bolts in the bun feet. Paint the bun feet the same color as the table legs so that they blend in, if desired.
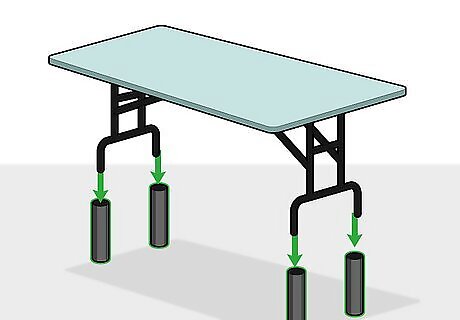
Extend the height of a metal table with PVC pipe. Buy PVC pipe that has a diameter of 2 inches (5.1 cm) from your local hardware store. Cut the PVC pipe into 4 equal pieces measuring the same height you want to add to your table. Turn your table onto its side and place the PVC pieces over each foot, then stand it up carefully. If your table legs are narrow, use a smaller width of PVC pipe.
Attaching Wooden Extensions to the Table Legs
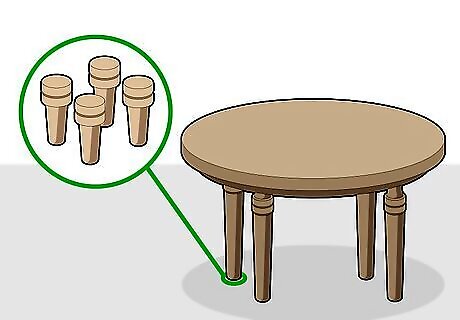
Find short wood pieces roughly the same width as your table legs. Visit your local hardware store to shop for short wood pieces to extend your table legs with. Look for pieces that are roughly the same width and the same type of wood as your table legs. Buy unfinished wood pieces or pre-made table legs that you can saw as needed. You can also look for table legs and wood pieces at flea markets, garage sales, or thrift stores.
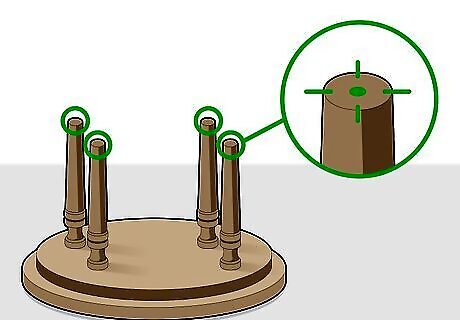
Turn the table upside down and make the center of each leg. Place your table face on the ground. Using a ruler, measure the center point of each table leg. Mark each spot with a pencil. If your table is very heavy, ask a friend or family member for help turning it over. Be careful to protect the surface of your table from nicks or scratches if you are placing it on a cement or stone floor.
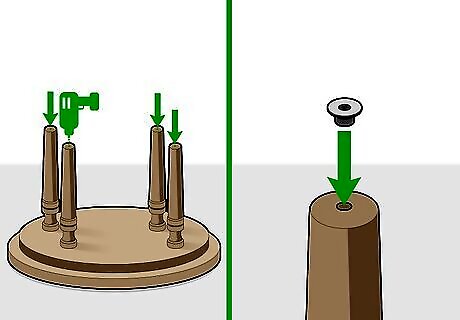
Drill holes and hammer tee nuts into the bottom of your table legs. Use an electric drill to make a hole that is approximately 0.25 inches (0.64 cm) deep at the bottom of each table leg. Insert the back of the tee nuts into the drilled holes. Use a hammer to gently pound the tee nuts into the wood. The surface of each hammer tee nut should be flush with the wood surface to ensure that it is fully inserted.
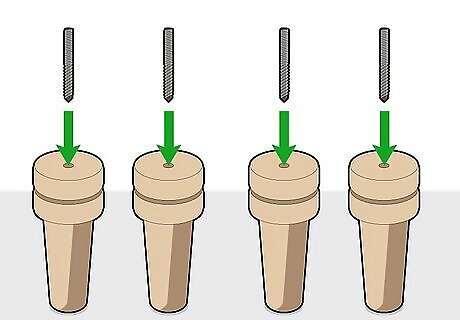
Insert hanger bolts into the center of each piece. Hanger bolts are essentially screws with bolts on the end of them. Measure and mark the center of each wooden extension. Drill a hole into each piece that is roughly half the length of your hanger bolts, then insert the screw part of the hanger bolts into the wood. Use an electric drill to screw in the hanger bolt if you have a nut driver in your driver kit. Alternatively, attach a nut around the top of the hanger bolt and use pliers to manually screw it in. Make sure the screws are long enough to go through the wood block and into the table legs. To secure the extension even more, apply premium construction adhesive before you insert the screw.
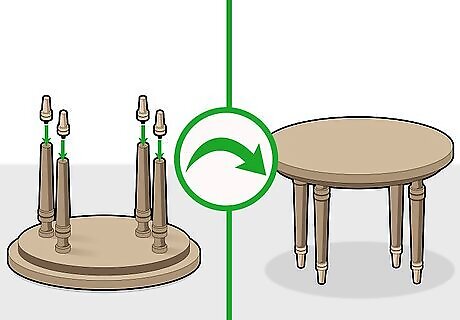
Attach each leg extension firmly and make sure the table is even. Carefully screw the bolts protruding from each wooden extension into the hammer tee nut on each leg. Continue screwing them in until you meet resistance to ensure that they are firmly attached. Turn over the table to test the evenness of the legs. Make sure that the table doesn't wobble when pressure is put on top of it, which could be a sign that the legs are uneven. If the legs are uneven, remove the extensions and re-attach them to make sure that they are screwed in properly. If necessary, you can also sand down the longer pieces to match the others.
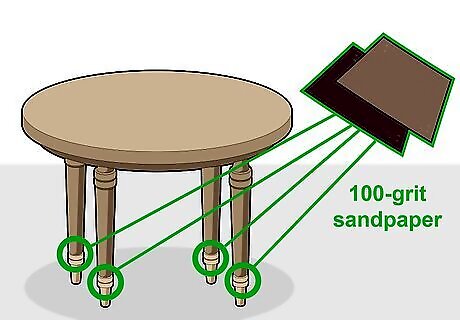
Sand around the area to make the legs look seamless. Use a piece of 100-grit sandpaper to smooth the surface of the wooden extension and the bottom of the table leg. Continue sanding until the line where the two parts meet looks seamless. Wear a mask to avoid inhaling wood particles while you sand. Remove wood dust from the table with a clean cloth. Fill in any gaps with wood filler if necessary.
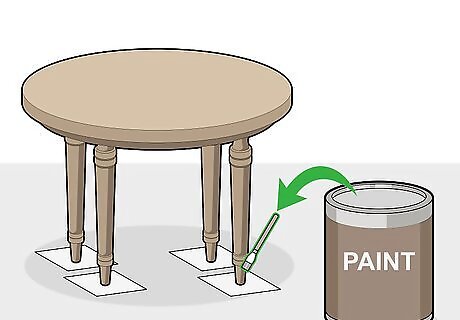
Apply paint or wood stain to the extensions to match the table legs. If possible, find the same paint or wood stain that you used to decorate your table to cover the extensions. Use a small paintbrush to apply the finish evenly. All the table legs to dry overnight before turning over the table. Place a plastic sheet under the table or around each table legs to prevent stains.
Replacing Your Table Legs
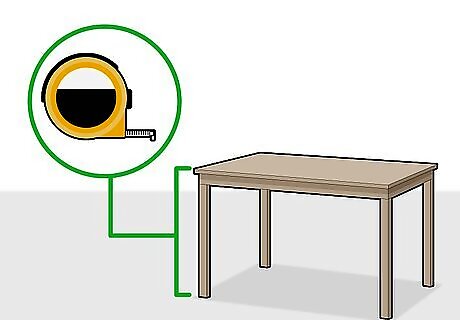
Measure your table height to see how tall the new legs should be. Use a measuring tape to check the current height of your table from top to bottom. Next, measure the height of the tabletop on its own. Use these measurements to determine how long you need the new table legs to be. Note that the height of a standard dining table is usually 30 inches (76 cm). To select new table legs that closely resemble the original ones, take a picture of the legs to bring to a hardware store. You may also opt to buy new, decorative legs that contrast your tabletop.
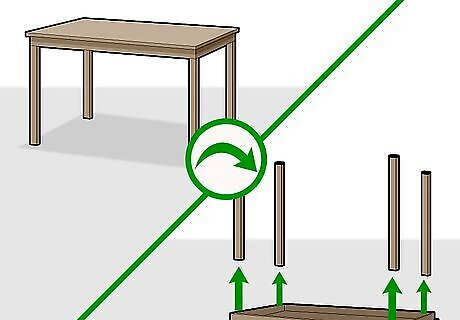
Turn the table upside down and remove the legs with an electric drill. Carefully remove all screws from the underside of the table using an electric drill. If any of the attachments are reinforced with glue, use a screwdriver to gently pry them off. If necessary, use a rubber mallet to carefully tap the sides of each leg to loosen the glue. Wear goggles while removing the screws to protect your eyes from any flying debris. If any small blocks or wood pieces are attached to the underside of the table, remove them as well. Keep the screws in case you need them to attach the new table legs.
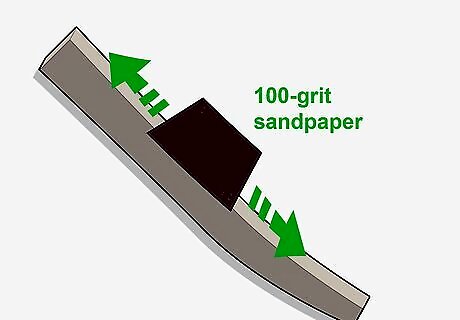
Sand and shape the new legs. Place your new table legs on an easy-to-clean surface, such as a countertop or linoleum floor. Use a 100-grit sandpaper to sand down the legs. Continue sanding to round the edges until you get the shape you want.
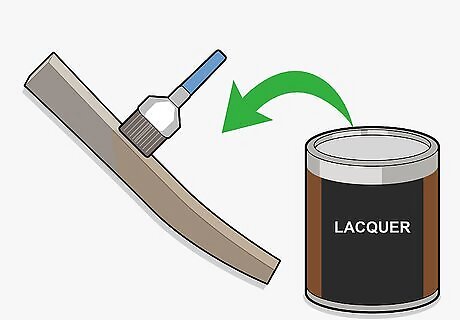
Finish the legs with stain, lacquer, or paint (optional). Place your table legs on a large plastic sheet, or another clean surface that you don't mind staining. Use a clean paint brush to apply a stain, lacquer, or paint that matches the rest of your table. Allow the legs to dry overnight before attaching them to the table. If you can't find the right finishing product to match the new legs to your table, consider repainting the entire table.
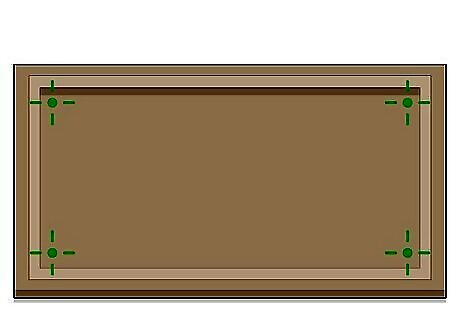
Mark evenly-spaced spots on the four corners under the table. Use a ruler to measure where you want the center of each table leg to be attached to the underside of the table. Mark each spot with a pencil. Make sure that each hole is spaced equally from the sides of the table. If the holes are not evenly spaced, erase them and start over.
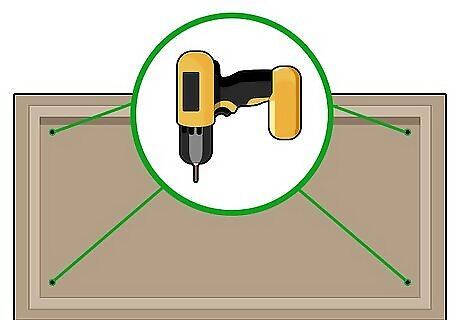
Drill holes over the pencil marks. Use an electric drill to make small holes at each of these 4 points. Line up the tip of your drill bit with each pencil mark to be as accurate as possible. Drill each hole approximately 0.25 inches (0.64 cm) deep.
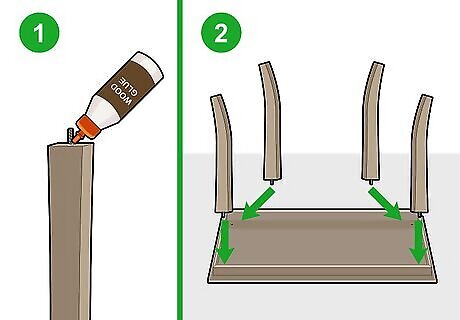
Add woodworking glue to the top of the legs and screw them in. Add a few rings of woodworking glue around the hanger bolts for extra reinforcement when attaching the table legs. Slowly screw each leg into each of the 4 corners of the table. Stop when you meet resistance and the leg is firmly attached.
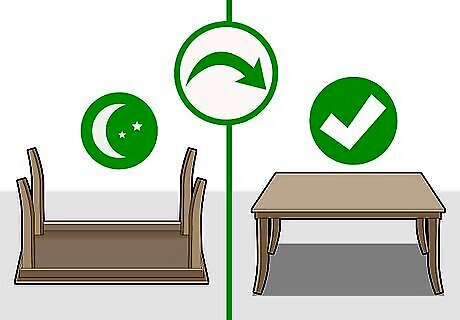
Allow the glue to dry overnight before turning over the table. It is best to let the woodworking glue dry completely before moving the table to make sure it bonds properly. Let the table sit overnight, or for 6-8 hours. After this drying period, you can turn over the table carefully and use it normally. Putting weight on your table before the glue dries could loosen the legs and make the table wobbly.





Comments
0 comment