views
Cleaning and Oiling Teak
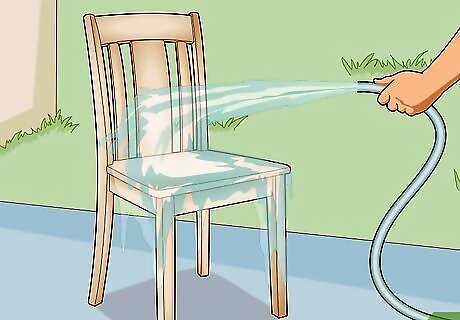
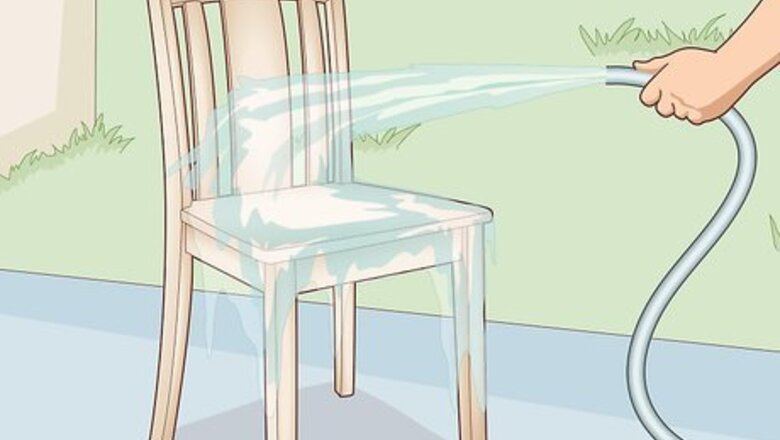
Wet the teak with clean water. Use a garden hose to wet down your grayed teak furniture or boat decking and trim. Don’t use a power washer, as the high water pressure may damage the wood. Unprotected teak that’s left outdoors—like outdoor furniture or boat decking—develops a grayish color within about a year. Some people like this gray patina, and it’s fine to leave it as-is. The grayish layer is usually thin, however, so the teak’s rich brown coloring is just a good scrubbing away! Teak that’s kept indoors won’t need to be cleaned in this fashion.
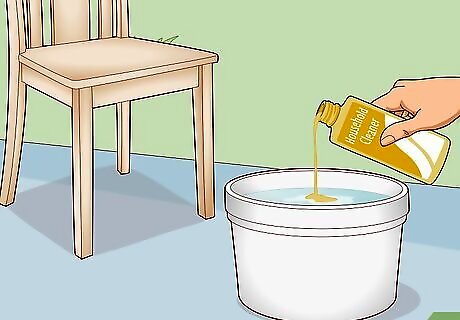
Mix a bleach-free household cleaner with water in a bucket. Any brand of multipurpose household cleaner works here, so long as it doesn’t contain bleach. Use the product instructions to mix your chosen cleaner in the correct ratio with warm water in a cleaning bucket. Multipurpose household cleaners typically don’t contain bleach, but check the label just to be sure. Bleach may cause damage to the grain of the wood.
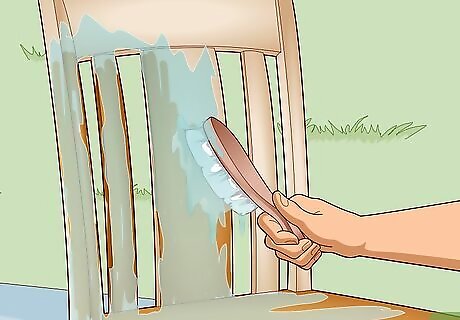
Brush with or against the wood grain using a stiff-bristled brush. Dip the bristle brush into the bucket of cleaner and use it to scrub the teak. Apply firm but not maximum pressure as you scrub. Keep dipping the brush into the bucket as needed. Some teak enthusiasts recommend cleaning “with the grain”—that is, in the same direction as the wood’s grain—for maximum cleaning effectiveness. Others, though, believe this can cause damage and advise scrubbing “against the grain.” Ultimately it’s your choice.
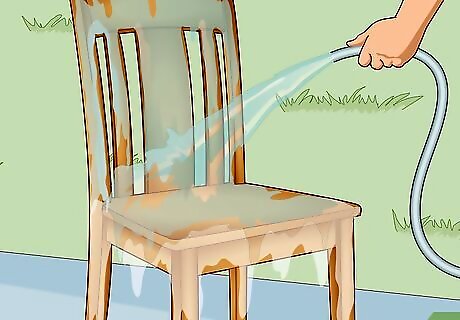
Rinse the teak with clean water. Once you’ve scrubbed down the entire area, give it another spray with your garden hose. In many cases, you’ll see the teak’s original color reappear immediately! If the teak still looks gray, it’s time to move on to a more aggressive cleaning agent.
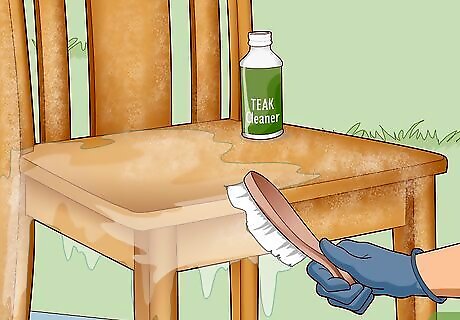
Repeat the process with a teak cleaner if needed. Search online for “teak cleaner” or check at your local home improvement center. Mix the cleaner according to the product instructions and scrub down the teak exactly the same as before. This time, however, be sure to put on cleaning gloves and protective eyewear due to the acids in the teak cleaner. Skip the household cleaner and go straight to using teak cleaner if the wood has been exposed to the outdoors and has grayed for several years. Rinse the teak with clean water after you’re done scrubbing it, just as before. Clean outdoor furniture made of teak at least once per year, and boat decking and accessories at least twice per year.
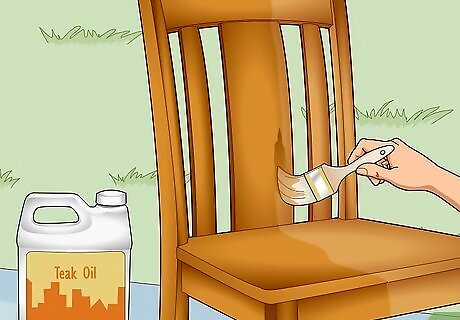
Brush on a light coat of teak oil 24+ hours after cleaning the wood. As with teak cleaner, search for “teak oil” online or at a home center. Stir the product as recommended, dip the tip of a natural-bristle paintbrush into the can, and apply the oil lightly to the teak surface. Use long, steady, even strokes and brush in the direction of the wood grain. Wait until the wood looks and feels dry before applying teak oil. Plan to wait at least 24 hours after cleaning the wood. Teak oil dries quickly without being tacky or slick, and should be completely dry to the touch within 1 hour. Applying teak oil is an optional step. Some people like the slight gloss, darker color, and protective finish it provides, while others prefer the natural look of teak.
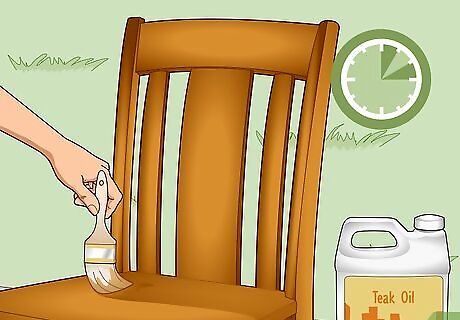
Apply at least 2 more coats, waiting 1 hour between coats. After waiting an hour, apply a second coat in the same manner as the first. Repeat the process once again, then check the color and appearance of the teak after it dries for an hour. Keep adding more coats of teak oil until you get the look that you’re after. The wood will slightly darken with each additional coat of teak oil.
Filling Nail- or Screw-Sized Holes
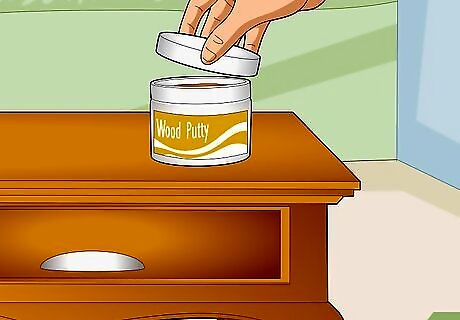
Buy a color-matched wood putty if available. If you have a scrap piece of the same teak, bring it with you to the home center to help you find the closest color match among the wood putty selections. Otherwise, do your best to find the closest color match based on memory. When in doubt, choose a darker shade of wood putty. Darker hole patches are less noticeable than lighter ones. You may find a wood putty that’s labeled as a color match for teak, but it may not necessarily be the closest match for your particular teak surface. Wood putty is a good choice for 1 cm (0.39 in) or smaller holes. For larger holes, consider using wood repair epoxy, which is also the best choice for fixing major damage or missing areas of wood.

Create your own putty from white glue and teak sawdust instead. If you can’t find a wood putty that matches the color of your teak, you can make your own if you have access to teak sawdust. Mix about 4 parts of teak sawdust to 1 part of white school glue in a cup with a stirring stick, and adjust the amounts until you get a mixture roughly the consistency of creamy peanut butter. This DIY wood putty hardens quickly, so mix up a small batch and repeat the process as needed. Collect teak sawdust from your own workshop if you have one, or ask around at woodworking shops in your area.
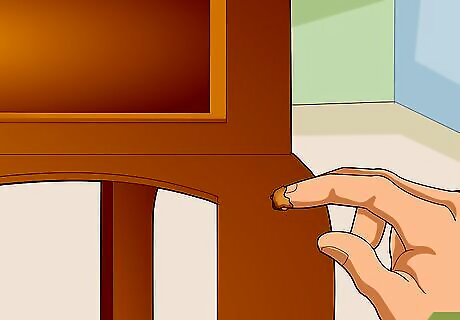
Press the putty into the hole with your finger. A small putty knife or a wooden crafting stick will also work, but your finger is the best tool for the job! Scoop up a glob of putty on your fingertip and press it firmly into the hole. Put on a thin cleaning or exam glove if you wish.
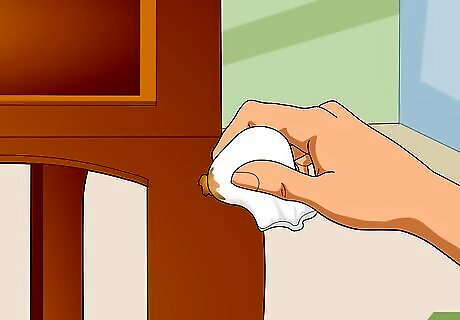
Wipe off the excess putty with a damp cloth. Do this immediately after pressing the putty into the hole, before it has a chance to start drying. Try not to draw out the putty that’s actually in the hole.
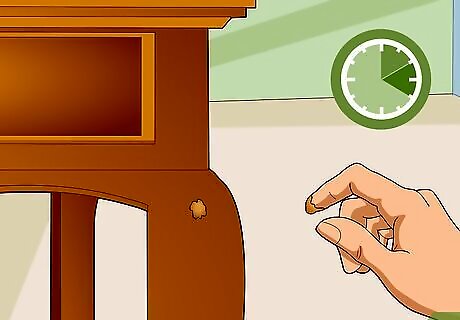
Wait 2-4 hours and apply more putty as needed. Putty shrinks as it dries, so expect to find an indentation in the hole you filled a few hours ago. Simply apply more putty to the hole and wipe off the excess once again. Keep repeating the process until the dried putty is level with surrounding surface. For the best results, fill small holes with putty after cleaning the teak but before applying teak oil (if you choose to do so).
Fixing Broken and Missing Areas
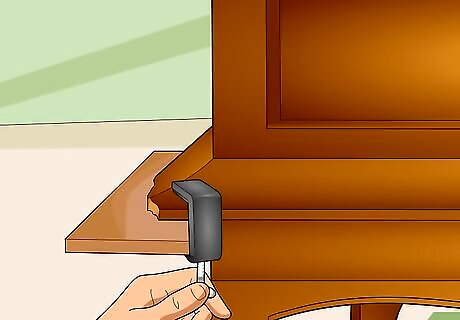
Cut and clamp on a support board if you’re fixing a missing corner piece. For example, you’ll need a support board if you’re fixing the broken-off bottom corner of a teak cabinet. In this case, cut a piece of scrap plywood in an L-shape so that you can clamp (or, if necessary, tape) it directly below the missing corner. The support board will act as a “shelf” to hold the repair epoxy in place while it sets up. You won’t need a support board if you’re filling in a spot on a broken teak floorboard, for instance.
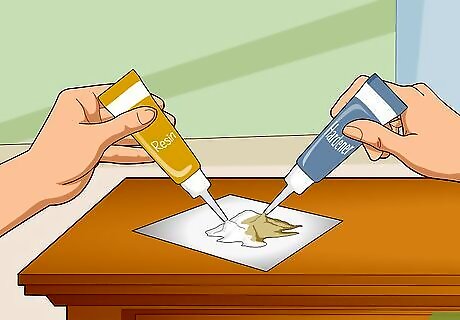
Mix your wood repair epoxy’s 2 components according to the instructions. The epoxy’s 2 components—a resin and a hardener—come in separate tubes or jars in the kit. Depending on the epoxy you choose and its specific instructions, either squeeze or scoop out the components onto a scrap board or into a small bucket, then stir them together thoroughly with a putty knife. Wood repair epoxy sets in about 20 minutes, so wait until you’re ready to make the repair before mixing it. Wear gloves when working with epoxy, most especially if you’re instructed to mix the 2 components by kneading them with your hands—which is the case with some brands of wood repair epoxy. Look for wood repair epoxy at home improvement stores or online. If you can find a wood repair epoxy that matches the color of your teak, use it. Otherwise, buy a wood epoxy that is lighter in shade than the teak.
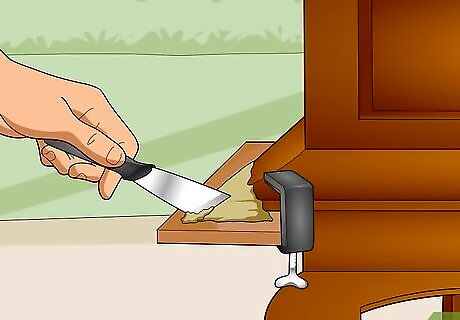
Use a putty knife to press and shape the epoxy into the damaged area. If you’re filling in a missing piece of a wall or floor, fill the area completely and add a slight amount of additional epoxy. If you’re replacing a missing corner on a piece of furniture, do your best to recreate the general shape of the missing area. The epoxy should be thick enough to generally hold its shape. The support board (if you’re using one) will also help to keep the epoxy in place.
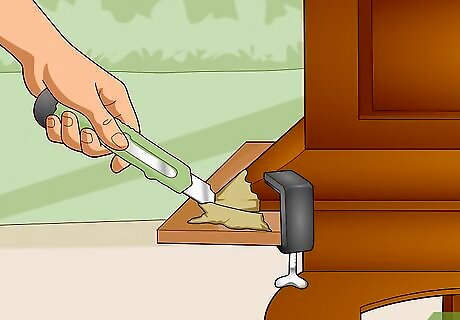
Cut away excess epoxy with a utility knife when it’s partly set. Wait until the epoxy looks mostly dry but is still slightly “spongy” to the touch—this may take up to an hour, but check the product instructions for more precise drying times. Use the utility knife to slice through and remove excessive amounts of epoxy, but don’t try to get the perfect shape yet. If you used a support board, use the utility knife to cut it free from the epoxy while it’s still “spongy.” Don’t actually remove the support board until the epoxy is fully set, however.
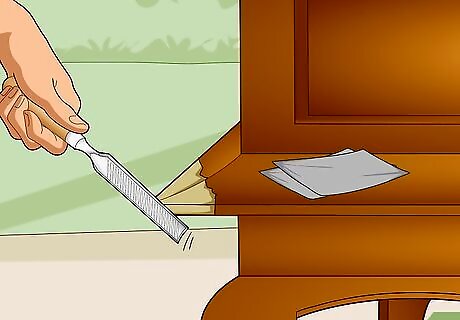
Use a wood rasp and sandpaper to finish shaping the fully-dried epoxy. Run the wood rasp—a tapered metal file used for woodworking—back and forth with steady, even, light strokes to sand away more of the excess epoxy. When you reach the point where you only need to do some fine-tuning, use progressively finer sheets of sandpaper to complete the task. For instance, start with a sheet of medium-grit (60-100) sandpaper, then use fine-grit (120-220) paper, and finally use ultra-fine (240+) paper. If you used a support board, remove it at this point so that you can sand the area where it came in contact with the epoxy. Wipe away the sanding dust with a tack cloth when you’re finished shaping the epoxy.
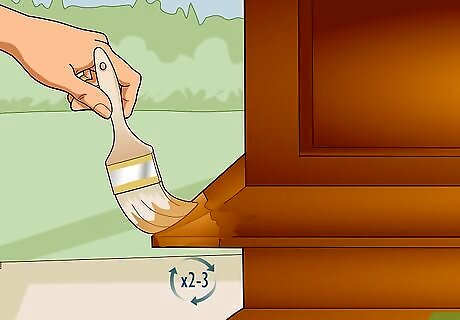
Brush on 2-3 coats of acrylic artist’s paints that approximate the teak’s color. Wood repair epoxy doesn’t accept stain, so your best option is to use paint to replicate the teak color as closely as you can. Buy a set of acrylic artist’s paints and mix a range of browns and other colors until you find your closest match. Apply 2-3 coats with an artist’s brush or a small paintbrush. Allow the paint to dry for 30 minutes between coats. You’ll never be able to completely match the color and hide the repair area, so just aim to make it as un-noticeable as possible. In most cases it’s better to make the repair slightly darker rather than slightly lighter than the surrounding teak.
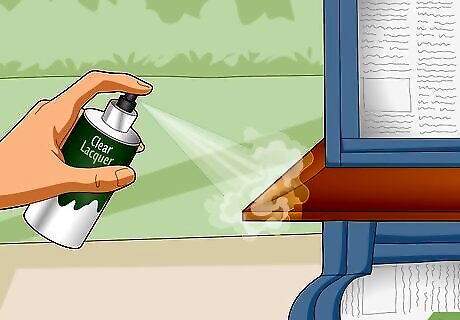
Spray laquer over the repair if you need a glossy finish. Use painter’s tape and sheets of newspaper to cover the teak surrounding the repaired area. Shake the clear lacquer spray can according to the instructions, hold the can 12 in (30 cm) from the repaired surface, and spray quick, even, light bursts over the epoxy repair. Let the lacquer coat dry and add 2-3 coats as needed to replicate the shine of the surrounding teak. Skip this step if the surrounding teak does not have a glossy finish.



Comments
0 comment