views
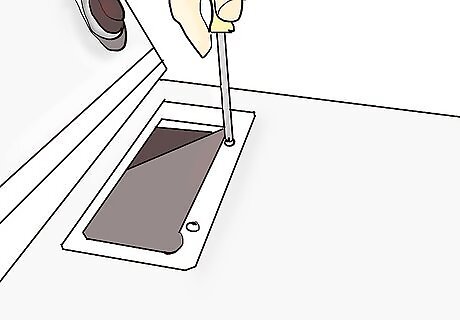
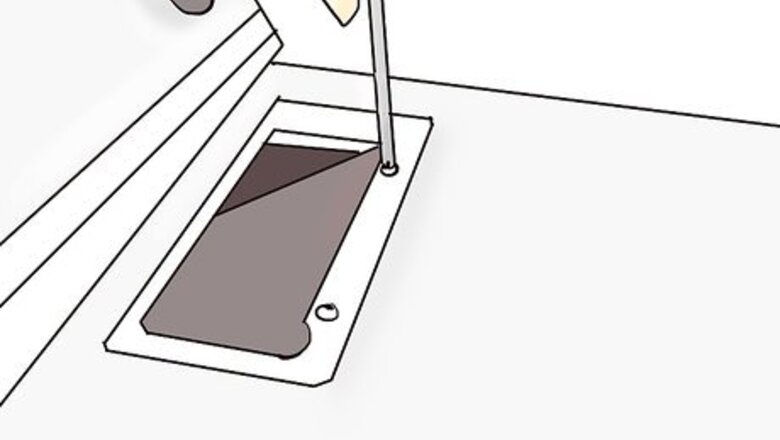
Start by removing the lint filter. Using your 5/16th screwdriver, remove the two screws under the lint filter.
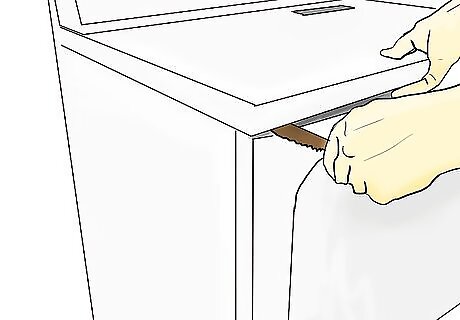
Next, take the putty knife and place it in the opening between the top of the dryer and the front of the dryer. Pop up the top of the dryer and repeat on the other side.
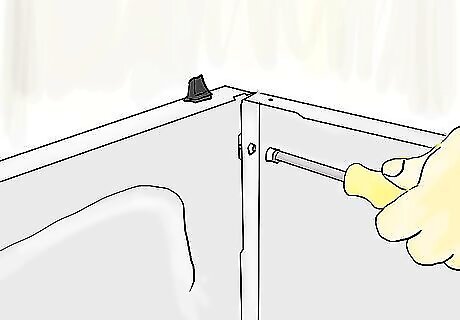
Flip the top out of the way. There will be two screws in each upper corner of the inside of the dryer. Remove both of these and put screws in container for later.
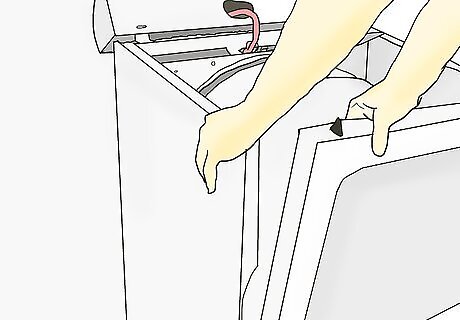
The front of the dryer will now be released. Pull the top away from the cabinet and then lift it up. Swing the front to the side and place it out of the way. You may need to disconnect the lid switch wires if they are not long enough to allow this.
Release the belt from around the drum. To do this, the belt will be looped under the idler pulley and then attached to the motor. Reach under the drum and unhook the belt from around the motor. The pulley may be just a spring part with a half circle the the belt runs around, with no moving part.
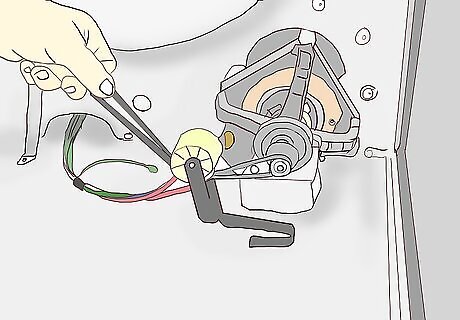
To attach the new belt, begin by placing the belt, with the groove side down and lined up with the markings around the drum. Then loop the belt under the idler pulley (that has a moving wheel) and attach it back to the motor. The idler pulley should apply tension to the belt. You may need an extra hand for this step since the dryer drum can sag down and make it difficult to reach the motor.
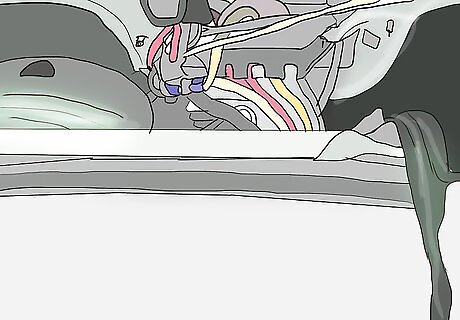
Make sure the rear felt on the back end of the drum isn't folded under. If it has, use a screwdriver to pop the felt out while spinning the drum with your hand.
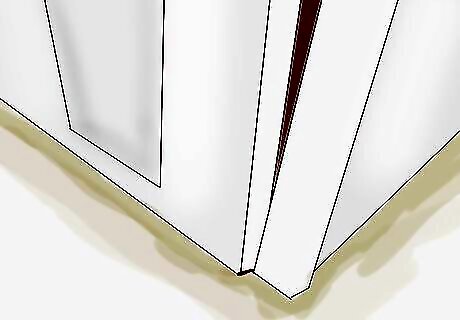
Reassemble the dryer. Make sure the small tabs on the bottom of the dryer match up with the small holes on the dryer front. Replace screws and lint trap.


Comments
0 comment