

Using a Wi-Fi Hotspot
Open your Android’s Settings Android 7 Settings. You’ll usually find it in the app drawer or by pulling down the notification bar at the top of the screen.

Tap More. It’s under the “Wireless & networks” header.
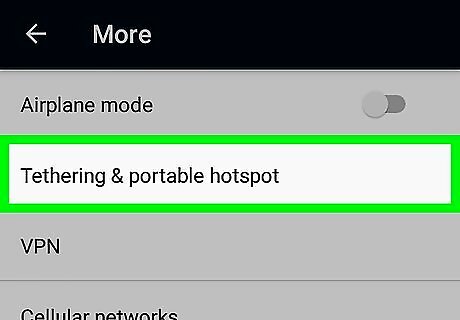
Tap Tethering and portable hotspot.

Slide the “Portable Wi-Fi hotspot” switch to On Android 7 Switch On. Once you set up your hotspot, other devices will be able to use your Android as a wireless access point if this switch is on.
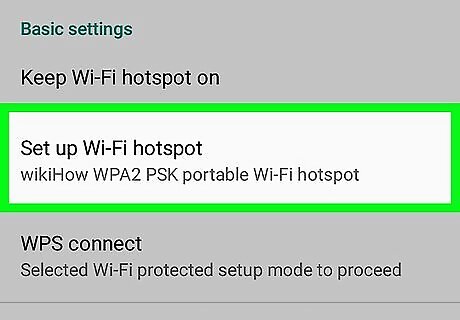
Tap Set up Wi-Fi hotspot.
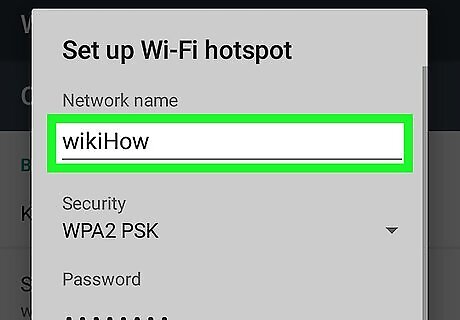
Type a network name for your hotspot. This is the access point name that other devices will connect to.
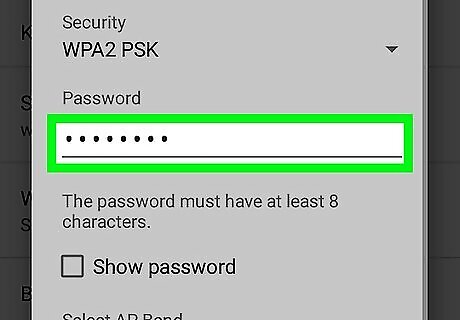
Set a password. Tap the blank under “Password” to type a password others must enter to access your connection. Passwords must have at least 8 characters. If you want to share your Android’s current Wi-Fi connection, slide the “Wi-Fi sharing” switch to the On position.
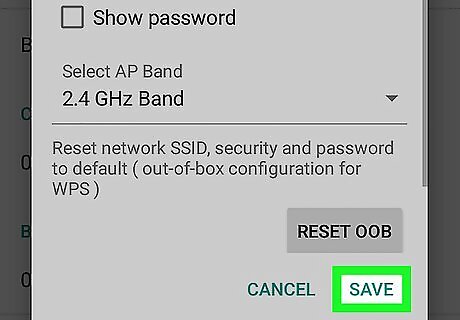
Tap Save. Now that you’ve enabled your hotspot, other devices can connect to your Android to access the internet.
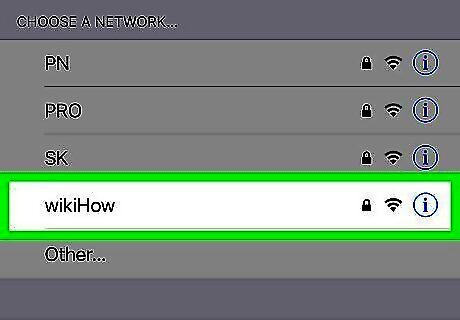
Connect another device to the hotspot. On another device, select the network name you just created, then enter the password when prompted. As long as the Android running the hotspot can access the internet, this other device should as well.
Using USB Tethering
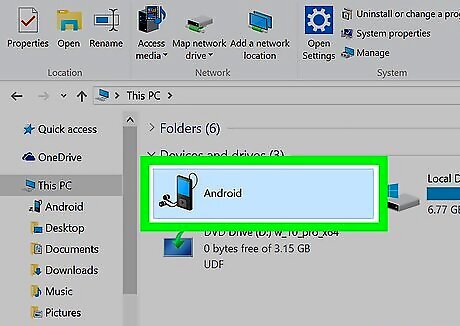
Connect your Android to a computer using the USB charging cable. If you don’t have the cable that came with your Android, use one that’s compatible.
Open your Android’s Settings Android 7 Settings. You’ll usually find it in the app drawer or by pulling down the notification bar at the top of the screen.

Tap Network & Internet.
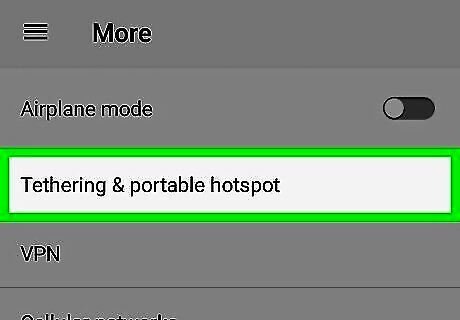
Tap Hotspot & Tethering.
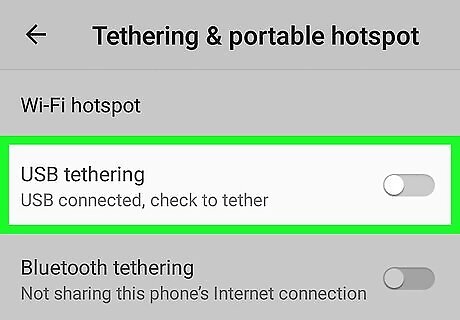
Slide the “USB Tethering” switch to On Android 7 Switch On. This option will only appear when the phone is connected to a computer via USB cable. A confirmation message will appear.
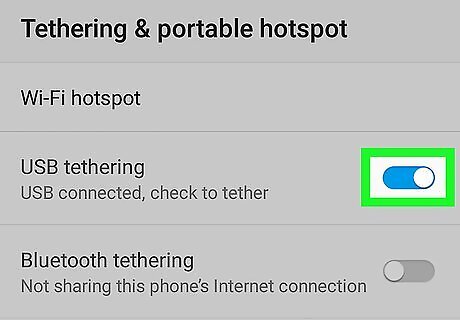
Tap OK. As long as this switch is on, your computer should be able to use the Android’s internet connection to get online.


Comments
0 comment