views
Creating a Braided Bun
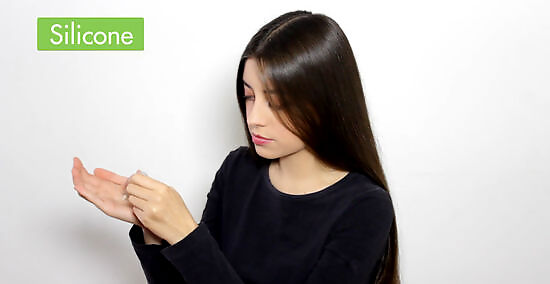
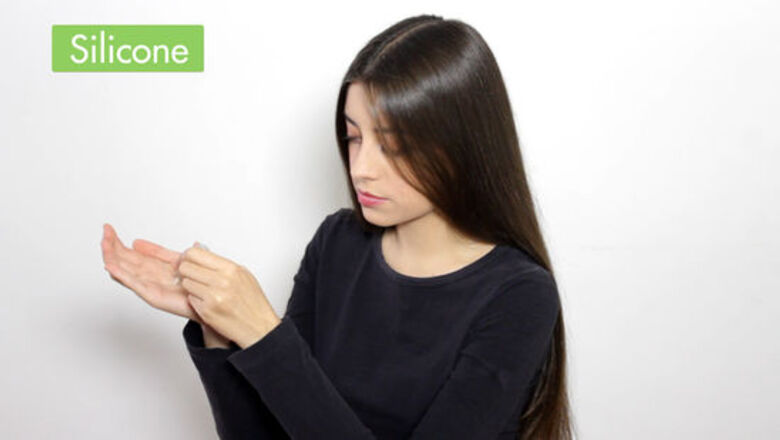
Make a ponytail at the nape of your neck. Brush your hair well. Collect it all in one hand at the nape of your neck and use your other hand to wrap a hair rubber band around it as many times as necessary to keep your hair in a snug ponytail. Elastic rubber bands covered in fabric, with no metal to snag your hair are recommended to keep your hair healthy and avoid breaking, tangling and damaging your hair. You can also try a silicone snappy before brushing your hair hair into a ponytail to allow it to slide more safely through the rubber band.
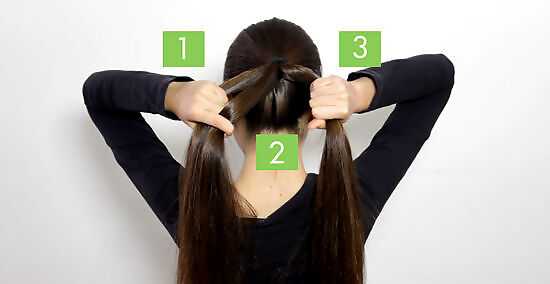
Braid your ponytail into a three-part braid. Separate the ponytail into three even parts. Cross left over center, then right over center as far down the ponytail as you can until you are running out of hair to work with. At this point, move the ponytail holder down to the bottom of the braid to fasten. You will need to add several wraps of the ponytail holder to secure this section , which will be thinner than the top of the braid. Keep your braid tight as you go along. If some hair is escaping the braid along the way, remove the braid up to that section to collect the hair back in, then continue down the length of the ponytail.
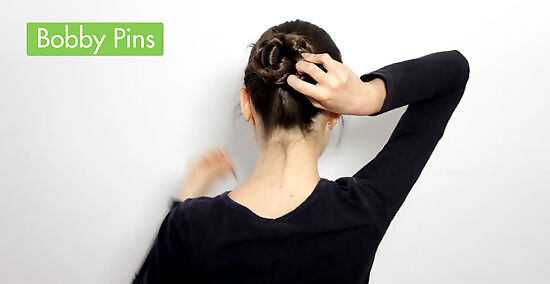
Wrap your braid around itself to create a bun. Starting at the top of the braid, twist and wrap the braid over itself. Continue wrapping along the outside of the last turn as opposed to laying the braid on top of itself to create a nice bun. Push the end of the braid under the bun to hide the rubber band and unbraided tip. Secure this end with a bobby pin by pushing it through the end and into the secured hair along the scalp. The grooved side of the bobby pin should be facing toward your scalp. Secure loose portions of the bun to your scalp with bobby pins until you get the shape you desire and it feels secure.
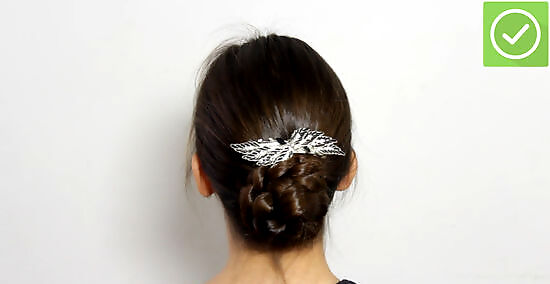
Decorate your with bun. Use decorative hair accessories, flowers, or even antique hat pins. Push them into your braid in various places to add a little color, sparkle or character. You could also accessorize with headbands and head scarves wrapped around the top of your head or the bun. Try braiding ribbon as you did your braid, then wrapping the ribbon around the bun and tying it into place. This can add color and a little extra security to hold your bun in place, or wrap around any little “fly-aways” which are escaping the braid.
Wearing it Long and Curled
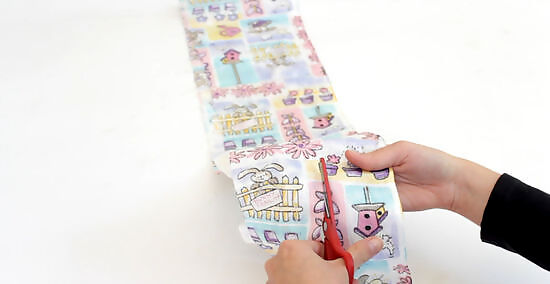
Cut strips out of flannel for wrapping your hair. Flannel has an appropriate thickness and is easy to tie together securely. You will want strips about 3 times the length of your hair and 3 inches (7.6 cm) wide. Curling your hair with a flannel rag instead of heat is a great way to maintain the health of your hair and prevent damage to your long locks. Cut as many strips as you would like to have as curlers in your hair. More curlers will make tighter curls, while using more hair in each curl will make the curls looser.
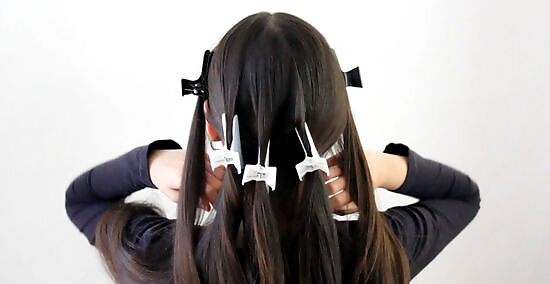
Separate your hair into sections. Once you decide how many curls you would like to put in your hair, separate your hair into even sections to ensure the curls will match. Hold these sections in place with a hair clip.
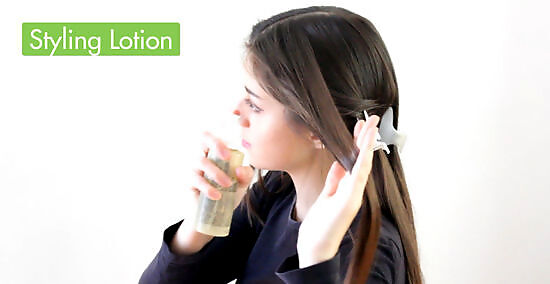
Dampen one section of your hair with styling lotion. Styling lotion will give you a decent hold, without making your hair stiff. Rub some lotion between your palms, then pull it through your section of hair until it is slightly damp, but not wet.
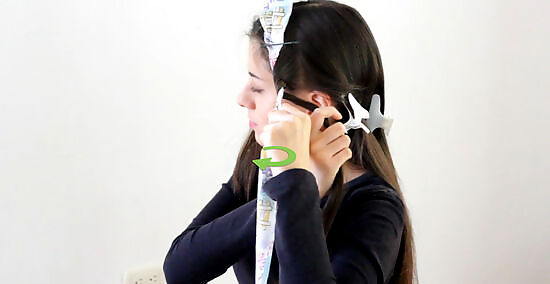
Wrap your hair around the flannel strip. Place the flannel strip at the top of this section of hair, leaving about six inches of excess flannel at the top. Hold the top of the section of hair and the rag in one hand like the top of a ponytail with a rag running alongside it. Wrap the hair around the rag until you reach an inch and a half of hair left to twist. Be sure that you are wrapping the hair around the rag and not taking the rag around the hair. Wrapping the rag around the hair at this point will give you straight hair rather than curls. To get more spiral to your curls, twist the section of hair in one direction as you wrap it around the rag. Once you have completed wrapping the hair around the rag, you should not see the rag under the hair. The wraps of hair should be close enough that the rag is not visible between each wrap.
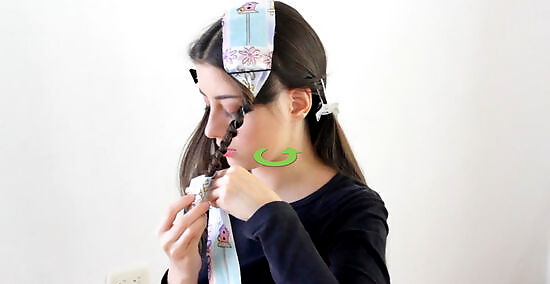
Take the rag around the curled hair. Wrap the rag around the remaining end of this section of hair. Once you have reached the bottom of your hair, start working your way back up. Now you will be wrapping your rag around the coils of hair to hold them in place. Once you have wrapped the rag all the way back to the top, tie it securely in a knot with the 6 inches (15.2 cm) of flannel you left at the top when you began.
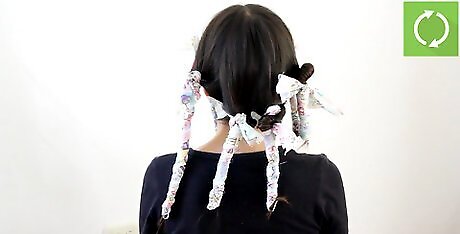
Wrap the rest of your hair around the flannel strips. Repeat this process with each section of hair, wrapping the hair around the rag, then the rag around the hair and tying it off. Keep your sections of hair as even as possible in order to have consistent curls.
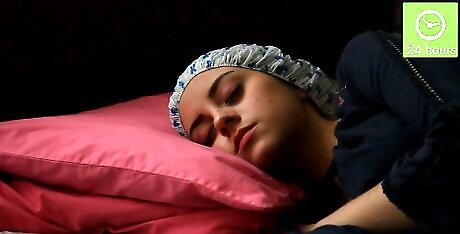
Allow time for your hair to dry. This could be the hardest part, but if you have grown your hair this long, you probably have the patience to wait it out. It is best to begin this entire process at least 24 hours before you want your style to be complete. At the very least, create your curls early in the evening, then sleep on them. Wrapped hair takes a long time to dry. The more hair you used in each section, the longer it will take to dry. If you need to speed up the drying time, you can sit under a bonnet hair dryer for an hour to finish off the process.
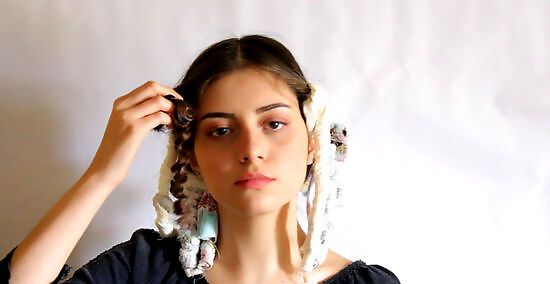
Remove the rags from your curls. Once your hair is dry, untie the flannel from the top section of your curl. Gently unwrap the rag from the outside of the curl. If the hair was wrapped perfectly around the rag, you should be able to pull the rag straight down and out of the center of the curl. If the rag does not pull easily out of the curl, gently unwrap the curl until you can pull the rag through.

Style your curls the way you like them. Once you remove your rags, you should have a head full of tight spiral curls. There are several ways you can separate and style them to get different looks. Brush your curls out with a bristle brush for a smooth, wavy, old-school Hollywood look. Separate the spirals into multiple spirals using your fingers to twist each section into several different curls. Flip your head upside-down and tussle it with your fingers for a messy-chic style.

Hold your curls in place with hairspray. Choose a hairspray with natural ingredients and no harsh chemicals. Go for a light or medium-hold spray which allows some movement and bounce in your curls.
Tying a Half Ponytail
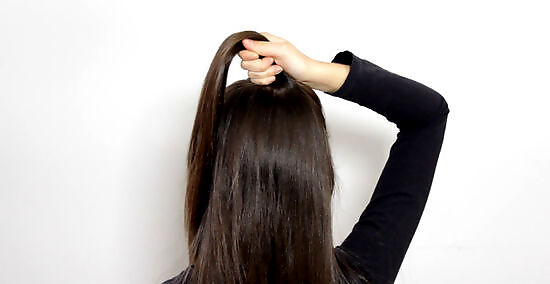
Separate the top half of your hair from the bottom half. Using your fingers, gather the top half of your hair. Place both index fingers at your temples, then run them upward, toward the crown of your head until they meet at the top. Gather this hair together in one hand. Avoid running your fingers directly across the back of your head from the temples. This will create an uneven split, putting most of your hair in the ponytail and only leaving a small portion on the bottom.
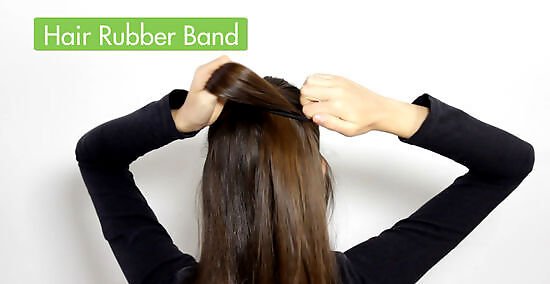
Create a loop using a half ponytail. Wrap a rubber band around the hair you have gathered near the crown of your head. Wrap the rubber band until you feel it is secure. On the final wrap, pull most of the ponytail through, but leave the end in the rubber band, holding it in a large loop.
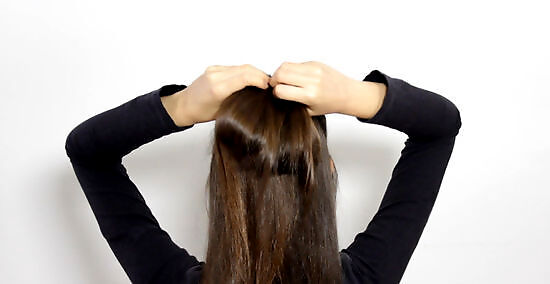
Pull the sides of the loop to secure your half pony tail and give it a nice shape. Grab the hair closest to the rubber band between your thumb and forefinger. Using equal pressure on both sides, gently pull outward, putting pressure on the rubber band and forcing it closer to your scalp. You should feel the gathered hair tightening toward your scalp. Pull the hair in your half ponytail outward to give it more volume and shape. If some of your hair falls out of the rubber band, you will need to take the ponytail out and wrap it all again with the rubber band.
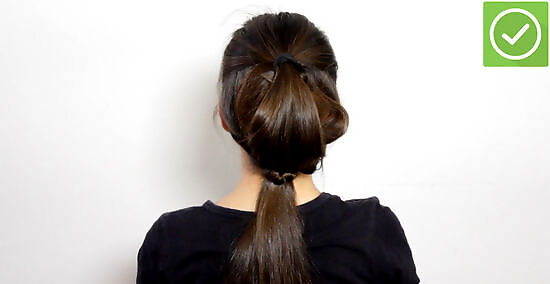
Try two half ponytails for variety. Wrapping the top half of your hair into a loop leaves the bottom half free and long. Get the rest of your hair out of the way or mix up the style by repeating the half ponytail with the bottom half of your hair giving you two loops in the back, one above the other. Start the bottom ponytail underneath the top loop to hide the rubber band and create a stacked effect. Consider decorating with stylish hair pins between the two loops.
Rolling Hair into a Loose, Folded Bun
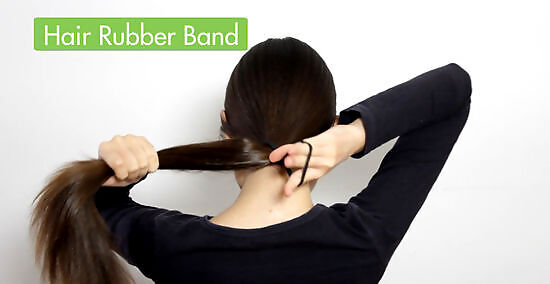
Gather your hair into a ponytail at the nape of your neck. Brush your hair well and secure it with a rubber band at the nape of your neck. Leave this pony tail loose and have some slack between your scalp and the rubber band.
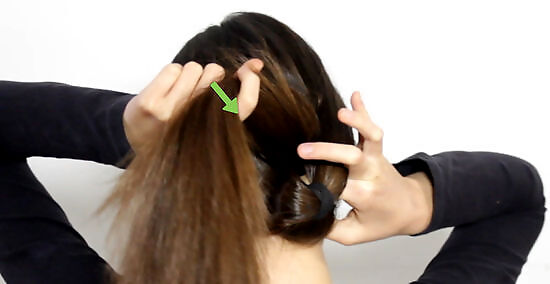
Pull your ponytail through the center of your hair between your scalp and the rubber band. Run both hands down the back of your head to find the center of your hair where it meets the rubber band. Separate the hair here with your fingers, creating a hole large enough to fit your pony tail. Fold your ponytail underneath the rubber band and through the hole. Grab the ponytail with the thumb and forefinger of you other hand to pull the entire ponytail up through the hole. Fold it back over the rubber band, which should now be folded under a roll of hair. Repeat this two or three times, making a hole and pulling the ponytail through until you have rolls running down both sides of your head.
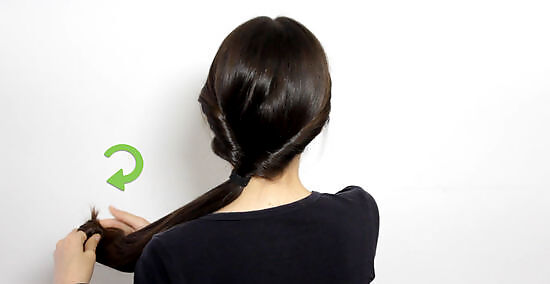
Tuck the ends underneath the rolls to finish off the look. After you have created several inches of rolls on the sides of your head, fold your remaining hair under and tuck the ends into the center near your rubber band. Pin the ends securely to the scalp, creating a loosely folded bun in the back.
Getting Creative with Chopsticks and Braids
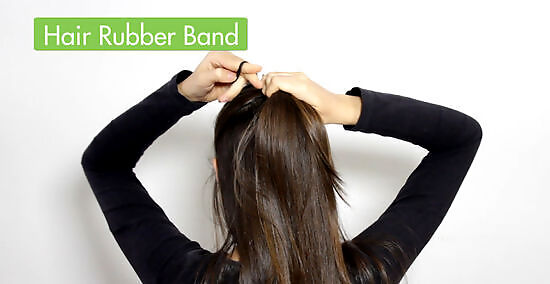
Put the top half of your hair in a ponytail. Run your fingers from your temple to the crown of your head to gather the top half of your hair. Wrap a rubber band around this portion of hair to create a ponytail to work with.
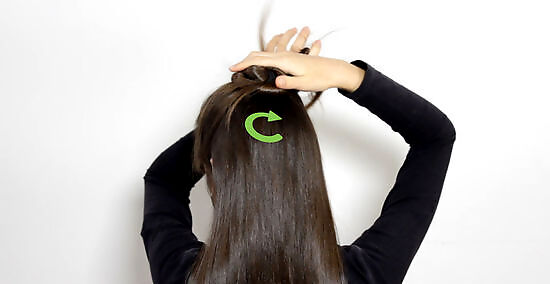
Twist your ponytail into a bun. Start at the base of your ponytail and twist the hair in one direction. Take this rolled section around the rubber band in a circle. Continue layering circles around the outside of the last roll until you have reached the end of your ponytail and created a nice bun. Tuck the end of the ponytail under the the bun to hide the loose ends.
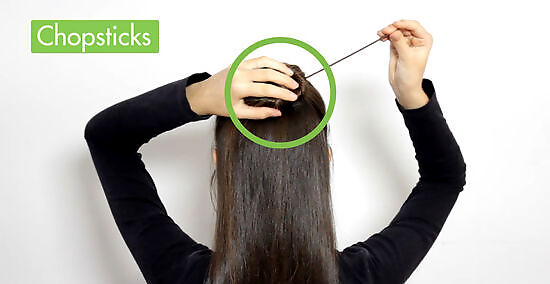
Hold your bun in place with chopsticks. Hold the bun with one hand. With the other hand, push a chopstick into the side of he bun at the center. Angle the chopstick down toward the scalp, then back up into the bun to gather more hair and back down toward the scalp as you push the chopstick horizontally through the bun. Continue weaving the chopstick through the bun until it comes out the other side and holds the bun securely in place.
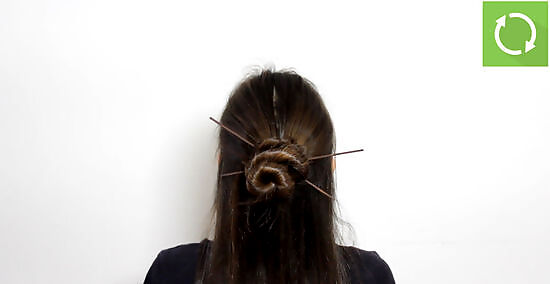
Decorate with a second chopstick. One chopstick is enough to hold the bun securely in place, but you can use a second chopstick for the look. Insert the other chopstick at a 45 degree angle to the horizontal one, pushing it from the top corner of the bun and out the other side. Now that the top half is done, you can leave your hair like that if you like, or move on to braiding the loose section.
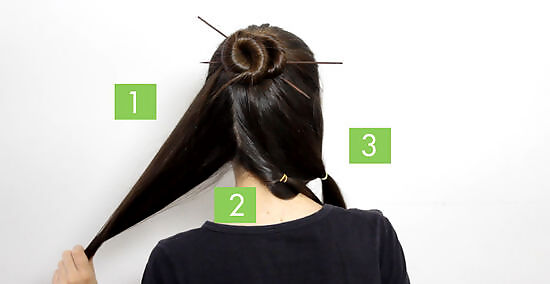
Separate the rest of your hair into quarters. Run your fingers through the center of your loose hair to separate it into halves. Secure one half with a rubber band to get it out of the way, then split the other half into two even sections. Secure these with rubber bands and remove the one on the other half. Separate this half into two even sections. Secure one with a rubber band. The loose quarter will be the first you work with.
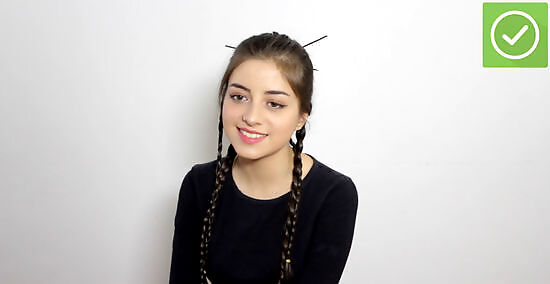
Braid each quarter. Separate a quarter of your hair into 3 even sections. Braid right over center, then left over center until your are left with about 4 inches (10.2 cm) at the end. Tie the braid in place with a rubber band and continue this process with the other 3 quarters. Drape the braids in front of your shoulders, two on each side.




Comments
0 comment