

Planning and Cleaning

Determine your design. Your imagination really is the limit. If this is your first time, you might want to start off with a simple line drawing. Repeating patterns, like those used in tribal and Celtic designs, can be looked up online with an image search for “tribal tattoos,” “Celtic tattoos,” and so on. If you choose an online design for your tattooing project, copy the image with the print screen function, then print it so you have a point of reference. If you have a design of your own invention, draw it out on a separate piece of paper as cleanly as possible. This will be useful as a template when you’re tattooing later. For more consistent exposure to tattoo designs, follow tattoo artists, groups, and companies on social media, like Imgur, Twitter, and Facebook.
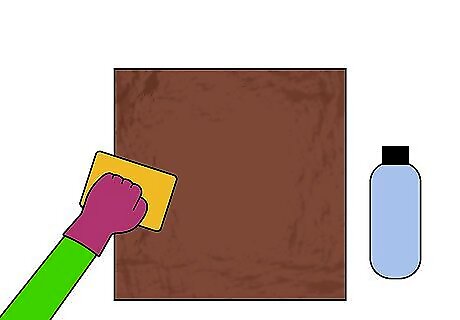
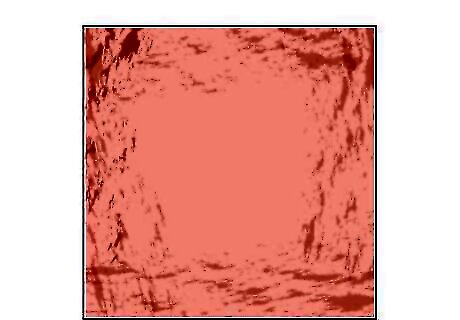
Clean the surface of the leather with rubbing alcohol. Rubbing alcohol will remove oils and grease from the leather in addition to sterilizing it. Put on a fresh pair of gloves, then lightly dampen a clean, lint-free cloth with the alcohol. Wipe down the surface of the leather until it’s clean. Raw leather (sometimes called aniline) will work the best for tattooing. It feels soft and smooth to the touch, almost like a second skin. Some leather, like the kind used for jackets, may have a thick, plastic-like coating. This may negatively impact the quality of your tattoo. If you’re concerned the finish of your leather might hurt the quality of your tattoo, remove the finish with a leather deglazer, which can be bought at most craft stores and general retailers.
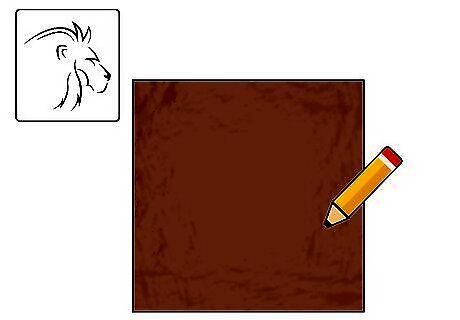
Outline the design on the leather to make a tracing guide. If you’re confident in your freehand skills, draw the guide for your tattoo design straight onto the leather in pencil. If you’re not comfortable with freehand yet, use stencil gel to transfer your design to the surface of the leather. Stencil gel is usually spread onto the leather and then a stencil is pressed on top of the gel. The design transfers from the stencil to the leather’s surface. Follow your gel’s directions for best results. When outlining in pencil, use one that has a blunt tip and only use light to moderate force when drawing. Sharp tips and heavy force may permanently deform leather. If both freehand and transfer gel aren’t an option, call up an artistic friend and have them outline the design for you.
Pad the leather to prevent staining and damage. This is especially important for thin leather. If your tattoo gun passes all the way through, you could end up staining your work surface or causing damage to the surface or your gun. To prevent this, keep a layer of paper towel under the leather as you work. You don’t have to go overboard with your paper towel padding, two or three sheets of durable towel should be sufficient. Feel free to substitute a craft mat, a soft-plastic placemat, or a similar material for padding.
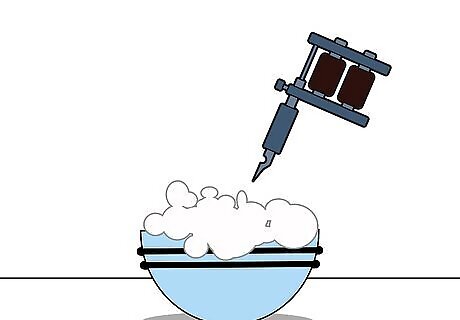
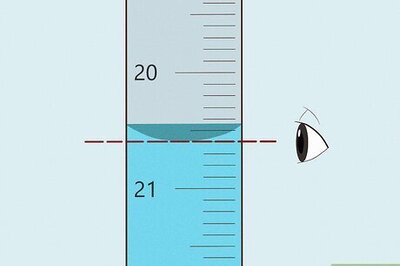
Ready your tattooing supplies. Even though leather doesn’t bleed, you don’t want to spread contaminants. Wash your hands thoroughly, then clean your gun according to its directions before setting it up. Human skin is tattooed at a depth between one and two millimeters. If your goal is realistic practice, set your gun somewhere in this depth range. You may need to experiment with different needle depths and speeds before you find which works best for you. Certain depths may be ideal for some kinds of leather and not others. If you don’t have a manual or care instructions, look up the name and model of the gun you are using online. A digital manual, or a manual for a similar model, should be available.
Applying the Design to Leather
Test an out of sight portion of the leather. Alternatively, you could use a scrap piece of leather that’s the same quality and finish as the piece you want to tattoo. Clean the surface of scrap leather before tattooing it. Try a few simple designs with your gun and make adjustments to the gun as necessary. If you plan on tattooing the design in the center of a piece of leather, corners or edges used for practice can be trimmed away once the main design is finished. When tattooing an item like a wallet, test your gun by tattooing your initials somewhere discreet. This way, your test mark won't look like a mistake and throw off the design when it’s finished.
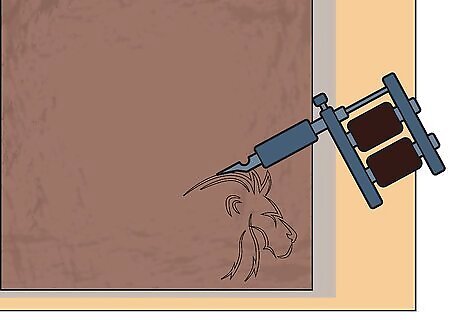
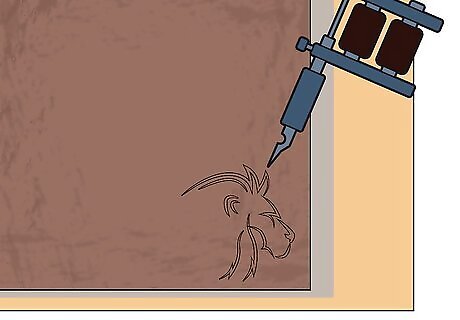
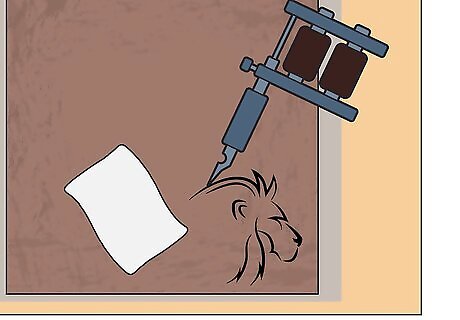
Ink the main outline of your design. Tackling the major lines first will provide you with a framework to which you can add accents and details. Dip your needle into the ink and trace the pencil drawn guide starting with its outer perimeter. If you decided not to use a tracing guide and are instead tattooing freehand, keep your template on hand and in sight as a reference. As you tattoo the leather, you’ll need to re-dip your gun in ink every few seconds so the color remains thick, dark, and consistent. Thick lines may require a few passes with your gun. Thin lines can be tricky; take your time and use a light touch.
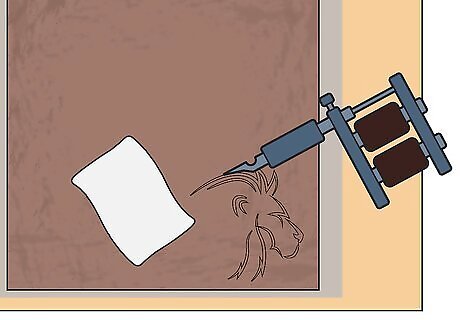
Wipe away excess ink as necessary. As the gun shoots ink deeply into the leather through its needle, some ink will puddle on the leather’s surface. This will make it difficult to see as you work. Wipe away excess ink frequently with a clean piece of paper towel.

Add accents and details after the main body of the design. Now that the major lines are finished, you can branch off to ink smaller, more precise lines. Detail work, and shading especially, can generate a lot of ink, so keep some paper towel at the ready. When shading, the depth of your needle should be set to one millimeter or less. Smaller needles are best for fine details; large needles are most suited for shading big areas. The ideal speed to set your gun for shading is a matter of preference, though you may find that faster speeds improve smoothness.
Fill in solid features of the design. Any parts of your design that you want inked solid will need several passes from the gun. Work patiently and methodically so you don’t miss any spots. Areas that are inked solid tend to generate the most surface pooling ink. If you’re trying to fill in a large area, you might want to save yourself time by switching to a thicker gauge needle.
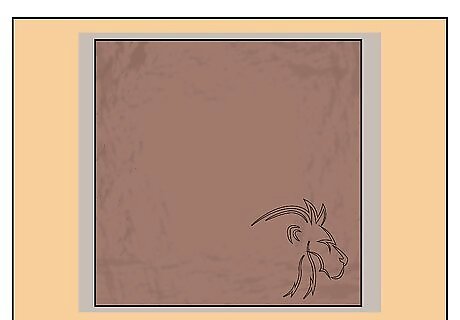
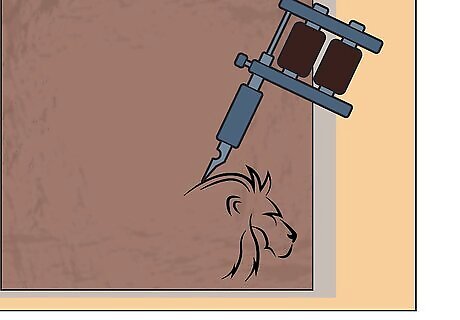
Clean off any excess ink and show off your tattooed leather. After the solid features are filled in, thoroughly wipe down the surface of the leather with paper towel. Excess ink should come off easily. Allow a day or two for the ink to set, then it’s ready to use. Avoid getting freshly tattooed leather wet, as this could cause the ink to lighten or run. Additionally, too much exposure to the sun can also cause ink to fade. For stubborn surface ink, target it with a cloth lightly dampened with rubbing alcohol, but avoid getting alcohol on the finished design. To keep ink looking its best, use a thin layer of leather sealant over the tattoo when it’s dry. Sealants come in a variety of finishes, like matte and gloss.
Practicing Tattooing with Other Items

Try tattooing fruit. Because fruit is tender and contoured, it simulates many of the challenges you’ll face tattooing a real person. Fruit is also relatively inexpensive and easy to come by, though you may need to adjust your gun’s needle depth to a shallower setting if the gun causes damage to the skin of the fruit. Some common fruits used by tattooists include bananas, melons, grapefruit, or anything with soft, fleshy skin.
Use synthetic skin to practice. Some pros criticize synthetic skin as feeling unnatural, but it can be useful if you’re just starting out. Synthetic skin will give you plenty of space to build up your hand strength and to get the feel for your tattoo gun. Synthetic skin can be ordered from online tattoo suppliers or general retailers, like Amazon.

Practice on pig skin for a realistic experience. Though this might seem gross, pig skin closely resembles human skin, making it a great option for practice. It can usually be bought inexpensively from butchers, but you can also order it online. Contoured pieces, like the knuckles and ears, will imitate the natural body contours you’ll have to ink on clients in the future. Pig skin may come with a thick layer of fat. This can be quite messy, though it will still work fine for practice. To reduce cleanup, ask your butcher to remove as much fat from the skin as possible.


Comments
0 comment