

Transferring iTunes Purchases from iPhone to iTunes

Open iTunes on your Windows or Mac computer.

Click on “Store” in the menu bar of iTunes and select “Authorize This Computer.”
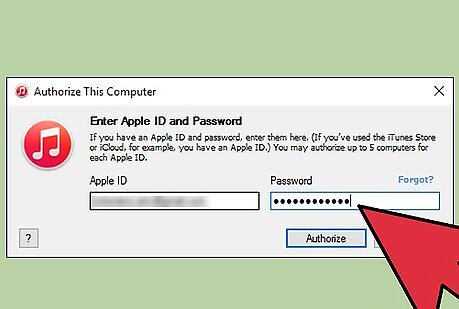
Enter the Apple ID and password you use for the iTunes Store into the fields provided.
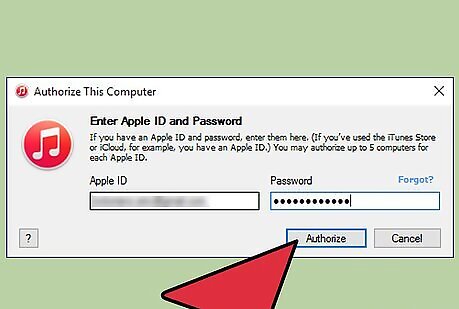
Click on “Authorize.” Your computer will now be ready to sync your iTunes Store purchases with your iPhone. If you purchased items from the iTunes Store using multiple Apple IDs, you will be required to repeat the authorization process for each Apple ID you used to purchase applications and media.
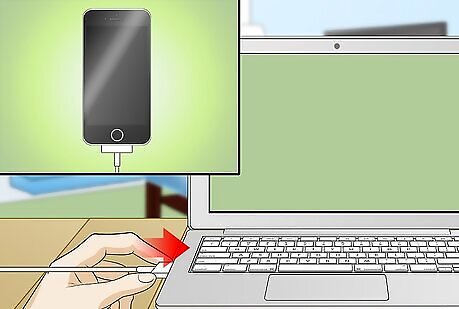
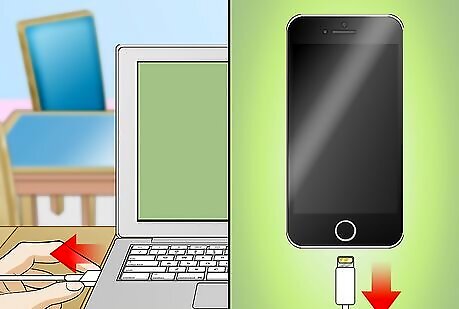
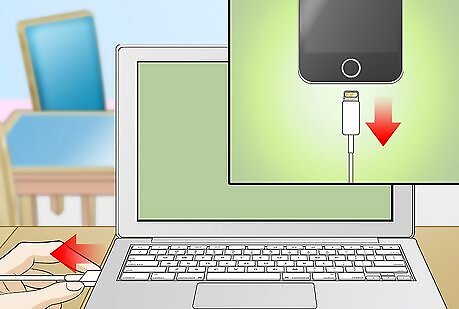
Connect your iPhone to your computer using the USB cable.
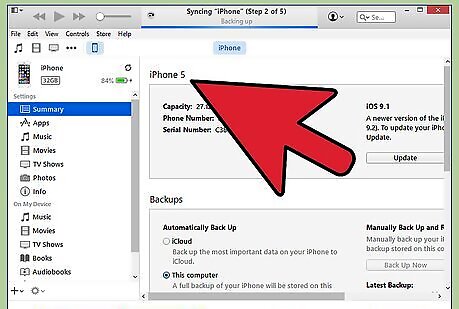
Wait for iTunes to recognize your iPhone. Upon recognition, iTunes will display a dialog box informing you that your iPhone is synced with another iTunes library. If the dialog box does not display, you may have chosen the option not to show that particular dialog box again during a previous session of iTunes. If so, click on “File,” point to “Devices,” and select “Transfer Purchases.”Transfer Purchases from an iPhone to iTunes Step 6Bullet1 Version 2.jpg
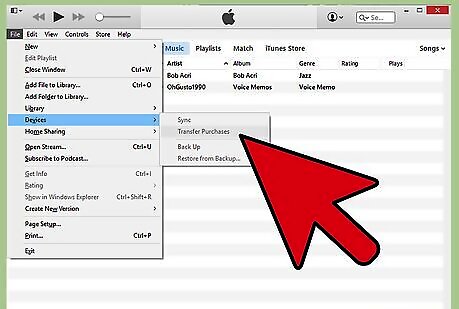
Click on “Transfer Purchases.” iTunes will then begin to make copies of all the purchases you have made for all the Apple accounts you have chosen to authorize for use with iTunes.
Disconnect your iPhone from your computer. All the purchases you made on your iPhone will now be backed up to iTunes.
Transferring Purchases from iPhone to iTunes using iExplorer

Launch the iTunes application on your Windows or Mac computer.
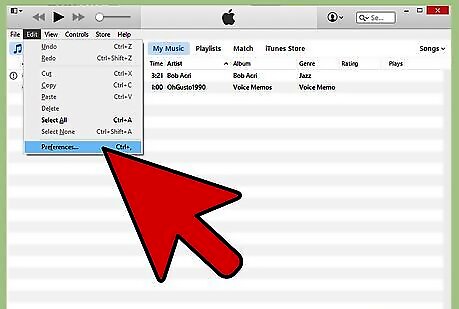
Click on “iTunes” in the menu bar of iTunes and select “Preferences.” The Preferences window will display.
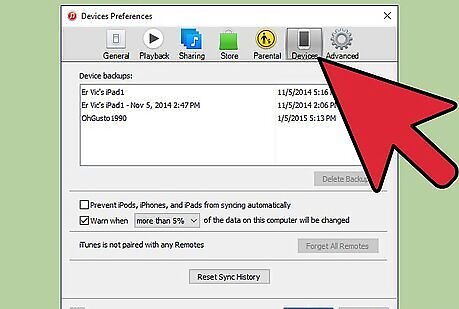
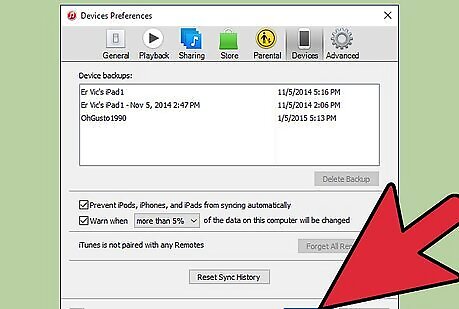
Click on “Devices” at the top of the Preferences window.
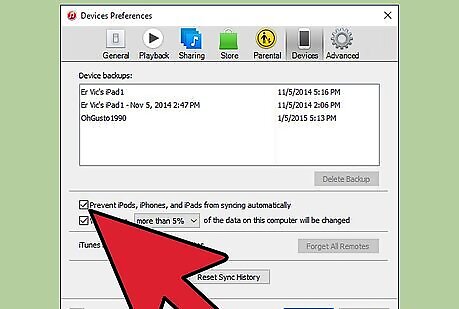
Place a checkmark next to “Prevent iPods, iPhones, and iPads from syncing automatically.”
Click “OK” to close out the Preferences window. This will prevent your iPhone from syncing with iTunes as you move media files using iExplorer.

Close the iTunes application.
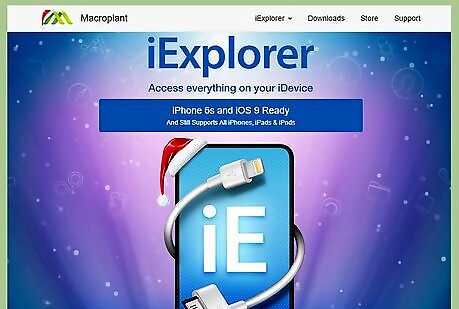
Download the iExplorer application from the developer’s official website at http://www.macroplant.com/iexplorer/.
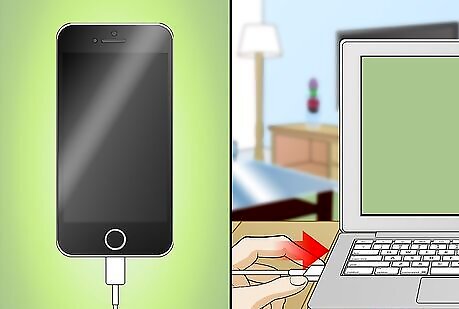
Connect your iPhone to your computer using the USB cable.

Open the iExplorer application on your computer.
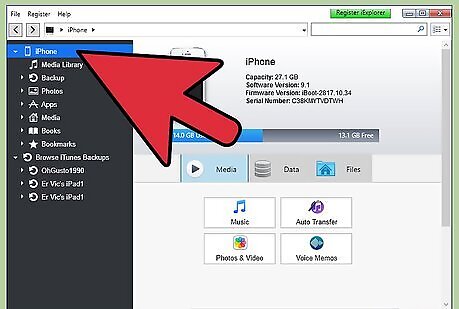
Click on the arrow to the left of your iPhone in the left pane after iExplorer recognizes your device. All the folders on your iPhone will display below the name of your device.
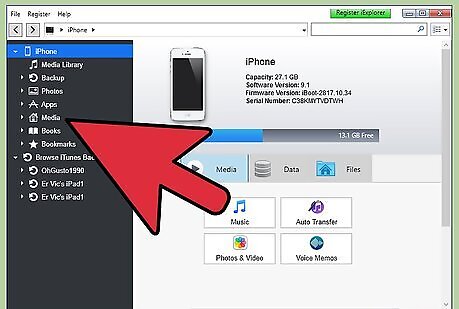
Click on the arrow to the left of “Media.” Additional folders will display in the list.
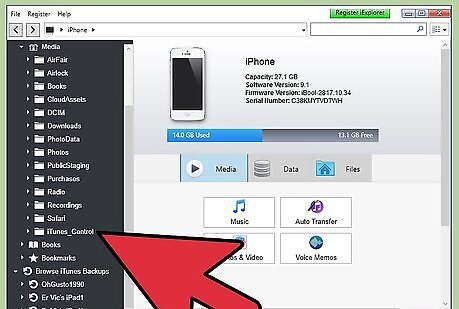
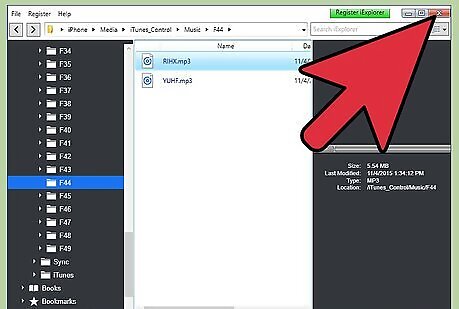
Click on the arrow to the left of “iTunes_Control.”
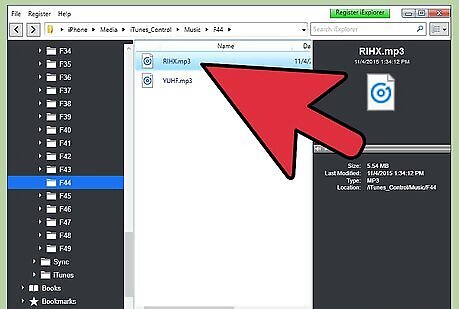
Click and drag the media folder or files you want transferred over to the desktop of your computer. For example, if you want music transferred to iTunes, click and drag “Music” over to your computer’s desktop.
Close the iExplorer application after your media files have finished transferring to the desktop.
Disconnect your iPhone from the computer.

Launch the iTunes application on your computer.

Click on “iTunes” and select “Preferences.”
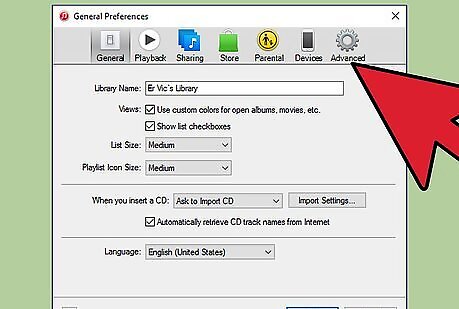
Click on “Advanced” within the Preferences window.
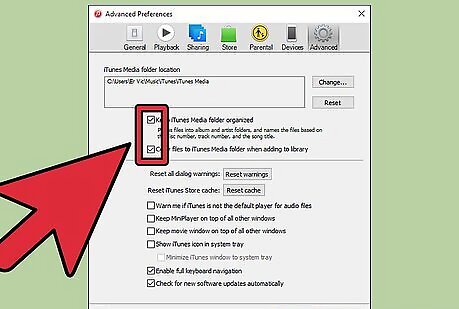
Verify that checkmarks are placed next to “Keep iTunes Media Organized” and “Copy files to iTunes Media Folder.”

Go to your computer’s desktop.

Click and drag the media folder you copied to your desktop over to the iTunes icon. iTunes will then automatically import all the media you moved from your iPhone over to your computer using iExplorer.


Comments
0 comment