views
Windows (Using PrtScn)
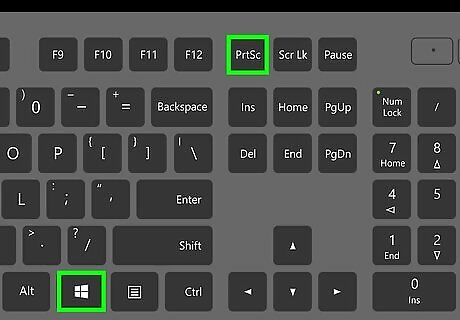
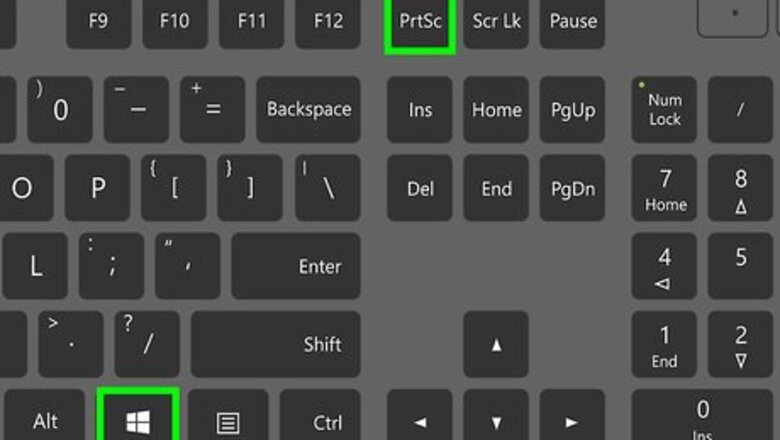
Press ⊞ Win+PrtScn on the keyboard. Different makes of laptops will have a different label for this button, like PrintScreen, PrntScrn, PrntScr, PrtScn, PrtScr, PrtSc, but they are all pretty similar to each other. The screen will dim for a moment to indicate that a screenshot is being captured. Once the screenshot is ready, it will be saved to your Pictures folder in a sub-folder called Screenshots.Print Screen on Laptops Step 7 Version 2.jpg Some laptops will open a screen like Snipping Tool when you press PrtScn without pressing the Win button. Simply click the dimmed screen to take a screenshot. Depending on your laptop, you may need to press FN + Prt Sc instead. If you have more than one display, this method will capture all displays instead of only one.
Click the Windows File Explorer File Explorer icon. It's on the bar that usually runs across the bottom of the screen.
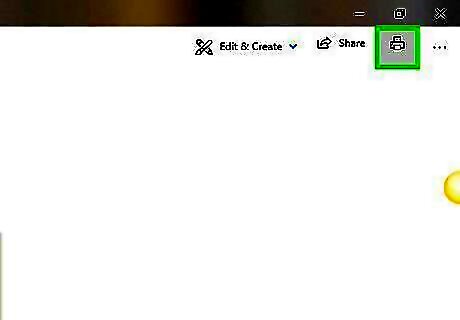
Print your screenshot (optional). You'll usually find it in your "Pictures > Screenshots" folder under "This PC" in the left panel of the File Explorer. Press Ctrl+P to open the print dialog. Select your printer if it's not already selected. Click Print.
Windows 10/11 (Snip & Sketch & Snipping Tool)
Open Snipping Tool or Snip & Sketch. Both these app comes pre-installed on most Windows computers and laptops, but if you can't find either one, download them for free from the Microsoft Store. Windows 10 has Snip & Sketch while Windows 11 uses the Snipping Tool. To open the app: Click the Windows search bar and type snip & sketch or snipping tool. Click the app in the search results. Alternatively, press ⊞ Win+⇧ Shift+S to start Snipping Tool or Snip & Sketch quickly.
Select your options for your screen capture. While all the icons are available directly on the bar for Windows 10, the newer versions of Windows 11 have the types of snips hidden inside the drop-down menu which is the third icon. et them up first to make sure you're capturing what you want. The third button on the control bar represents a different type of screenshot. Hover your mouse over each icon to see which type of screenshot each represents. Here's a little cheat sheet for the icons: Rectangular Snip, the first icon in the drop-down, lets you click and drag a box around the part of the screen you want to capture. As soon as you finish drawing your box, a screenshot of the selected area will appear as a preview. Window Snip, the second icon in the drop-down, lets you capture the contents of a single open window. After clicking this option, click a window to snap a screenshot and display a preview. Fullscreen Snip, the third icon in the drop-down, takes a full screenshot of the entire desktop and displays a preview. Freeform Snip, the fourth icon in the drop-down, lets you draw any shape (freehand) around the part of the screen you want to capture. As soon as you finish drawing your shape, a screenshot of the selected area will appear as a preview. You can also toggle between the camera and recorder icons to switch between taking a screenshot and recording your screen. Delay Snip, or the fourth icon on the menu, looks like a timer and lets you choose if you want a countdown before the screenshot.
Click New. It's in the top left corner of the app and will dim your screen so you can take a screenshot.
Click the screen you want to screenshot. If you have more than 1 monitor, clicking on one screen will take a picture there instead of taking a screenshot of all of them (like most other options do).
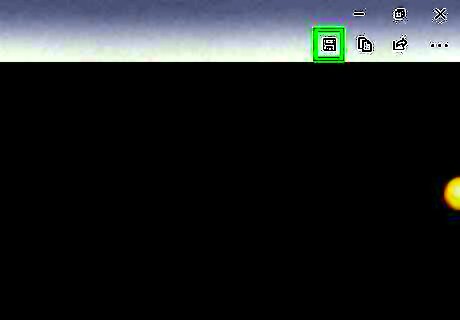
Click the disk to save the image. It's near the top-right corner of the preview. This brings up the Save As dialog. You can also edit it in Paint easily by clicking Edit in Paint to the left.
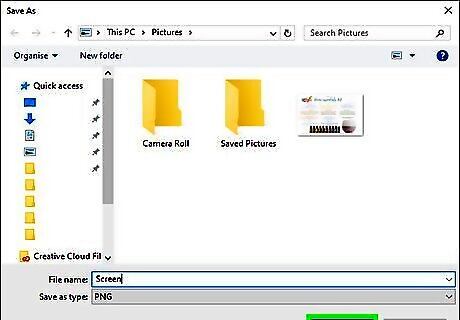
Select a saving location and click Save. This saves the screenshot as an image file to your laptop.
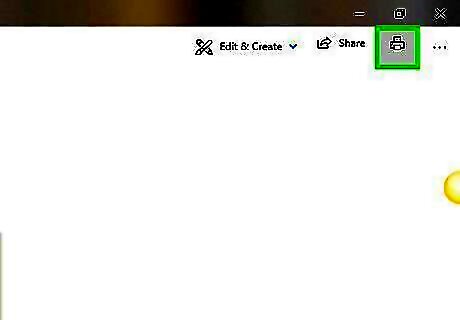
Print the screenshot (optional). If you'd like the send the screenshot to your printer, follow these steps: Click the ••• menu at the top-right corner of the app. Click Print. Select your printer if it's not already selected. Click Print.
macOS
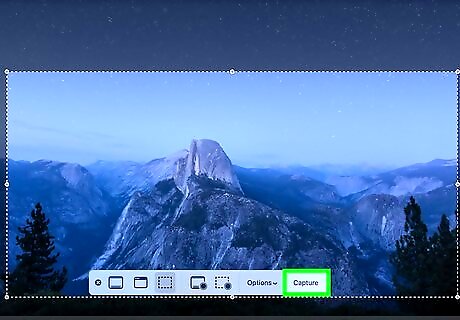
Press ⇧ Shift+⌘ Cmd+3 on your keyboard. This saves your screen to your desktop. If you want more options, like what screen and size of window to capture, open the Screenshot app by pressing Shift + Cmd + 5. You'll see a small thumbnail at the bottom-right corner that confirms the screenshot has been captured. The screenshot is now saved as an image file on your desktop.
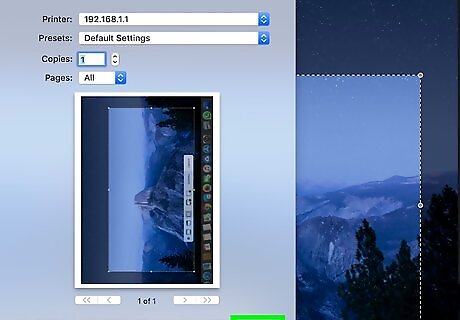
Print the screenshot (optional). If you'd like to send the screenshot to your printer: Double-click the screenshot on your desktop to open it. Its name should be something like Screen Shot date at time.png. Press ⌘ Cmd+P to open the print dialog box. Select your printer from the drop-down menu on the bottom-left corner of the window. Click Print.





Comments
0 comment