views
Non-Programmable Mr. Coffee Maker
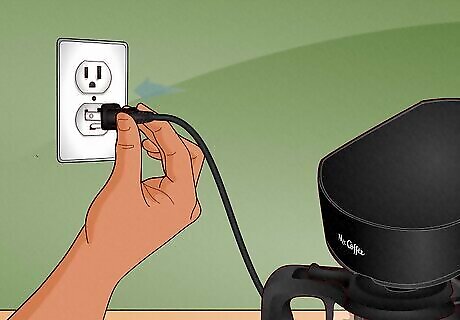
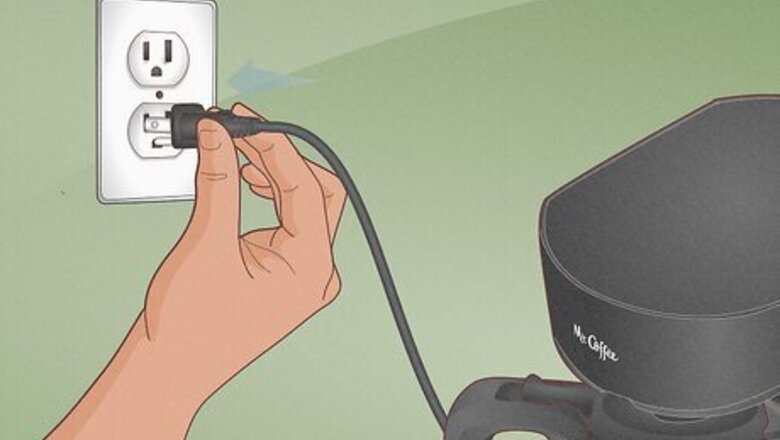
Plug your Mr. Coffee machine into a power source. While Mr. Coffee sells many models of coffee makers, most non-programmable coffee makers work the same. The only difference is how much water and coffee grounds you put in the machine. Before using your coffee maker, remove the carafe, brew basket, and reusable filter (if included), wash in mild, soapy water, rinse, dry, and place back in the machine. Mr. Coffee also recommends you run a hot water cycle through the machine before brewing your first pot of coffee. Place a carafe-full of hot water in the reservoir, place the carafe under the spout, and turn the machine on. Dump out the hot water and rinse the carafe, then continue brewing your first pot of coffee.
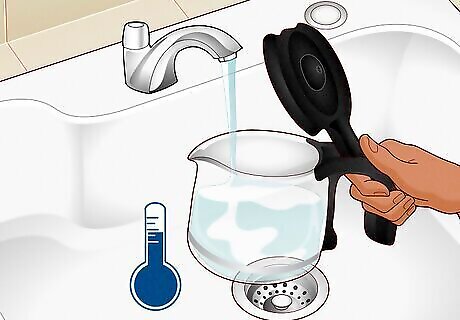
Fill the carafe with fresh, cold water. The carafe is the glass or plastic jug-shaped vessel that holds the coffee once it's brewed. Depending on your Mr. Coffee model, the minimum number of cups to brew varies. For a 12-cup coffee maker, Mr. Coffee recommends brewing at least 4 cups. For a 5-cup coffee maker, Mr. Coffee recommends brewing at least 2 cups. The carafe has measurement markings on the side. Mr. Coffee measures 1 cup as 5 oz. of water. So, for a 12-cup coffee maker, the minimum amount of water to use is 20 oz. For a 5-cup coffee maker, the minimum amount of water to use is 10 oz. Brewing a single cup of coffee in a bigger Mr. Coffee maker is not recommended. Mr. Coffee does have a single-cup brewer, and we've included instructions on how to use that machine below.
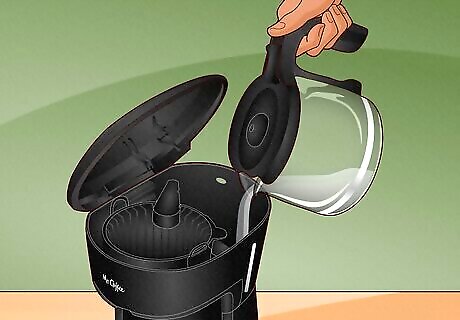
Pour the water into the coffee maker's water reservoir. To get to the reservoir, open the top lid of the coffee machine. In Mr. Coffee makers (and most drip coffee makers in general), the water reservoir is the deep cavity in the back of the machine.
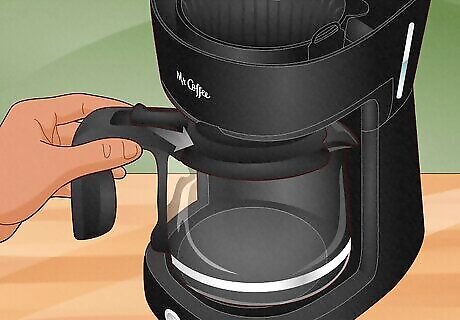
Place the carafe on the warming plate under the coffee spout. You can leave the lid of the carafe closed if it has one—there is a hole in the top for the coffee to pour through. If the bottom of the carafe is wet, note that you may hear some hissing or fizzing when the warming plate turns on. This is just the water evaporating, and it won't damage the machine. If you don't like the sound, dry the bottom and sides of your carafe if it's wet.
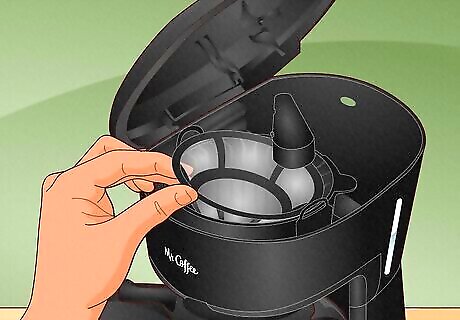
Put a paper or reusable filter in the brew basket. The brew basket is located under the top lid of the coffee machine. It's in front of the water reservoir and nests in the smaller cavity above the spout that drips into the carafe. The basket is removable for easy cleaning. You can fill the basket while it's nested inside the machine or remove it if you prefer. Some Mr. Coffee machines come with reusable filters. They are made of plastic and a fine metal mesh. If your machine didn't come with a reusable filter or you don't like the taste of coffee brewed with a reusable filter, you can use a paper filter instead. Mr. Coffee machines take standard paper filters (the kind with a flat bottom and fluted sides).
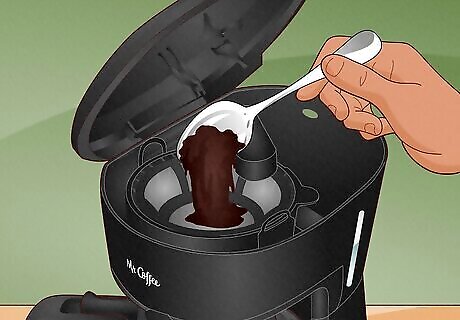
Fill the brew basket with ground coffee. A general rule of thumb is to use 1 tablespoon of coffee for each cup of water you want to brew. If you like a stronger cup of coffee, scoop heaping tablespoons of ground coffee into the basket. Most pre-ground coffee is ground to the correct fineness for drip coffee machines. If you grind your own coffee or get your coffee ground at a coffee shop, grind the coffee to a medium to medium-fine size. Alternatively, if someone else is grinding coffee beans for you, you can ask them to grind it to the correct size for a drip coffee maker.
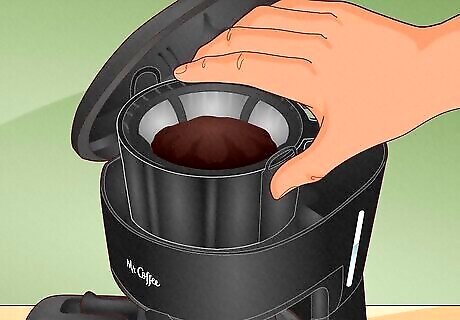
Place the brew basket in the coffee machine. If you filled the brew basket before it was in the machine, skip this step. Once the water reservoir has been filled and the brew basket has a filter and coffee grounds in it, shut the lid on top of the machine.
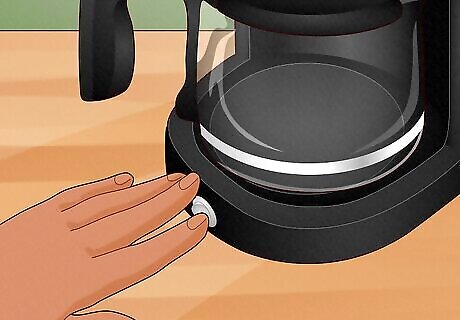
Flip the coffee maker's switch on. For most Mr. Coffee makers, this switch is located near the base of the machine, in front of the warming plate and carafe. Allow the coffee maker to brew your coffee. The more coffee you're making, the longer it will take. During the coffee brewing process, the machine may get a bit loud, and you may notice some steam, but you shouldn't see smoke or smell any bad smells. If you notice smoke or a bad/burnt smell, stop using the coffee maker and contact Mr. Coffee for support.
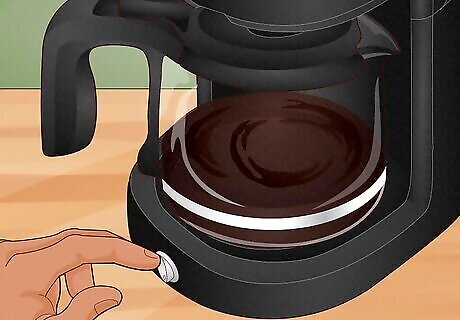
Flip the coffee maker off when your coffee is done brewing. Once you're done drinking the coffee you brewed, make sure to do the following cleaning and maintenance steps: Dump out any old coffee and rinse your carafe. Do this once the carafe is fully cooled. Never rinse a hot carafe with cold water, as this could cause a glass carafe to crack. Dump out the coffee grounds and used paper filter. Rinse the brew basket to get rid of any lingering coffee grounds. If you have a reusable filter, rinse it alongside the brew basket. Do this once the brew basket and/or filter are completely cooled. If the filter, brew basket, or carafe are dirty or stained, wash by hand with mild dish soap and water. You can also wash your filter, brew basket, and carafe in the top rack of the dishwasher. Dry the brew basket, filter, and carafe before placing them back in the machine. If you put a wet brew basket and/or filter in the machine and close the lid, this could lead to mold or mildew growth. Wipe the outside of your coffee machine down with a damp cloth if you notice stains or debris. Never submerge the main coffee maker unit in water.
Programmable Mr. Coffee Maker
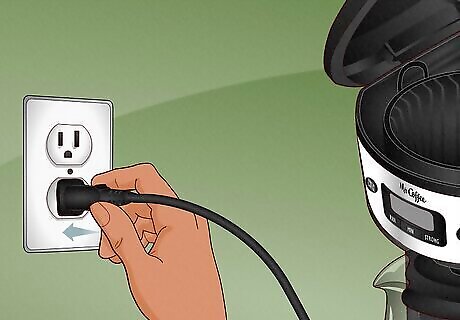
Plug your Mr. Coffee machine into a power source. Mr. Coffee sells several programmable coffee makers. While each model may be slightly different, the control panel on each Mr. Coffee machine is similar enough that the instructions below should apply to them all. Before using your coffee maker, remove the carafe, brew basket, and reusable filter (if included), wash in mild, soapy water, rinse, dry, and place back in the machine. Mr. Coffee also recommends you run a hot water cycle through the machine before brewing your first pot of coffee. Place a carafe-full of hot water in the reservoir, place the carafe under the spout, and turn the machine on. Dump out the hot water and rinse the carafe, then continue brewing your first coffee pot.
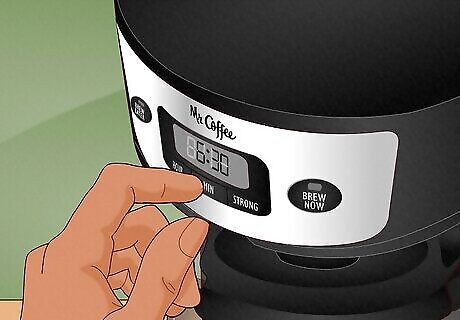
Set the clock on your machine. On the front of the machine is a control panel with a built-in clock. Press the Hour and Minute buttons until the current time is displayed on the clock. After 5 seconds of inactivity, the clock will set.
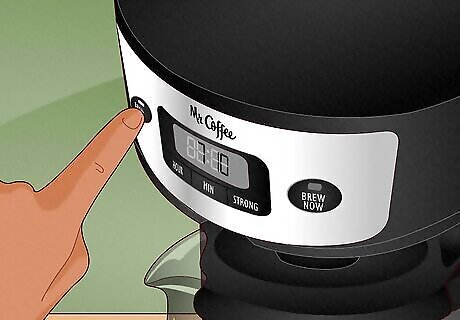
Set your Brew Later time. Press the Brew Later button, then use the Hour and Minute buttons to program what time you want your coffee maker to brew a prepared pot of coffee—such as right when you wake up in the morning. After 5 seconds of inactivity, the Brew Later time will set. After setting the Brew Later time, the Brew Later button will light up, indicating that the machine is set to brew later. Press the Brew Later button again to turn off Brew Later if you aren't looking to brew your coffee later.
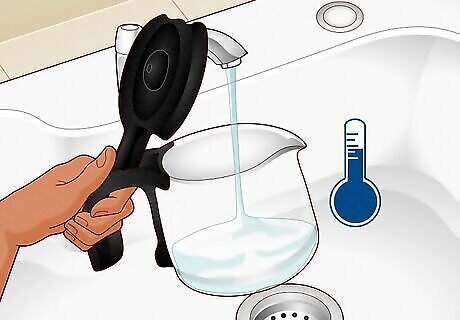
Fill the carafe with fresh, cold water. The carafe is the glass or plastic jug-shaped vessel that holds the coffee once it's brewed. Depending on your Mr. Coffee model, the minimum number of cups to brew varies. For a 12-cup coffee maker, Mr. Coffee recommends brewing at least 4 cups. For a 5-cup coffee maker, Mr. Coffee recommends brewing at least 2 cups. The carafe has measurement markings on the side. Mr. Coffee measures 1 cup as 5 oz. of water. So, for a 12-cup coffee maker, the minimum amount of water to use is 20 oz. For a 5-cup coffee maker, the minimum amount of water to use is 10 oz. It's not recommended to brew a single cup of coffee in a bigger Mr. Coffee maker. Mr. Coffee does have a single-cup brewer, and we've included instructions on how to use that machine below.
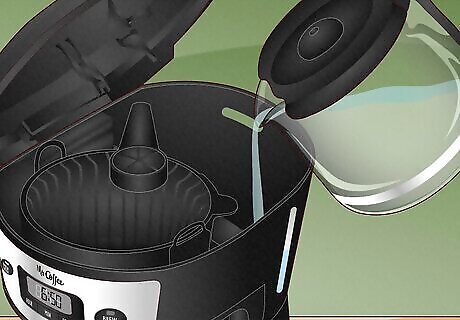
Pour the water into the coffee maker's water reservoir. To get to the reservoir, open the top lid of the coffee machine. In Mr. Coffee makers (and most drip coffee makers in general), the water reservoir is the deep cavity in the back of the machine.
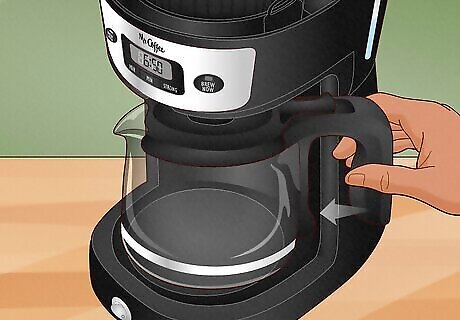
Place the carafe on the warming plate under the coffee spout. You can leave the lid of the carafe closed, if it has one—there is a hole in the top of the lid for the coffee to pour through. If the bottom of the carafe is wet, note that you may hear some hissing or fizzing when the warming plate turns on. This is just the water evaporating and won't damage the machine. If you don't like the sound, dry the bottom and sides of your carafe if it's wet.
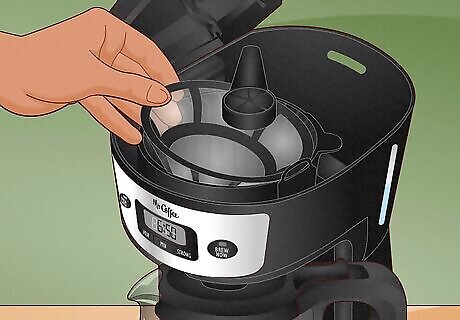
Put a paper or reusable filter in the brew basket. The brew basket is located under the coffee machine's top lid. It's in front of the water reservoir and nests in the smaller cavity above the spout that drips into the carafe. The basket is removable for easy cleaning. You can fill the basket while it's nested inside the machine or remove it if you prefer. Some Mr. Coffee machines come with reusable filters. They are made of plastic and a fine metal mesh. If your machine didn't come with a reusable filter or you don't like the taste of coffee brewed with a reusable filter, you can use a paper filter instead. Mr. Coffee machines take standard paper filters (the kind with a flat bottom and fluted sides).
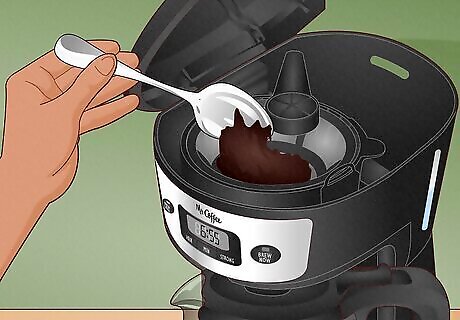
Fill the brew basket with ground coffee. A general rule of thumb is to use 1 tablespoon of coffee for each cup of water you want to brew. If you like a stronger cup of coffee, scoop heaping tablespoons of ground coffee into the basket. Most pre-ground coffee is ground to the correct fineness for drip coffee machines. If you grind your own coffee or you get your coffee ground at a coffee shop, grind the coffee to a medium to medium-fine size. Alternatively, if someone else is grinding coffee beans for you, you can ask them to grind it to the correct size for a drip coffee maker.
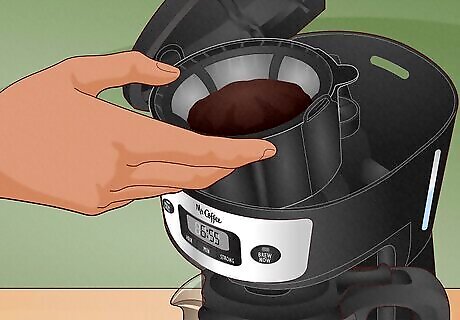
Place the brew basket in the coffee machine. If you filled the brew basket when it was already in the machine, you can skip this step. Once the water reservoir has been filled and the brew basket has a filter and coffee grounds in it, shut the lid on top of the machine.
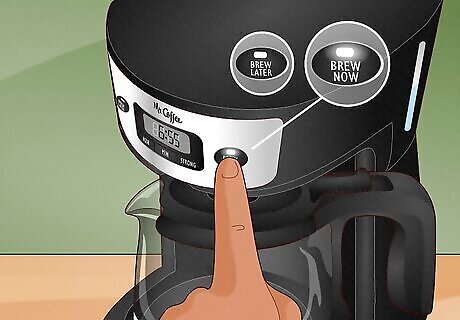
Press Brew Now or Brew Later. If you press Brew Now, the coffee maker will start making your coffee immediately. If you press Brew Later, the coffee machine will wait to make the coffee until the programmed Brew Later time. If you selected Brew Now, allow the coffee maker to brew your coffee. The more coffee you're making, the longer it will take. During the coffee brewing process the machine may get a bit loud and you may notice some steam, but you shouldn't see smoke or smell any bad smells. If you notice smoke or a bad/burnt smell, stop using the coffee maker and contact Mr. Coffee for support. If you selected Brew Later, the Brew Later button will be lit up, indicating that the machine is set to brew coffee at a later time. To turn off Brew Later, press the Brew Later button again. You will have to press the Brew Later button every time you want to set your coffee maker to brew your coffee at the programmed time.
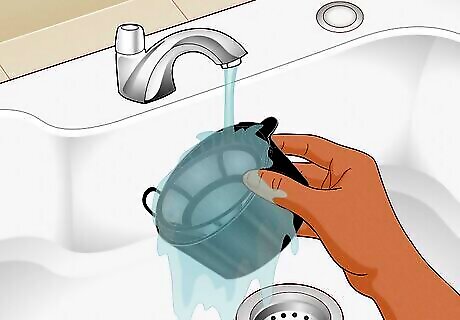
Clean the coffee maker once it's done brewing. Mr. Coffee programmable coffee makers automatically turn off 4 hours after brewing a pot of coffee, but you can turn it off early by pressing the Brew Now button again. Once you're done drinking the coffee you brewed, make sure to do the following cleaning and maintenance steps: Dump out any old coffee and rinse your carafe. Do this once the carafe is fully cooled. Never rinse a hot carafe with cold water, as this could cause a glass carafe to crack. Dump out the coffee grounds and used paper filter. Rinse the brew basket to get rid of any lingering coffee grounds. If you have a reusable filter, rinse it alongside the brew basket. Do this once the brew basket and/or filter are completely cooled. If the filter, brew basket, or carafe are dirty or stained, wash by hand with mild dish soap and water. You can also wash your filter, brew basket, and carafe in the top rack of the dishwasher. Dry the brew basket, filter, and carafe before placing back in the machine. If you put a wet brew basket and/or filter in the machine and close the lid, this could lead to mold or mildew growth. Wipe the outside of your coffee machine down with a damp cloth if you notice stains or debris. Never submerge the main coffee maker unit in water.
Mr. Coffee Single-Cup Maker
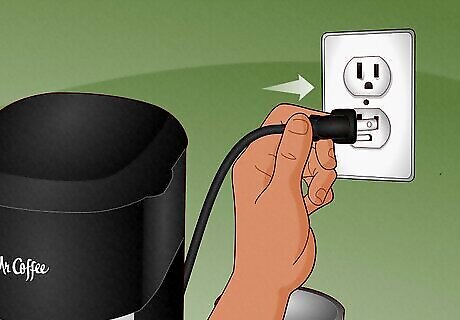
Plug your Mr. Coffee machine into a power source. If you only want to make a single cup of coffee, Mr. Coffee sells single-cup brewers like the Mr. Coffee Latte. This machine can make lattes, cappuccinos, and iced coffee, but the instructions below are how to make a single cup of hot drip coffee. Before using your coffee maker, remove the milk frother, brew basket, and reusable filter, wash in mild, soapy water, rinse, dry, and place back in the machine. You should also wash and dry the tumbler, straw, and coffee scoop. Mr. Coffee also recommends running a cycle of hot water through the machine before brewing your first pot of coffee. Place a tumbler full of hot water in the reservoir, insert the reusable filter or a paper filter, place the tumbler under the spout, and turn the machine on. Dump out the hot water and rinse the carafe, then continue brewing your first pot of coffee.
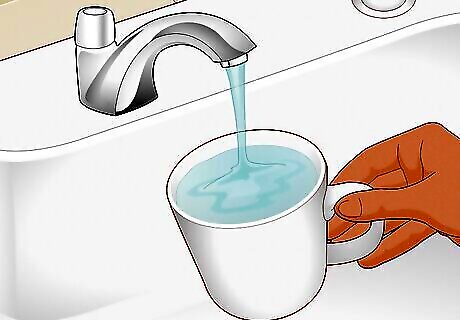
Fill a mug with fresh, cold water. You can use any mug, though Mr. Coffee recommends filling the machine with 8 to 16 oz. of water. Do not fill the machine with more than 16 oz. of water, as this will cause the machine to overflow.
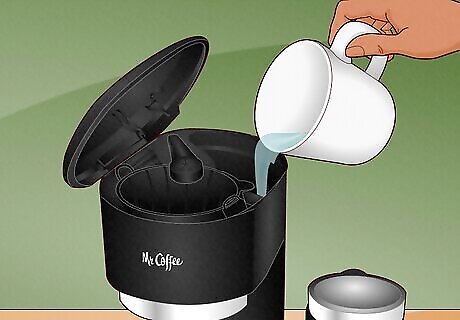
Pour the water into the coffee maker's water reservoir. To get to the reservoir, open the top lid of the coffee machine. In Mr. Coffee makers (and most drip coffee makers in general), the water reservoir is the deep cavity in the back of the machine.
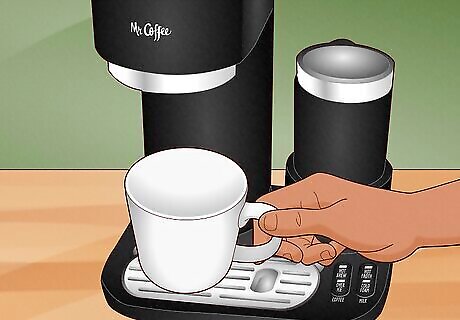
Place the mug under the coffee spout. Use a taller mug to avoid the coffee splashing while brewing.
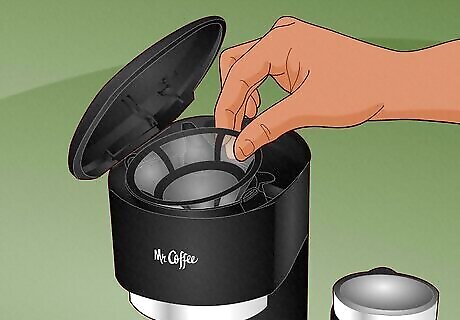
Put the reusable filter in the brew basket. The brew basket is located under the top lid of the coffee machine. It's in front of the water reservoir, and nests in the smaller cavity above the spout that drips into the carafe. The basket is removable for easy cleaning. You can fill the basket while it's nested inside the machine or remove it if you prefer. You can use a paper filter in your Mr. Coffee Latte machine, but Mr. Coffee recommends using the reusable filter that comes with the machine.
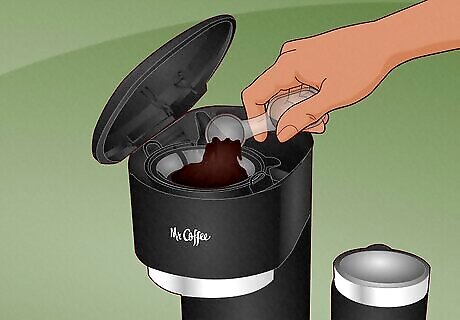
Using the HOT side of the scoop, fill the brew basket with ground coffee. For the Mr. Coffee Latte machine, use 1 scoop of coffee for 8 oz. of water, 1.5 scoops for 12 oz. of water, and 2 scoops for 16 oz. of water. You can add an extra ½ to 1 scoop of coffee if you prefer a stronger cup. Most pre-ground coffee is ground to the correct fineness for drip coffee machines. If you grind your own coffee or you get your coffee ground at a coffee shop, grind the coffee to a medium to medium-fine size. Alternatively, if someone else is grinding coffee beans for you, you can ask them to grind it to the correct size for a drip coffee maker.
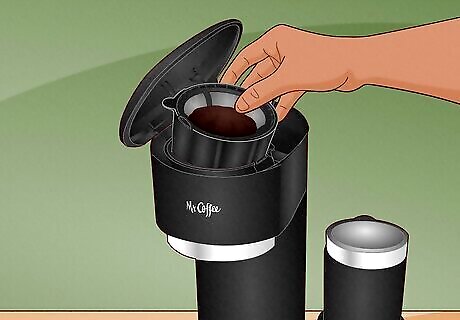
Place the brew basket in the coffee machine. If you filled the brew basket when it was already in the machine, you can skip this step. Once the water reservoir has been filled and the brew basket has a filter and coffee grounds in it, shut the lid on top of the machine.
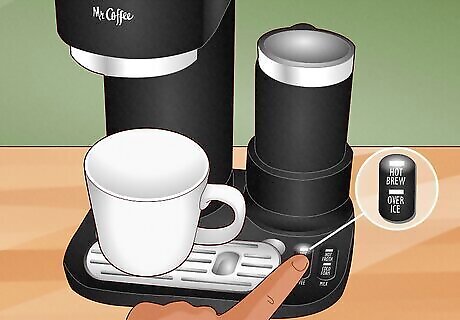
Press the HOT BREW button. If you prefer a stronger cup, you can pick the OVER ICE setting instead, as this will pre-infuse the coffee with water for a bolder brew. Allow the coffee maker to brew your coffee. The more coffee you're making, the longer it will take. During the coffee brewing process, the machine may get a bit loud, and you may notice some steam, but you shouldn't see smoke or smell any bad smells. If you notice smoke or a bad/burnt smell, stop using the coffee maker and contact Mr. Coffee for support.
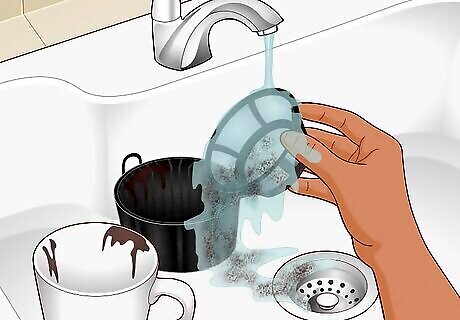
Clean the coffee maker once it's done brewing and cooled off. Once you're done drinking the coffee you brewed, make sure to do the following cleaning and maintenance steps: Dump out the coffee grounds and used paper filter. Rinse the brew basket to get rid of any lingering coffee grounds. If you have a reusable filter, rinse it alongside the brew basket. Do this once the brew basket and/or filter are completely cooled. If the filter or brew basket is dirty or stained, wash it by hand with mild dish soap and water. You can also wash your filter and brew basket in the top rack of the dishwasher. Dry the brew basket and filter before placing it back in the machine. If you put a wet brew basket and/or filter in the machine and close the lid, this could lead to mold or mildew growth. Wipe the outside of your coffee machine down with a damp cloth if you notice stains or debris. Never submerge the main coffee maker unit in water.




Comments
0 comment