
- Many newer printers feature AirPrint, which makes printing as easy as tapping the "Share" icon, then selecting "Print".
- If you don't have AirPrint, you can use the printer's app to print. Just share the image or document that you want to print with the app and tap "Print."
- Use the Bonjour Print Service on Windows computers with wired printers to make them AirPrint-compatible, then download the AirPrint activator program.
- There are also AirPrint activator programs available for wired printers on Mac that you can install to make your printer AirPrint compatible.
Using an AirPrint Printer
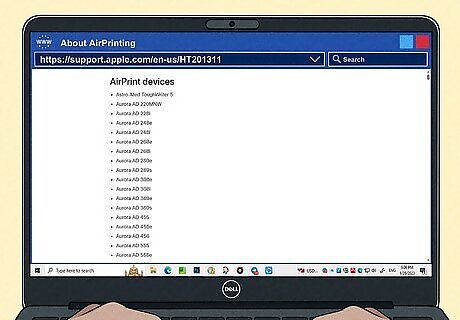
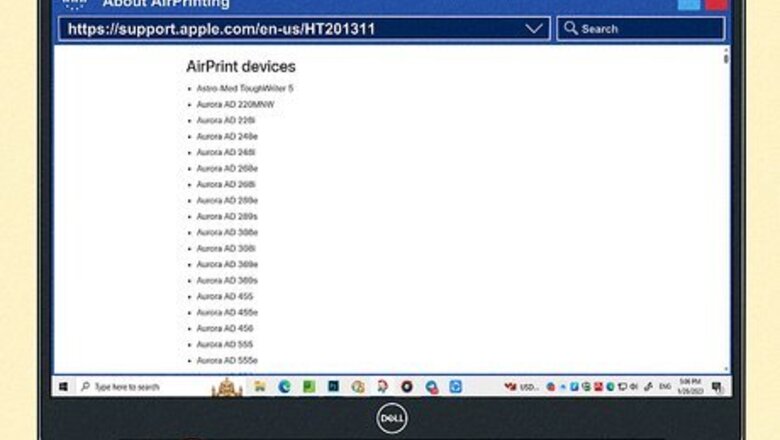
Check that the printer is AirPrint-compatible. If you have an Airprint printer, printing is a very straightforward process. Most new printers that support Wi-Fi also support AirPrint. You can check Apple's list at support.apple.com/en-us/HT201311 for your specific model. The list is quite long, so press Ctrl/⌘ Cmd+F and type your model to search for it on the page.
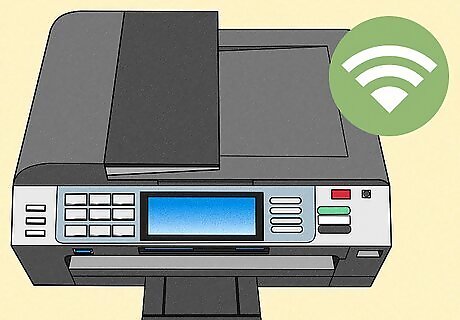
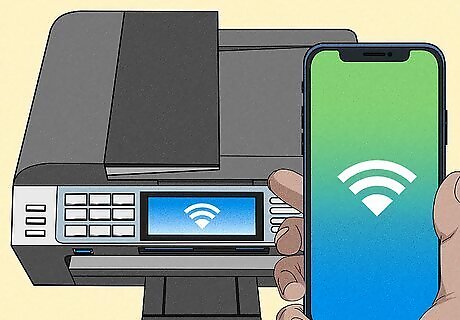
Ensure that your printer is connected to your wireless network. Follow the documentation for your printer to get it connected to your wireless network. The printer will need to be connected to the same network that you connect your iPhone to.
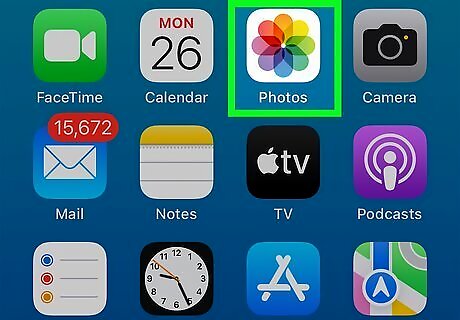
Open an app on your iPhone that supports printing. Most apps that deal with text or photos allows you to print from them. Below are just some of the popular apps that support AirPrint: Mail Safari Photos Pages Keynote Evernote Google Drive iBooks

Open the item that you want to print. Once you've opened the app, open the item you want to print. This could be an email, a web page, a PDF file, or any other document or photo.
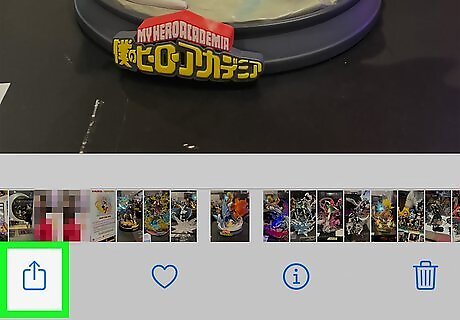
Tap the Share button. This usually looks like a square with an arrow coming out of the top. This will open the Share menu. There are some exceptions to this. For example, in the Mail app, tap the "Reply" button to reveal the "Print" option.
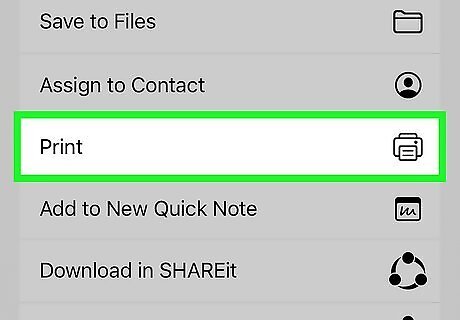
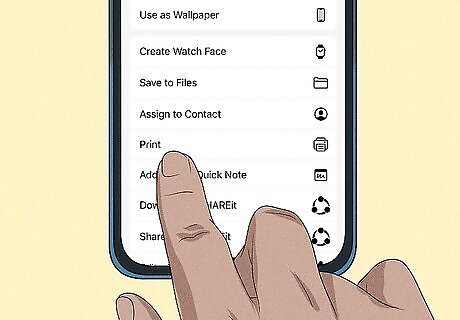
Tap the "Print" option. You'll find this in the bottom row of options. You may have to scroll to see it. If there is no Print button, the app you are using does not support printing.

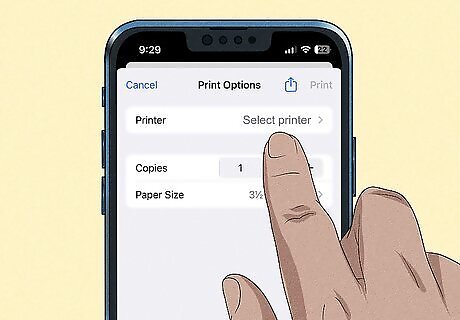
Tap the "Select Printer" button and choose your printer. This will display all of the AirPrint printers connected to the network.
Troubleshoot a printer that doesn't appear. There are multiple reasons a printer may not appear as available: Make sure it is turned on and connected to the same wireless network as your iPhone. If the printer is not AirPrint-compatible, it will not appear. If you just turned the printer on, you may have to wait several minutes until it appears. If the printer has been on for a while and is not appearing, turn it off and then turn it back on again. Wait a few minutes for it to start up and then check again.
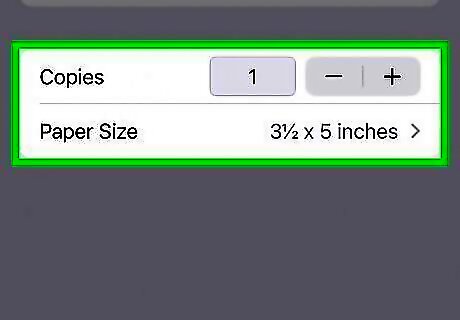
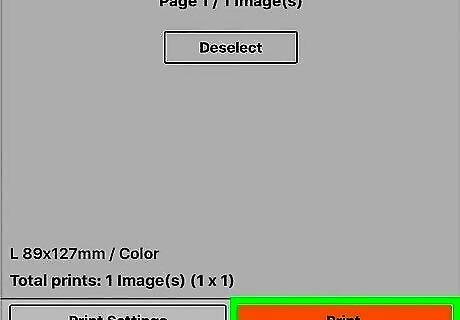
Choose your print options. You'll have limited print options, depending on the item being printed. You can choose how many copies to print, and what range of pages if the document has more than one page.
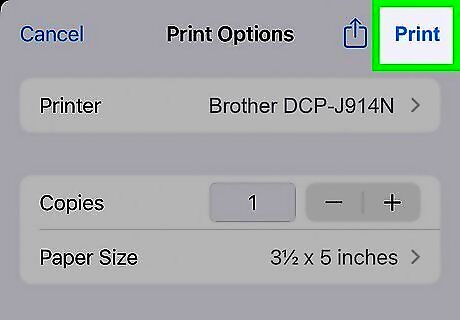
Tap "Print" to print the item. The file will be sent to the printer, which should start printing it after preparing. Some printers take longer to begin printing than others.
Using a Non-AirPrint Printer
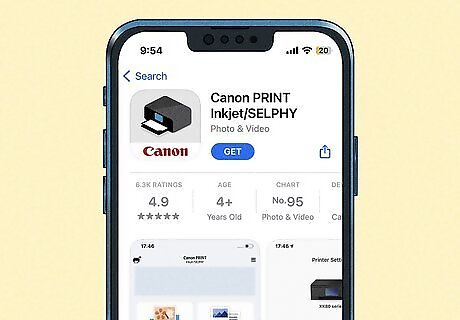
Check for an app from your printer manufacturer. Many of the major printer manufacturers have apps on the App Store that will allow you to print to a non-AirPort printer. Open the App Store on your iPhone and search for "Manufacturer printer." For example, searching for "Canon printer" returns "Canon PRINT Inkjet/SELPHY," Canon's official printing app.
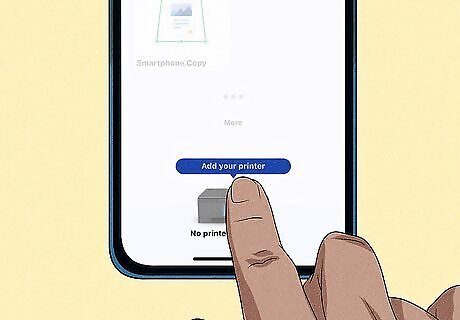
Register your printer with the app. The app will likely require you to add your printer to the list of available printers. Make sure your printer is connected to the network and then add it to the app. If your printer does not appear, make sure it is turned on and connected to the same wireless network as your iPhone.

Select a file to print. Most print apps can browse your iCloud drive as well as files from your major installed apps. Select the file or photo that you want to print from your iPhone.
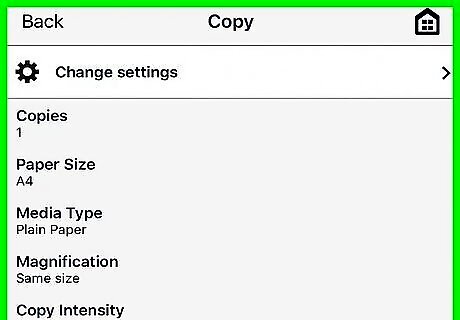
Adjust your print settings. You'll usually get the same option you would through AirPrint: number of copies and page range. For photos, you may be able to adjust the paper type, depending on your printing app.
Send the file to print. Tap the "Print" button once you're satisfied with your settings, and the file will be sent wirelessly to the printer.
Enabling AirPrint on Wired Printer (Windows)
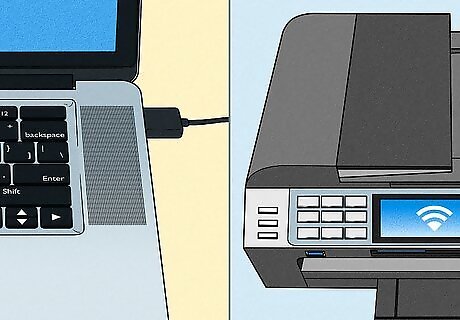
Connect your wired printer to a computer on your network. If you have a printer that does not connect to the wireless network, you can use your computer to turn it into an AirPrint server. The printer will need top be connected directly to your computer via USB, or connected to the router via Ethernet if the printer supports it.
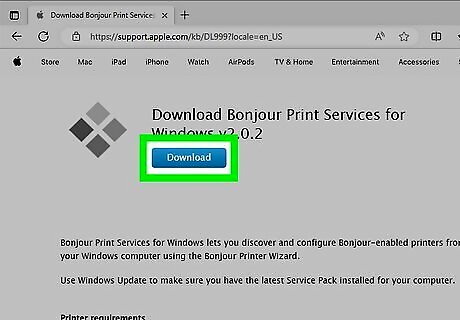
Install the Bonjour Print Service (if you don't have iTunes). If you don't have iTunes on your computer, download the Bonjour Print Service from Apple at support.apple.com/kb/DL999. This will install the necessary drivers for AirPrint. iTunes comes with this service installed, so if you use iTunes you can skip this step.
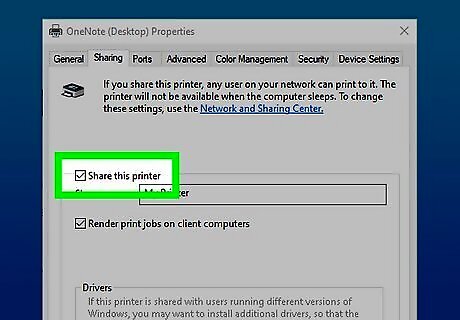
Share your printer in Windows. Your printer will need to have sharing enabled in order for the AirPrint service to work: Open the Start menu or screen and type "devices and printers." Right-click your printer in the Devices and Printers window and select "Printer Properties." Click the "Sharing" tab and check "Share this printer." Click "OK" to save your changes.
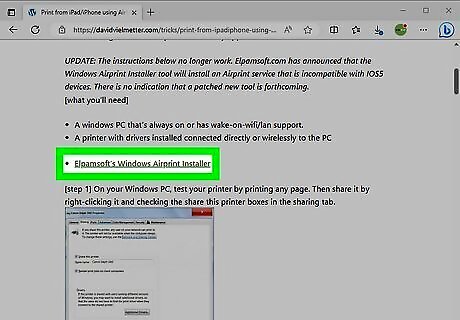
Download and install an AirPrint activator program. These are programs that mimic the AirPrint service, allowing you to turn printers connected to your computer into AirPrint printers. One of the most popular free options is Elpamsoft AirPrint Installer, though it's not the most user-friendly program. The original developer's site is gone, but you can find Elpamsoft AirPrint Installer on a variety of different download sites.
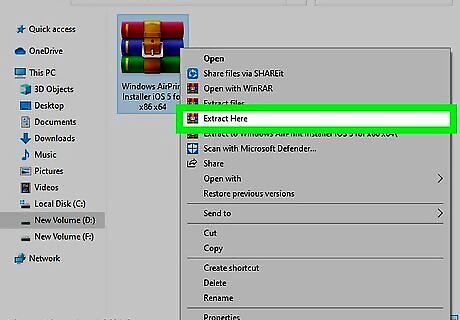
Extract the downloaded file. Elpamsoft AirPrint Installer will likely download as a ZIP file. Double-click this file to open it, then click "Extract" at the top of the window. This will extract the files into a new folder with the same name as the ZIP file.
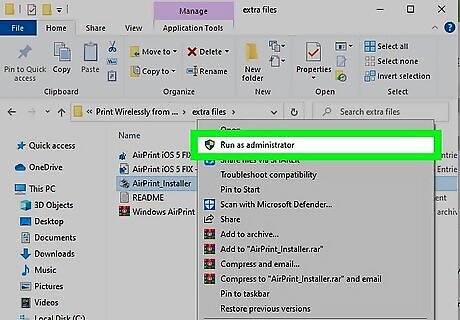
Right-click the EXE file and select "Run as Administrator." If you aren't logged in with an administrator account, you'll be prompted for the admin password.
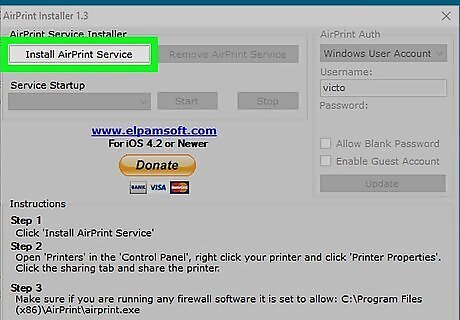
Click the "Install AirPrint Service" button. This will install the new AirPrint service on your computer.
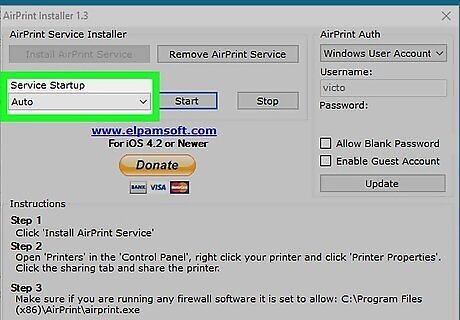
Click the "Service Startup" menu and select "Auto." This will automatically start the service when Windows start.
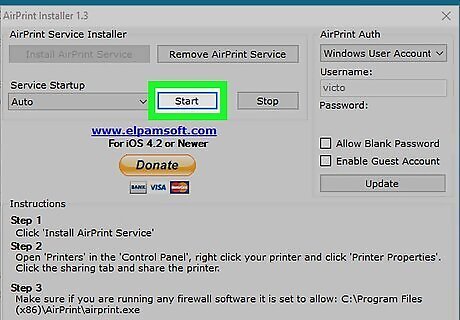
Click the "Start" button. This will start the new AirPrint service.
Try printing on your iOS device. Now that the service is up and running, you should be able to select your printer by tapping the Share button and selecting "Print." If the printer has a padlock next to it, you'll be prompted to enter your Windows user password. Your printer will need to be turned on and you'll need to be logged into Windows in order for the printer to appear on your iPhone.
Enabling AirPrint on Wired Printer (Mac)
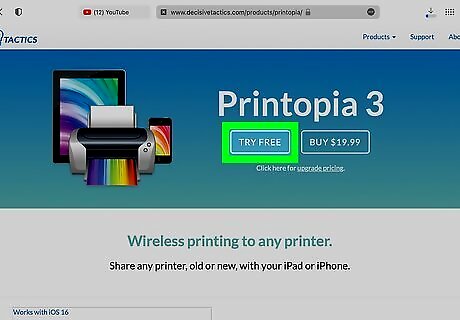
Download and install an AirPrint activator program. There are several programs available for OS X that can turn your connected printers into AirPrint printers. The two most popular are Printopia and HandyPrint. Both are paid programs with free trials. To install the program, download it from the developer's website. Double-click the downloaded file and then drag the program to your Applications folder.
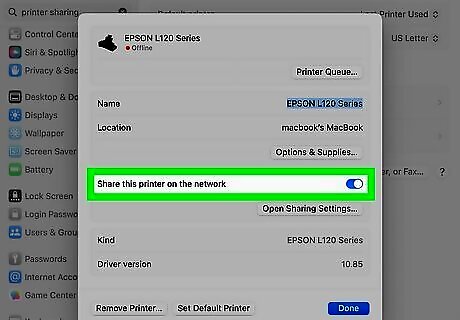
Enable sharing for your printer. Your connected printer will need to be shared in order for it to appear as an AirPrint printer: Click the Apple menu and select "System Preferences." Click the "Sharing" option and select "Printer Sharing." Select your printer and then check the box to enable sharing.
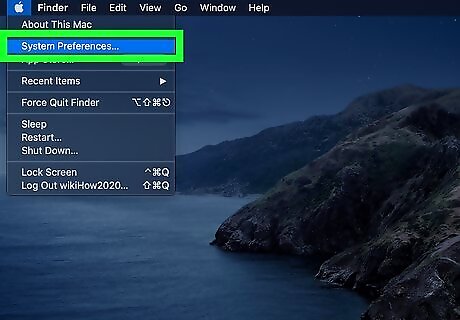
Launch the activator program. These programs are installed into your System Preferences menu. Click the Apple menu and select "System Preferences" to open your System Preferences menu.

Select the printer you want to use. When you open the program, you'll see a list of all of the devices installed on your Mac. Make sure your printer is selected, and deselect anything that you don't want to share.
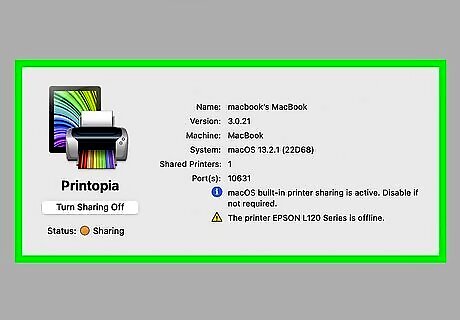
Make sure the service is enabled. Both Printopia and HandyPrint should be enabled by default, but you can double-check the toggle switch in the window to be sure.
Print to your newly-enabled printer. Open an app that supports printing on your iPhone and tap the "Share" button. Select "Print" and then tap "Select Printer." Choose your newly-shared printer from the list to print to it. Both the printer and the computer will need to be turned on in order for it to appear on your iPhone.


Comments
0 comment