views
- Use latex paint (water-based paint) to paint over oil-based paint if you want to avoid the harsh chemicals emitted by oil-based paints.
- Before applying latex paint to a surface painted with oil-based paint, sand the surface or apply chemical deglosser to ensure the latex paint adheres to the old paint job.
- Use acrylic paint (chemical-based paint) for exterior paint jobs and latex paint (water-based paint) for interior paint jobs.
Painting over oil-based paint with latex paint
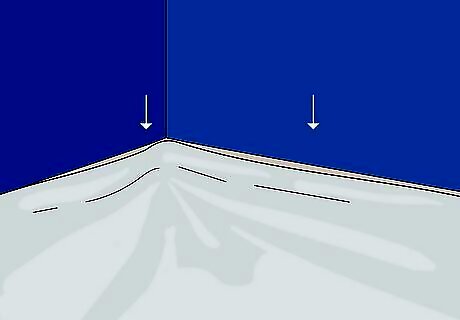
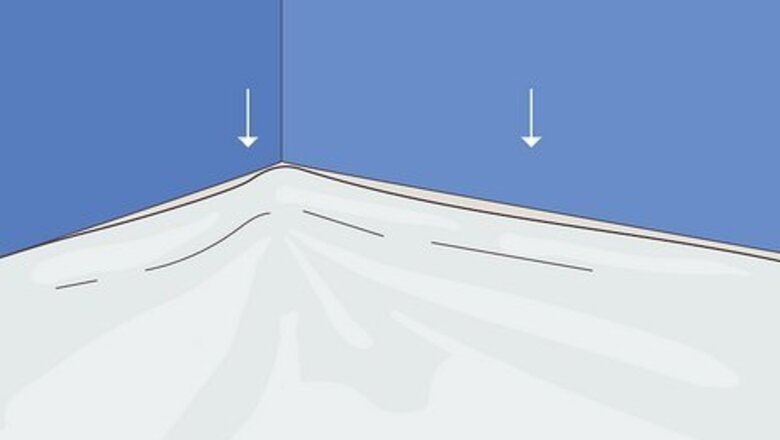
Lay a drop cloth on the floor. Laying a drop cloth on the floor beneath the surface you plan to paint will help catch any debris from sanding or any primer or paint that drips onto the floor. If you can, use a canvas-backed, plastic-lined drop cloth. A simple plastic drop cloth is effective at protecting furniture from paint, but on the floor, a thin plastic drop cloth may tear or be slippery.
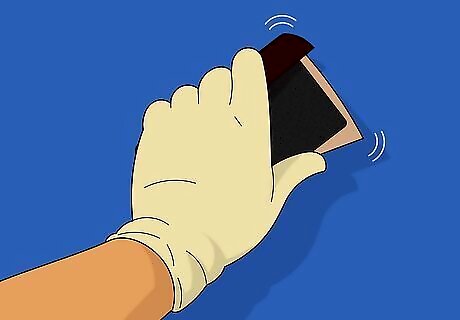
Sand the oil-painted surface. Use a 150-grit sandpaper to roughen up the surface of the oil-based paint. You are not trying to remove the oil-based paint; you are only trying to make it coarser. Because oil-based paint is so slick, the primer will peel off of it if the surface isn't made rough enough. If you want to avoid sanding, consider using a chemical deglosser. Apply the chemical deglosser to the surface, then wipe it away.
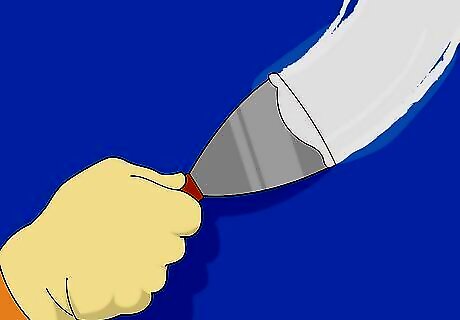
Fill in any gaps or holes with spackle. Apply a small amount of premixed spackling compound to a putty knife and drag the blade over the hole to fill it in. You don’t need much spackle at one time—just enough to fill in a small hole or crack. Scrape away any extra spackle. Allow the spackle to dry for a few hours. You may need to sand the surface after the spackle dries. Use a damp rag to wipe up any remaining dust after sanding.
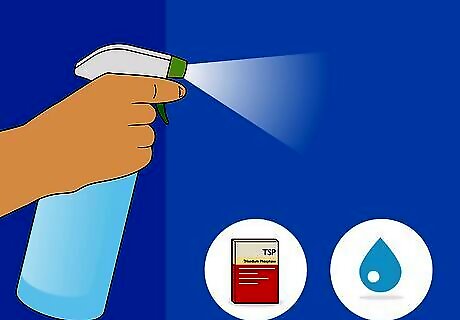
Use a spray bottle of trisodium phosphate and water to clean the surface. Dissolve ⁄2 cup (120 mL) of trisodium phosphate (TSP) in 2 gallons (7.6 L) of warm water. The resulting mixture should be somewhat cloudy and scentless. Funnel the mixture into a spray bottle, spray the surface you wish to paint, and wipe it down with a clean cloth. Rinse the spot thoroughly with water to ensure there is no TSP left over, and let the surface dry. Make sure to wear protective glasses and gloves when working with TSP. Cleaning the surface before priming will ensure there is no dirt, grime, or paint chips left on the surface, which will make it easier for the primer and paint to adhere. You can also add the TSP water solution to a bucket and use a stiff scrub brush or sponge to apply the mixture to the painted surface. Want to avoid the harsh chemicals? Fill a bucket or spray bottle with a mixture of half white vinegar and half warm water. Use the spray bottle or a sponge to apply the mixture to the painted surface and scrub clean. Rinse the surface with warm water.
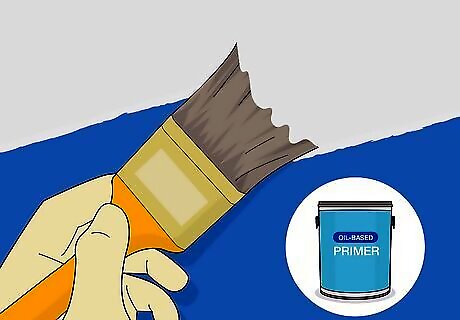
Apply oil-based primer in multiple thin coats. Applying primer before painting helps to ensure the paint will properly adhere to whatever surface you are painting. It will likely take 2 or 3 coats of primer before the underlying oil-based paint is completely covered. Make sure to let the primer dry completely in between coats—this may take a few hours or even a day. It is important to use an oil-based primer because a water-based primer won’t adhere to the oil-based paint. However, a water-based paint will adhere to the oil-based primer. Essentially, the oil-based primer acts as a “bridge” between the oil-based paint and the water-based paint. You can use a paintbrush or a paint roller to apply the primer to the surface you want to repaint. If you use a brush, the bristles should taper slightly from the ferrule into fine tips. If your primer dries unevenly or you see any bumps or drips after it dries, you can sand over it to make it smooth. If necessary, add a little paint thinner or mineral spirits to thin your primer. Open windows to ventilate the room and be sure to don PPE. Add a little paint thinner at a time, trying to maintain a general ratio of 4:1 or 3:1 primer to paint thinner.
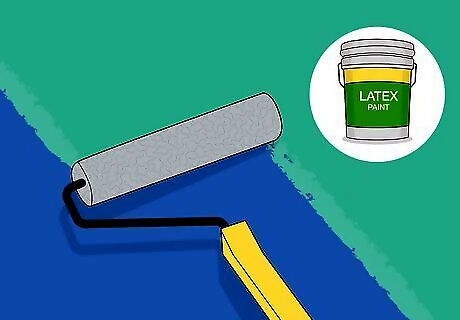
Apply latex paint in multiple thin coats. Depending on the latex paint you use, it will likely take 2 to 4 thin coats of paint to fully cover the surface. Make sure to let each coat dry completely before applying a new coat. It may take a few hours, but water-based paint dries more quickly than oil-based paint. Be sure you are using latex paint (i.e., water-based paint) rather than acrylic paint (i.e., chemical-based paint). Acrylic paint is more frequently used on exterior surfaces, whereas latex is more common for interior paint jobs. You can use the same paint roller or paintbrush to apply the latex paint that you used for the primer; just make sure you thoroughly clean the roller or brush first.
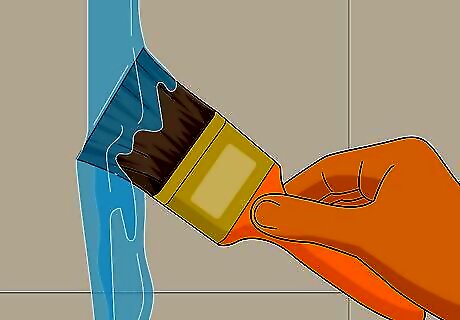
Clean your brushes. Latex paint can be washed off with water. Run the brushes under warm or hot water and use your fingers to remove the paint. Run the water over the bristles of the brush until the water runs clear. It is important to properly clean your painting materials before the paint dries because it is harder to clean a brush with dried paint on it.
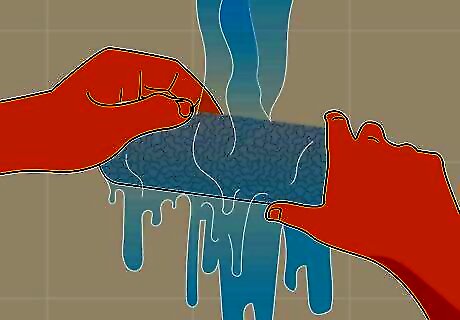
Clean your rollers. Remove the roller cover from the frame and run it under hot water, using your fingers to scrape away any excess paint. Keep running the water over the roller cover until it runs clear. If you are painting over multiple days, it isn’t necessary to clean your roller every night: simply cover it with plastic to keep it wet and ready for the next day of painting.
Painting over oil-based paint with oil-based paint
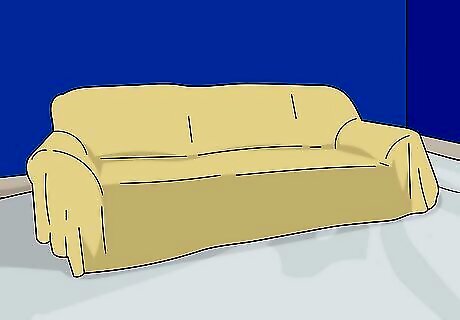
Spread a drop cloth on the floor and over any furniture near the painting site. A drop cloth will help protect your floor and furniture from any primer or paint that drips onto the floor. Many professionals use a canvas-backed, plastic-lined drop cloth. A plastic drop cloth is adequate to shield furniture, but a thin plastic drop cloth on the floor may rip or become slippery.
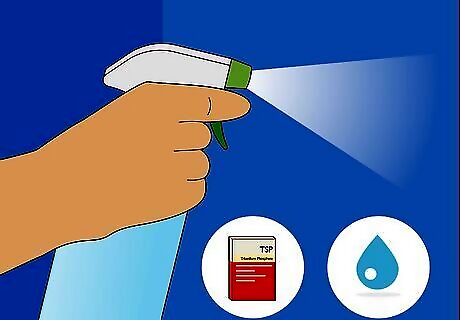
Clean the surface with a mixture of trisodium phosphate and water. In a spray bottle, blend ⁄2 cup (120 mL) of trisodium phosphate (TSP) with 2 gallons (7.6 L) of warm water. The resulting solution should be rather cloudy and have no odor. Spray the surface you wish to paint, and wipe it down with a clean cloth. Rinse the spot with water to make sure there is no TSP residue, and let the area dry. When interacting with harsh chemicals, be safe: wear PPE while you work with TSP. If you don’t clean the surface prior to painting, you risk bits of dirt and grime getting caught under the new coat of paint and either staining or leaving an uneven surface.
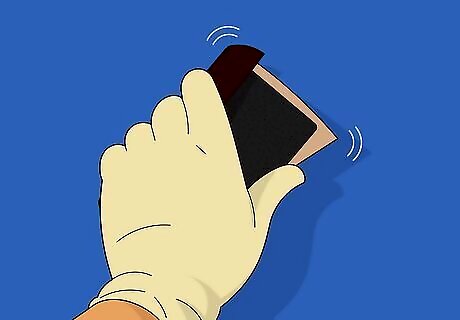
Sand any rough areas. When repainting with oil-based paint, you don’t have to worry that the paint will not adhere: oil-based paint will stick to oil-based paint. But there may still be rough areas or bumps in the old paint job that need smoothing over before you repaint. You can also use a putty knife to scrape away peeling paint or drywall fragments.

Spackle any dents or holes. Scoop up a bit of premixed spackling compound with your putty knife—you don’t need much spackling at one time, just enough to fill in a small crack or hole. Apply the knife to the wall above the hole at a 45-degree angle with the spackle on the side of the blade facing the hole, and drag the knife across the hole in a feathering motion to fill in the hole. Scrape away excess spackle. Let the spackle dry—this should take a few hours. After the compound dries, you may need to sand the surface again. After sanding, wipe up any leftover dust with a damp cloth.
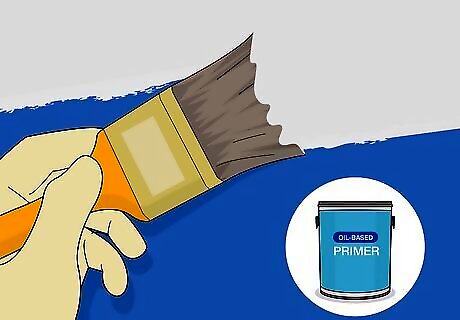
Apply multiple coats of an oil-based primer. Primer isn’t as much of a necessity when using oil-based paint over oil-based paint as it is when using latex paint. However, it will ensure your walls remain in good condition for a long time. Allow a day in between coats of primer. To test the thickness of the paint mix your paint with the brush and lift it up, if it takes more than five seconds for the paint to drip off, then it's too thick. If your primer is too thick, add a bit of paint thinner or mineral spirits. Maintain a general ratio of 3:1 or 4:1 primer to paint thinner. When working with solvents, be sure to wear PPE and make sure your room is properly ventilated.
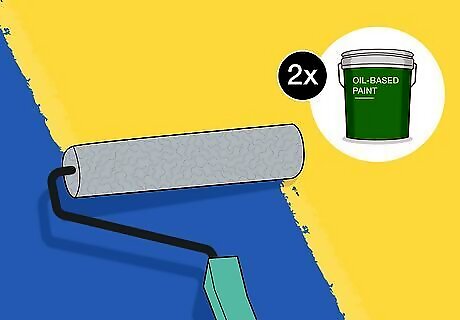
Apply 2 coats of oil paint. The first coat is for covering the surface, and the second coat is for smoothing out any rough spots. It will take about a day for each coat to dry. For large surfaces, use a foam roller brush to apply the paint smoothly. If your paint is too thick, add some more of your paint thinner or mineral spirits, maintaining a general ratio of 3:1 or 4:1 paint to paint thinner. Go slow thinning your paint: if it becomes too thin, the finished paint color will be too light.
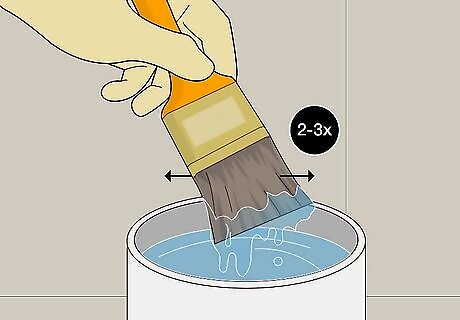
Clean your brushes. Put the paintbrush in a small container of solvent and swish the brush back and forth to shake loose any clinging oil paint. Scrape the brush against the sides of the container to help remove paint. Repeat this process 2 or 3 times, as needed. After rinsing the brush in solvent, use a comb to rid it of any excess paint. It is important to clean your paint brushes properly after using oil-based paints, as oil-based paint can permanently damage your brush if it is not properly cleaned.
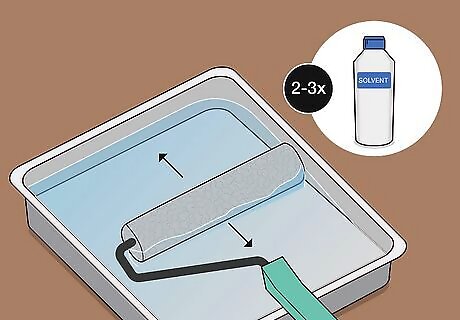
Clean your rollers. Fill a paint tray with solvent and slide the roller back and forth in the solvent to remove any remaining oil-based paint. Repeat this process 2 or 3 times as needed to ensure all the paint is gone from the roller. Stand the roller on end to dry it. If you lay the roller down, the fibers on the bottom of the roller will become crushed as they dry, and the roller will not roll evenly the next time you use it.





Comments
0 comment