
Preparing Your Face
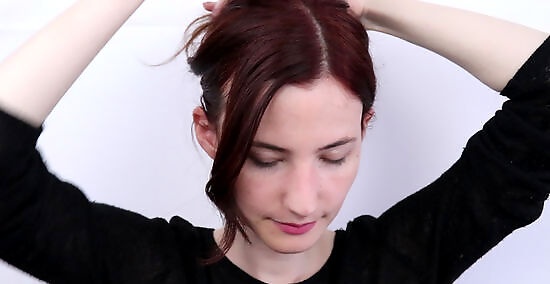
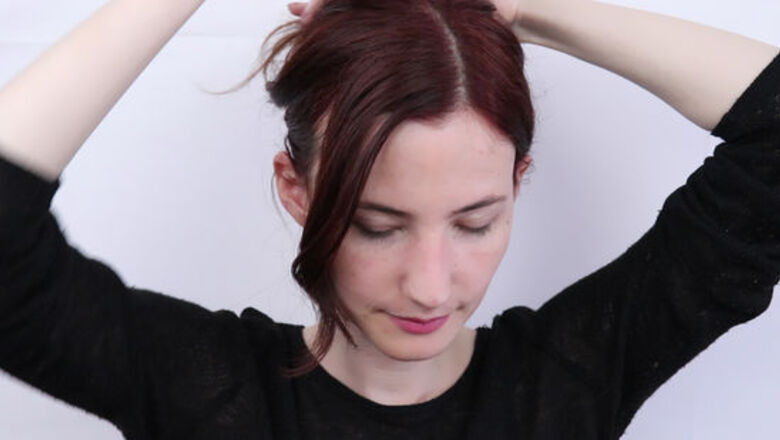
Tie or pin up your hair. Before putting on any makeup, you want to make sure your face is clean of any dirt or old makeup. If you have long hair, tie it back before washing your face. If you have short hair, pin any bangs or strands to the side so they don’t get in the way.
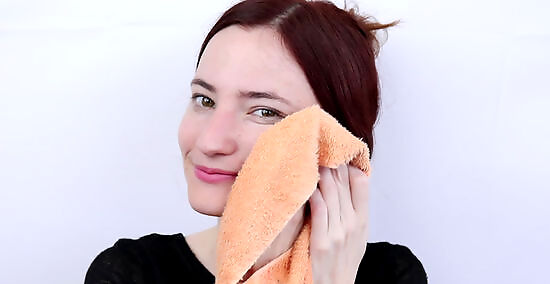
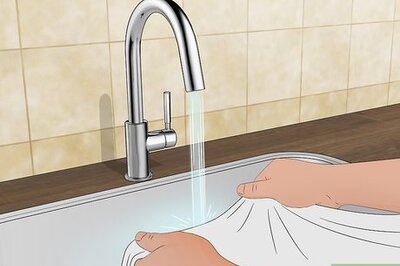
Wash your face. With your hair out of the way, now you can give your face a good wash to ready it for the new makeup you will be putting on. Use a mild facial cleanser to clean your face, then rinse the soap off with cold water.
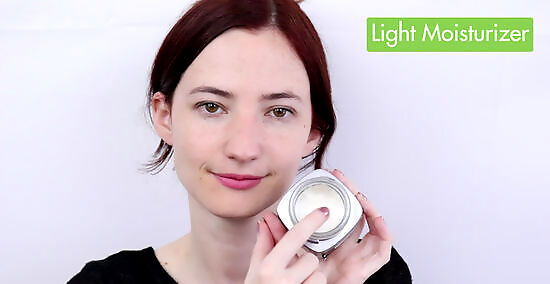
Moisturize your face. After you’ve finished washing your face, put a light moisturizer on. The moisturizer helps set the makeup you’re getting ready to apply. There are moisturizers for oily, dry, and normal skin. Use the moisturizer that fits your skin type. You don’t need a tinted or heavy moisturizer because you will be applying concealer and foundation.
Applying Concealer and Foundation
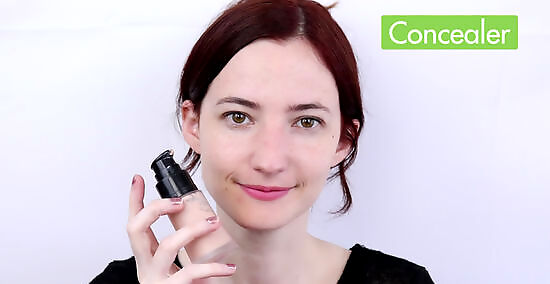
Apply concealer in your skin tone. A 1920s face is smooth, creamy, and very even-toned. Find a concealer that matches your skin tone. Once you have a concealer, use it to cover up parts of your face that are darker than others. Often, your skin will be a little darker under your eyes and on the bridge of your nose. To find the right shade of concealer, test a color on an area of your neck, a little below your ear. The color should be a little lighter than your skin color. You want it to be lighter because the concealer must cover up dark spots on your face.

Apply a foundation in your skin tone. After you’ve applied your concealer, you will now want to apply your foundation. Like the concealer, find a foundation in your skin tone. To get the perfect look, you might have to use an older variety of foundation, such as pancake, or a cream meant more for theater than for everyday use. To allow your skin to breathe, you can thin down your cream foundation by moistening your sponge before dipping it in the base.

Add a loose powder to your face to help set the makeup in. Lightly sweep a loose powder over your face. Powder is a great tool to help set your foundation and create a softer look. You can also use the powder to touch up parts of your face throughout the day.
Defining Your Eyebrows
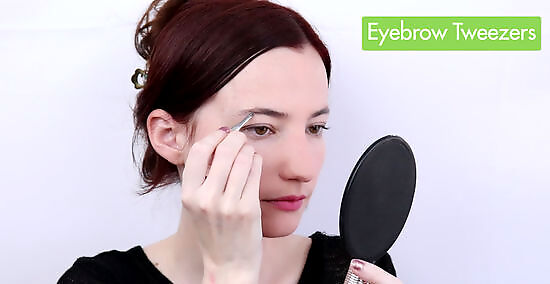
Pluck or conceal your eyebrows to thin them. Thin eyebrows were fashionable in the 1920s. If you already have thin eyebrows, you won’t have to change anything. If you don’t have thin eyebrows, you can either pluck them or use concealer and foundation to cover some or all of your existing eyebrows. If you want to pluck your eyebrows to a 1920s style, use a pair of tweezers and shape your eyebrows into a thin arch. You can make your eyebrows a little thinner at the ends. If you don’t want to pluck, use concealer and foundation to cover your existing eyebrows partially or entirely. In a partial cover, dab the makeup on your eyebrow hairs, leaving a thin line of hair exposed. Layer enough concealer and foundation to make the covered eyebrow match the color of your skin. The covered eyebrow should blend into your face well. To cover your entire eyebrow, put concealer and foundation on all the hairs. After covering, you can draw in thin eyebrows with a pencil.
Shape your eyebrows in an arch. Women in the 1920s had arched eyebrows. You can shape your eyebrows into this arch either by plucking or using an eyebrow brush. If you want to pluck your eyebrows, use tweezers to make a gentle arch shape with thin ends. If you don’t want to pluck your eyebrows, use an eyebrow brush to brush your eyebrow hairs from the bottom to the top. This will create an arched line. To keep the shape, add a little petroleum jelly to your eyebrows.
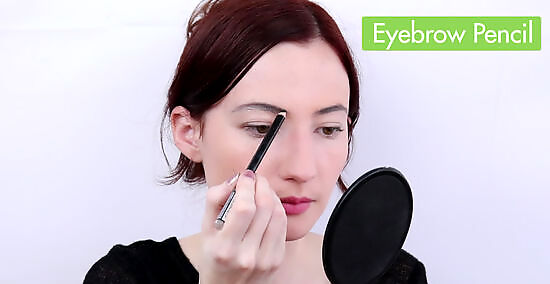
Darken your eyebrows with an eyebrow pencil. Now that you’ve plucked and/or shaped your eyebrows, use a black or brown eyebrow pencil to darken them. An eyebrow pencil can also help you define your eyebrow shape a little more and make the arch more visible. Choose an eyebrow pencil color based on the color of your hair. You still want your eyebrows to appear natural, so choose a shade a little darker than your hair color.
Putting on Eye Makeup

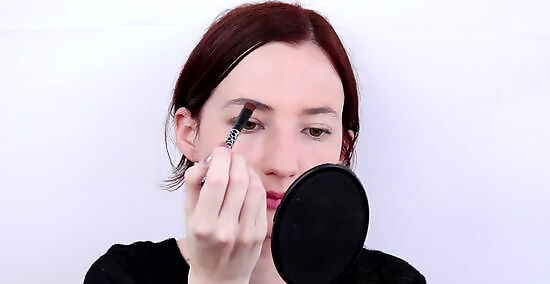
Apply mascara to your top and bottom lashes. 1920s eyes were smoky and dark, and women used mascara heavily. To get the same result, apply the darkest black mascara you can find to both your top and bottom lashes. Apply three or more layers to get an added effect.

Fill your eyelids in with dark eyeshadow. To keep your eyes on the sooty side, pick a gray-based eyeshadow. With a soft brush, sweep the eyeshadow from the start of your lash line and over your eye socket. Use the brush to blend the eyeshadow in more and soften the edges. You can also use eyeshadow along your lower lash line to better define it. If you want to use colored eyeshadow, you can! You just have to make sure your eyes remain smoky, and the colors green and blue work best for this. After you apply your colored eyeshadow, blend black eyeshadow into it at the corners of your eyes.
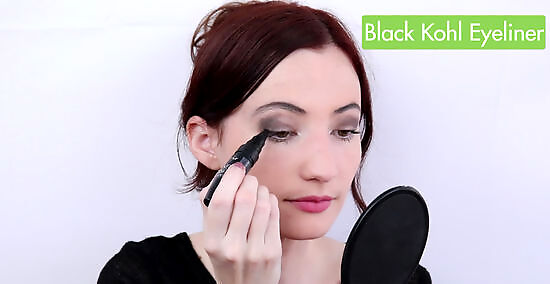
Use a black kohl eyeliner on your top and bottom lash lines. A kohl eyeliner is a type of eyeliner that is very smooth and easy to blend, so it’s perfect for the 1920s look. To complete your smoky eyes, use the black eyeliner to draw a line on your top and bottom lash lines. Then blend the eyeliner into your eyeshadow with a brush to create a soft look. You may want to use a waterproof formulation for all of your eye makeup to avoid unwanted smudging as much as possible.
Adding Final Touches

Find a cheek stain or cream blush with touches of red in it. 1920s style favored rouge. Rouge is a redder form of blush. If red is too strong for your coloring, raspberry or rose blushes are alternatives. Rub blush into the tops of your cheeks, a little bit above the cheekbone. Blend away hard edges, but make sure the color is still evident, as though you just walked in from the cold.
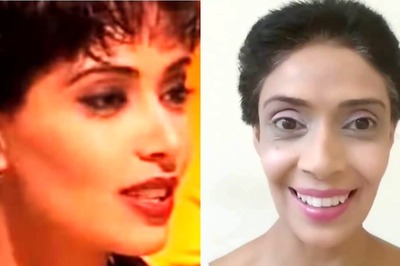
Shape your mouth into a cupid’s bow. The 1920s mouth was named the “cupid’s bow” because of its special shape. The cupid’s bow is a mouth with an exaggerated bottom lip and an upper lip with a bow. To make a cupid’s bow, use a waxy dark red lip liner to draw an arch on each side of your top lip. Then draw your lower lip as slightly plumper than it really is by extending slightly on the bottom. Draw both your upper and bottom lips as shorter on the sides. Fill your new lip shape in with pencil before layering matching lipstick over it. The arches on your top lip should be even, so they look like a bow. Lip colors in the 1920s were deep reds and brownish reds. When you are through, your lips should not be as wide as they really are, giving the illusion that you have them puckered and ready for a kiss. EXPERT TIP Daniel Vann Daniel Vann Licensed Aesthetician Daniel Vann is the Creative Director for Daredevil Cosmetics, a makeup studio in the Seattle Area. He has been working in the cosmetics industry for over 15 years and is currently a licensed aesthetician and makeup educator. Daniel Vann Daniel Vann Licensed Aesthetician Try lining your lips in a natural color first. Makeup artist Daniel Vann says: "To create a 1920's cupid's bow, first sketch out the shape you want with a more natural tone, like a brow pencil. Then, go back over it with your lip color. That will help you get a more precise look without having to go back and erase and redraw it.

Paint your nails to add to your look. Now that you’re all done with your face, go the extra mile and paint your nails! In the 1920s, women painted their nails only in the center. Pick a nail polish shade that matches your lipstick and paint your nails, leaving the half moon and nail tip unpainted.


Comments
0 comment