views
Getting Started
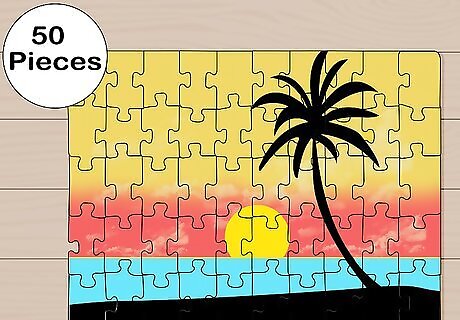
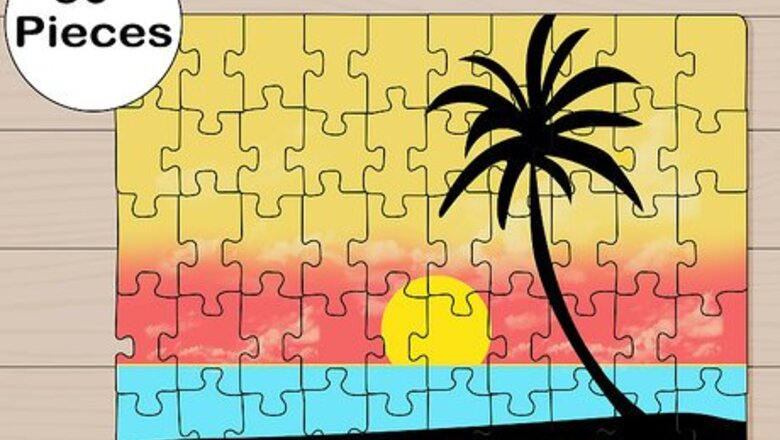
Start on a small scale. Try puzzles with simple scenes, large pieces, and a minimal number of pieces. For example, a 50–300 piece rectangular puzzle allows you to experiment with different methods for assembling your puzzle in a short amount of time. Graduate to a larger number of pieces (such as a puzzle with 300 – 1000 pieces, or even larger) once you’re confident assembling puzzles with the method you’ve chosen. Also look for other challenges, like 3D puzzles, puzzles with only one color, multi-layered puzzles, and infinity puzzles. If the puzzle has a particularly large number of pieces, you may want to consider counting the pieces to make sure none are missing.
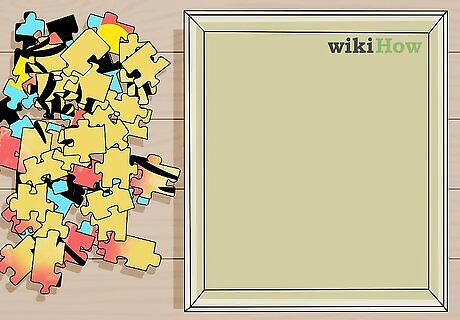
Set up your work area. Pick a hard, flat surface like a table for your work area. Ensure your area is large enough to accommodate the total number of pieces. Empty the contents of the box onto the work area. Turn all of the pieces face up.
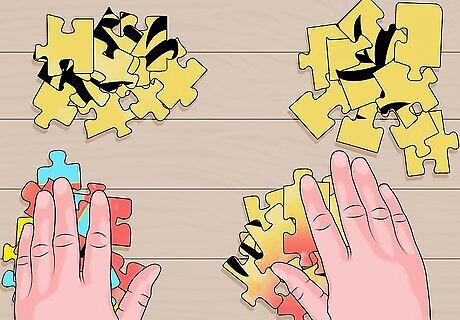
Sort the colored pieces. Keep different color groups in separate piles on your work area. Look for pieces that clearly depict something and separate those out. For example, you might have a piece that shows a body part like an eye or small objects like books. Put all of the pieces with writing on them in a different pile.
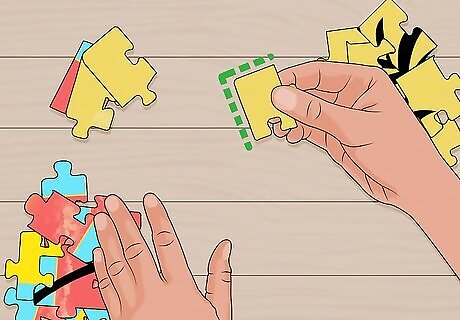
Pull out all of the edge pieces. Look for pieces that have a smooth side that can be part of the edge of the puzzle and put those in a pile. Also pull out any pieces that are shaped very differently than the other pieces. When you’re assembling the puzzle, it will eventually be obvious where these specially shaped pieces belong. Keep in mind that finding the edges of non-rectangular puzzles can be very difficult.
Assembling the Puzzle
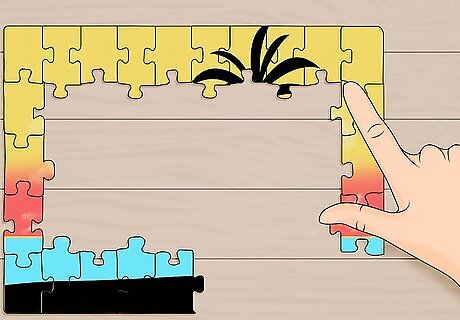
Construct the frame with the outside pieces. Connect the edge pieces. Look for pieces that might have copyright information that you can put together in a corner of the puzzle. Start filling in the middle after you’ve assembled the frame.
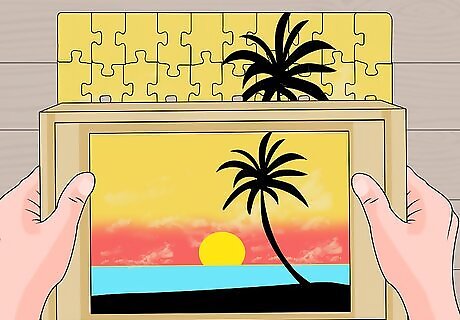
Use the picture on the box to orient yourself. Consult the picture on the box as you work on the puzzle. Study the details on the box to help you make smaller sub-piles from the pieces in the larger piles of colors and like-shaped pieces you’ve sorted. Look to see where the objects you start putting together belong in the picture.
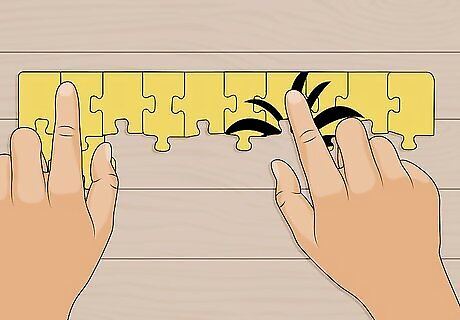
Complete different color groups. Use your colored piles to complete various chunks of the puzzle. Start with pieces that are large swaths of the puzzle such as a group of blues that represent the sky. Look for pieces that will form easily identifiable objects, like houses or animals.
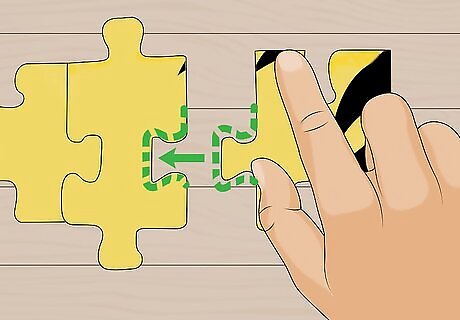
Look at the shape of the pieces. Tabs are the parts that jut out of the pieces, and blanks are their counterpart. Find tabs and blanks that will fit together -- you’ll quickly recognize how the pieces match. Check for repeating patterns of how the tabs and blanks are put together in your puzzle. Use these patterns to speed up your assembly. Don’t try to make the pieces fit. If they don’t go together easily, it’s because they do not belong in that position.
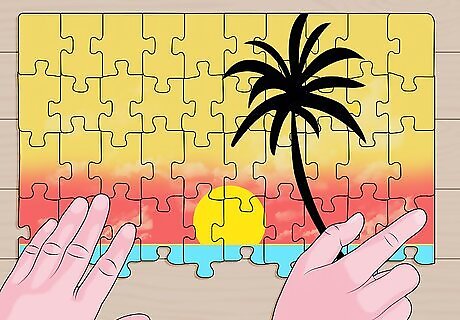
Arrange your colored sections. Put them approximately where they go inside the frame according to the picture on the box. Build on the sections that you’ve already completed. Fill in the gaps around the different completed sections to finish your puzzle.
Working with a Completed Puzzle
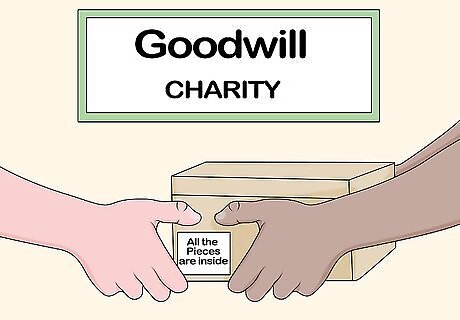
Donate your puzzle. Look for a charity that will accept a used puzzle. Carefully break down your completed puzzle and return the pieces to the box. Tape a note to the front of the box letting the recipient know that all the pieces are there, or if any are missing. Many organizations and facilities for Alzheimer patients, senior centers, hospitals, and other non-profits, like Goodwill are eager to acquire puzzles. You can also just pack away your puzzle to assemble again in the future.
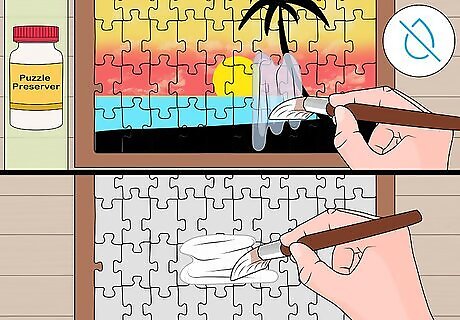
Glue your puzzle. Brush any lint or other debris from the surface of the puzzle. Grab a clean paintbrush or sponge, and a pot of white glue. Dip the brush or sponge into the glue and spread a thin, even layer over the surface of your puzzle. Wait for it to dry completely. Apply a second coat and let it dry completely. Carefully turn your puzzle over and coat the back with glue. Slide a piece of cardboard or butcher paper under your puzzle to protect the surface of the furniture or floor underneath the puzzle. Try this with ordinary white glue, decoupage glue, or puzzle preserver. Once you’ve preserved the puzzle, you can use it for other crafts.
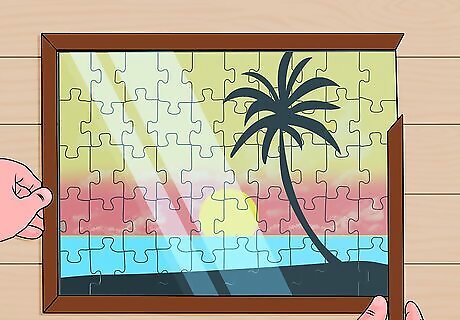
Frame your puzzle. Buy a premade frame or make your own. Preserve the puzzle with glue before framing. Handle your puzzle very carefully during the framing process.
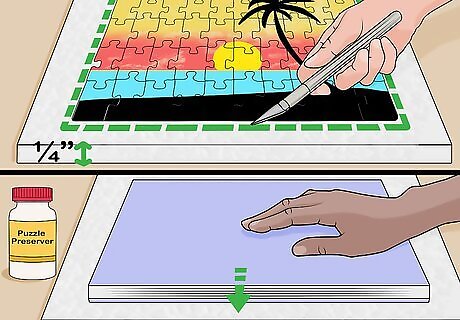
Make your own frame. Buy a ¼” (0.635 cm) thick piece of foam board that is larger on all sides than your puzzle. Put your puzzle on the board and mark the perimeter of the jigsaw on the board with a pencil. Slide the jigsaw off the board and use a hobby knife to trim the board so it will fit exactly against the back of your puzzle. Glue your puzzle to the back of the board. Use a very strong glue or spray adhesive so the puzzle won’t fall off the board. Weigh down the puzzle on the board to ensure it adheres. Try using heavy, flat objects like books.




Comments
0 comment