
views
- Remote desktop access is not included in the Home edition of Windows 10 and 11, but if your Windows includes remote access, you can disable it in your Settings.
- All Windows users can block remote access via the Windows Registry Editor, but you should only use the Registry Editor if you are comfortable doing so.
- Visit the "Sharing" section of your Mac's System Preferences to disable remote desktop access.
- You may also use the "Remote Desktop" app on a Mac to enter a command prompt and disable remote desktop access.
Windows (Settings)

Open the Windows Search bar. Click the magnifying glass on the left-hand side of your toolbar.
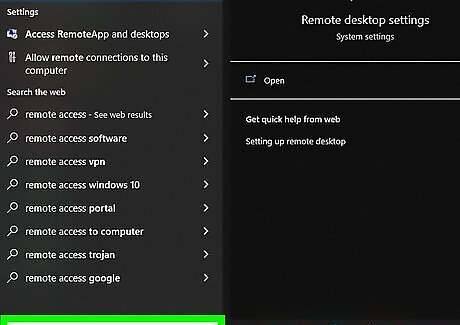
Type "remote access" into the search field. This will yield a few different results. Select Allow remote connections to this computer. It may sound counter-intuitive, but this will open the section of our PC's Settings where we can then disable remote access. Keep in mind that the Home edition of Windows 10 and 11 do not support remote desktop access anyway, and will therefore not present you with these options. If you still suspect someone is accessing your desktop remotely, ensure it is not coming from a third-party app such as TeamViewer.
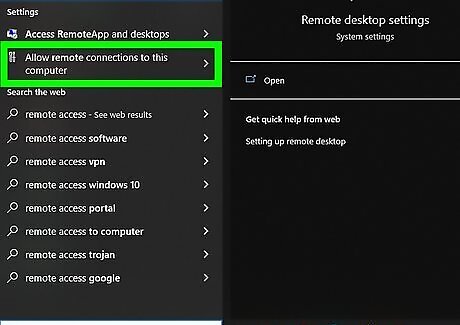
Click on "Allow remote access to this computer" to open the Remote Access Settings.
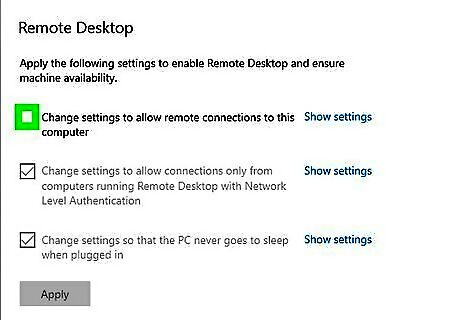
Uncheck the Checkbox "Allow remote support connections to this computer".
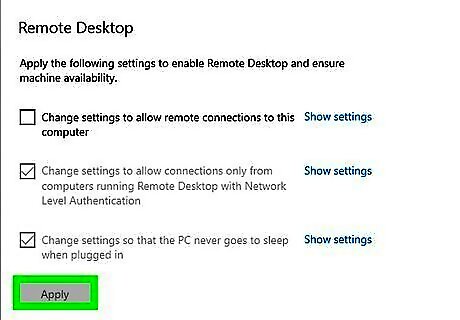
Click "OK" and your computer will no longer accept remote desktop connections.
Windows (Registry Editor)
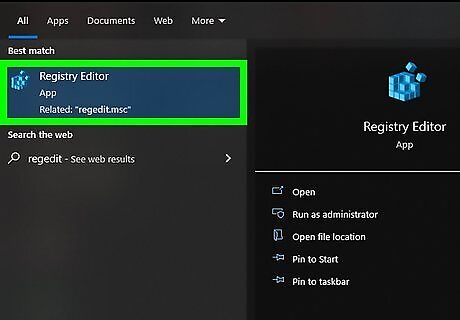
Open the Windows Registry Editor. Also known as regedit, the Registry Editor allows you to edit with a whole host of your computer's settings. Type regedit into the Windows Search bar to open it. Editing the Registry Editor incorrectly can permanently damage your computer, so only use this method if you are comfortable using the Registry Editor.
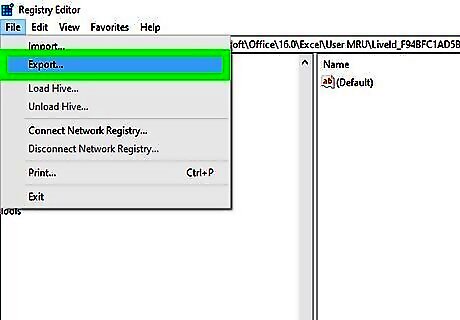
Export a backup of the current regedit. Whenever you edit the Windows Registry, you should save a backup first, in case your changes negatively affect your system. Click File and then Export. Name the backup something you will recognize, and save it somewhere you will remember.
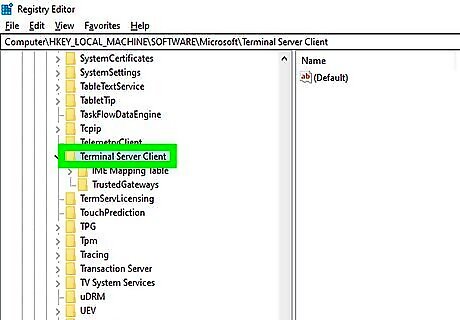
Open HKEY_LOCAL_MACHINE\Software\Microsoft\Terminal Server Client. Using the keys (i.e. folders) located along the left-hand side, navigate until you reach the Terminal Server Client within HKEY_LOCAL_MACHINE.
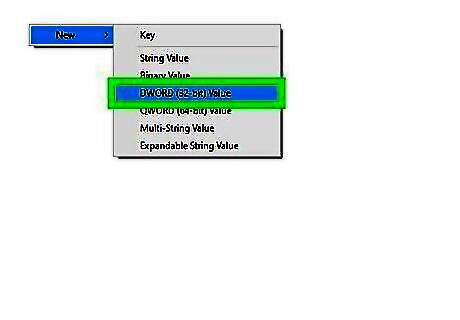
Add the following three keys: DisableClipboardRedirection DisableDriveRedirection DisablePrinterRedirection Add each key as a DWORD and set the value of each key to REG_DWORD 1.
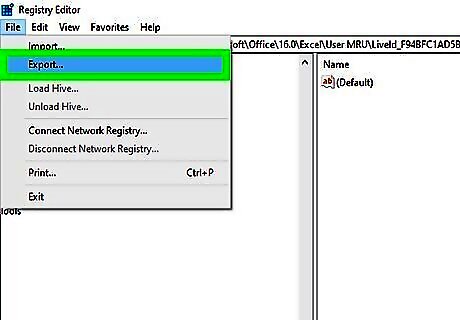
Export the Registry again. Save another backup of this newly updated Registry and open the file to run it on your computer. Consider having someone try to access your desktop remotely to ensure that the edits worked. You may also revisit the Registry Editor to enable remote desktop access again.
Mac (System Preferences)
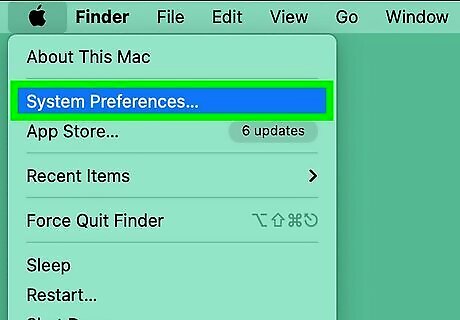
Open "System Preferences". Click the Apple menu in the top-left corner of your desktop, then select System Preferences.
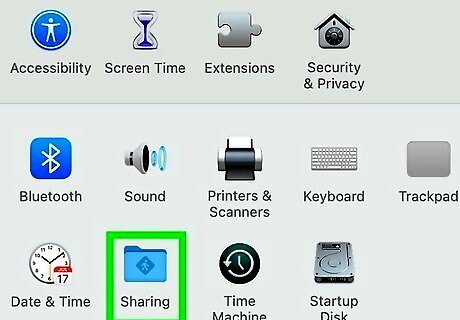
Click "Sharing". From the various subsections available, select Sharing to tinker with your remote access settings. Most of the "Sharing" settings require administrator approval. Your Mac may therefore prompt you to sign in as a user with administrator privileges.
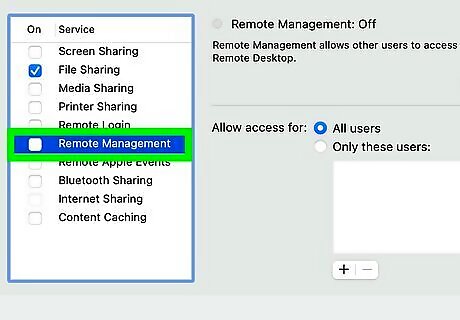
Uncheck the Remote Management checkbox. You have now blocked remote access to your Mac. You may revisit this checkbox at any time to enable remote access.
Mac (Command Prompt)

Open the "Remote Desktop" app. Use Finder on your Mac to open Remote Desktop, where you can manage both incoming and outgoing desktop connections.
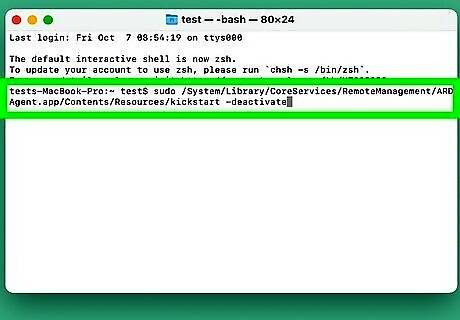
Enter a command to disable remote access and deny previously established connections. Enter the following command:sudo/System/Library/CoreServices/RemoteManagement/ARDAgent.app/Contents/Resources/kickstart -deactivate. You have now blocked remote access to your Mac. You may revisit your System Preferences at any time to enable access again.




Comments
0 comment