
- Change the wiper blades by unlatching them from the end of the wiper arm and pulling them off.
- Remove a clip-on wiper arm by pulling the lever at the base of the wiper arm and lifting it off of your windshield.
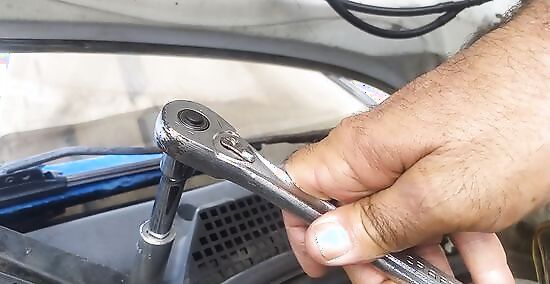
- Take off a bolt-on wiper arm by unscrewing the retaining nut with a socket ratchet.
- Remove a spring-loaded wiper arm by inserting a pin through the pinholes on the base and pulling the wiper off of your vehicle.
Replacing Wiper Blades Only
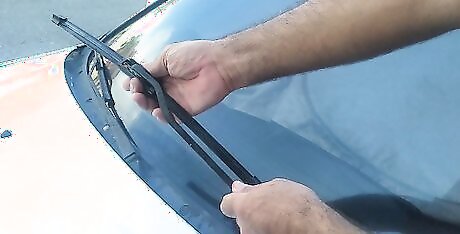
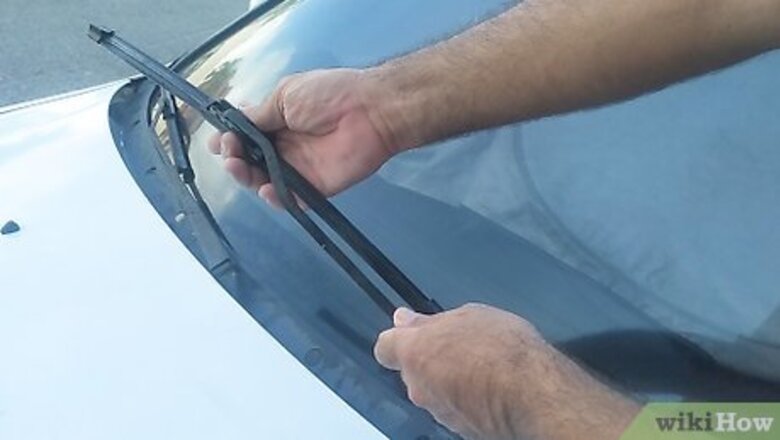
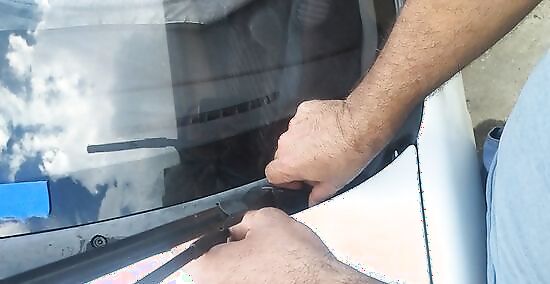
Raise the windshield wipers. Hold onto where the wiper blade connects to the arm and slowly pull it up and away from your windshield. The wiper arm will stay in the position above your windshield without touching the glass. Place a towel on your windshield where the wiper blade would normally sit. That way, if you accidentally knock the arm down, it won’t damage your windshield.

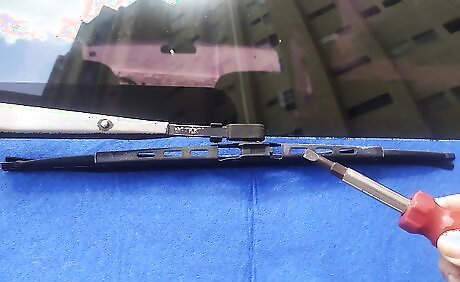
Remove the wiper blade from the wiper arm. Each wiper blade has a connector where it attaches to the arm. There are 3 common connector designs, so how you change the blade on your vehicle varies depending on the type you have. Hook-slot connectors have a hook on the end of the arm that looks like the letter "J." Find the tab where the blade connects to the arm, and either lift it up or push it in. Once released, push or pull the blade straight down toward the base of the wiper arm to remove it from the hook slot. Pin-type connectors have a small cylindrical pin at the end of the wiper arm that connects to the side of the blade. Lift the tab around the pin with a flathead screwdriver. Once you release the tab, just pull the blade straight off of the pin. Straight-end connectors have grooved ends that slide into the end of the wiper arm. Hold the tabs down on the sides of the wiper arm where it connects to the blade. Then, just pull the blade up and away from the wiper arm to remove it.

Install the new wiper blade. The way you install the blade depends on the type of connection the wiper arm uses. Make sure you choose a wiper blade that’s the same size as your old one, or else it may not fit on your windshield properly. Hook-slot connectors: Slide the new wiper blade into the hook slot at the end of the wiper arm, and secure the tab. Pin-type connectors: Slide the new wiper blade onto the pin. Once you have the blade in place, lock down the tab to secure it. Straight-end connectors: Slide the base of the wiper blade into the end of the wiper arm. If your design has a clip or tab, make sure that it snaps into place.
Test your wiper blades. Lower the wiper blade back against your windshield and turn on your vehicle. Spray water or windshield wiper cleaner onto your windshield and turn on the wipers. If they are wiping properly, then you’re finished with your repairs. If your wipers are still loose or wiggling on the arm, then check that they’re properly fastened before driving again.
Preparing to Change Windshield Wiper Arms

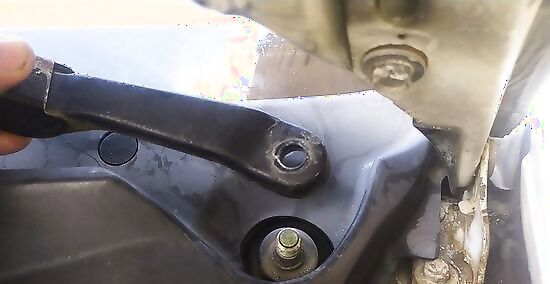
Check the wiper arm connection to see what kind you have. Look where your wiper arm connects to the body of your vehicle. There are 3 common kinds of wiper arms and they each fasten to the car differently. Bolt-on wipers are held onto your vehicle with a retaining nut mounted to a vertical post. The nut is usually covered with a circular plastic piece. Clip-on wipers have a small lever at the base that latches the arm to your vehicle. Spring-loaded wipers are held in place by a tension spring on the underside of the arm.

Buy an identical replacement wiper arm. Measure the wiper arm you just took off so you can buy one that’s exactly the same length and style. The wiper on the passenger side is usually longer than the one on the driver’s side arms, so ensure you have the correct length. Many auto parts stores have catalogs where you can look up the make and model of your vehicle to find wipers that are the correct size.
Gather your tools. You can remove most wiper arms with just a flathead screwdriver and a ratchet set, but stubborn wipers may need an arm puller. Keep all of your tools nearby and ready before you start taking the wiper arm off.
Clip-On Wiper Arms

Lift your wiper arm off of your windshield. Use one hand to hold the wiper arm where it connects to the blade and keep your other hand at the arm’s base on your vehicle. Hold the wiper blade a few inches off your windshield so it’s easier to undo the clip.
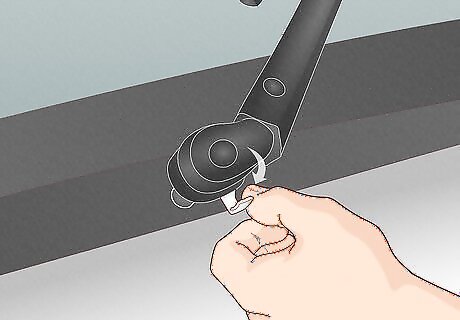
Pull the lever or latch near the base of the wiper arm. Check where the wiper arm connects to your vehicle. The latch will either be on the side or underneath the base of the wiper arm. Pull the lever up to unlock your wiper arm from your vehicle. If you don’t see a lever on the wiper arm, then you have a spring-loaded or bolt-on arm.
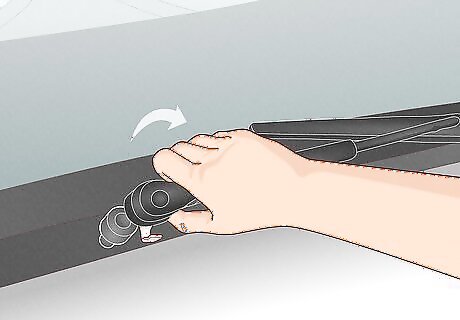
Lower the wiper arm to slide it off of your vehicle. Slowly set the wiper arm back down on your windshield. Gently rock the wiper arm back and forth to loosen the connections so you can pull it off of your vehicle.
Use a wiper arm puller for stuck or stubborn arms. Slide the bottom of the puller underneath the base of the wiper arm. Place the bolt on top of the puller against the wiper arm post attached to your vehicle. Slowly turn the bolt clockwise to pull the wiper arm away from your windshield until you’re able to remove it on your own. Place a piece of cardboard or shop rag between your vehicle and the wiper arm puller to protect the finish.
Spring-Loaded Wiper Arms
Locate the hinge where the wiper arm attaches to your vehicle’s drive post. This is a spring-loaded clip that holds the wiper arm in place, but is released by lifting the arm away from the windshield.
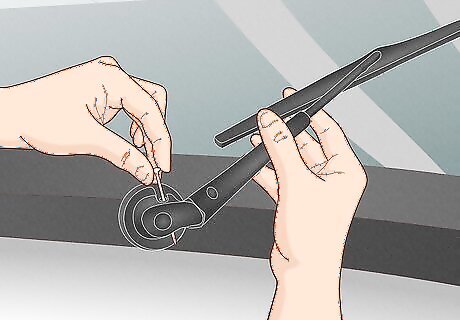
Insert a pin through the clip to release it. Locate a hole on each side of the arm near the hinge pin. Lift the wiper arm fully up and off the windshield. Then, slide a finish nail or pin all the way through both of the clip’s side holes. You may need to slightly rock the wiper blade away while attempting to align the pin and slide it through.

Pull the wiper arm off of your vehicle. Rock the wiper arm up and down to make it easier to pull off the post on your vehicle. Slowly pull the arm straight off of the post to remove it.
Bolt-On Wiper Arms
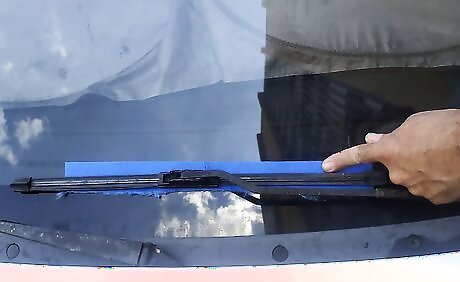
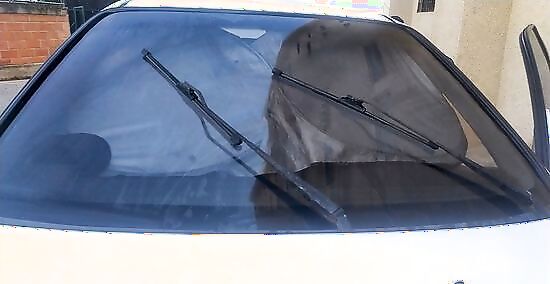
Mark where the windshield wiper blade rests. This will help you put the replacement wiper back in the correct position once the current wiper has been removed. Bar soap, wax, or another easy-to-remove mark works fine.
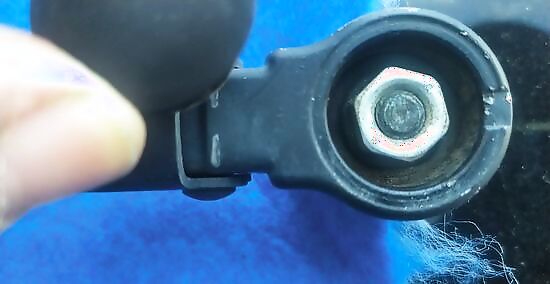
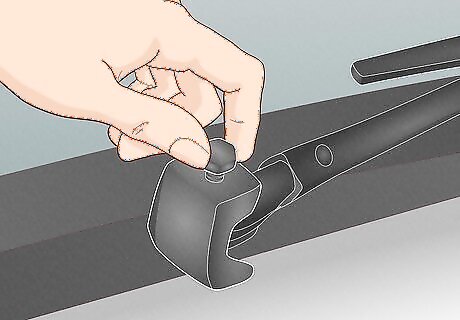
Remove the dust cap at the base of the wiper arm. Look for a plastic or metal dust cap that covers the drive post and hex nut that hold the wiper arm in place. Use a flathead screwdriver to pry the cap off so you can reach the nut.
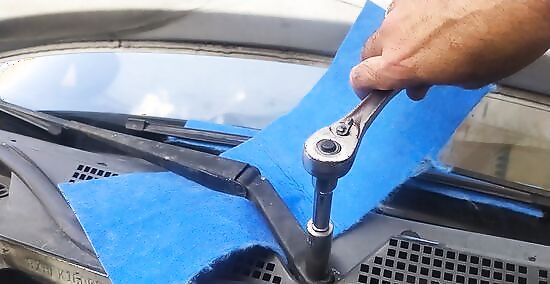
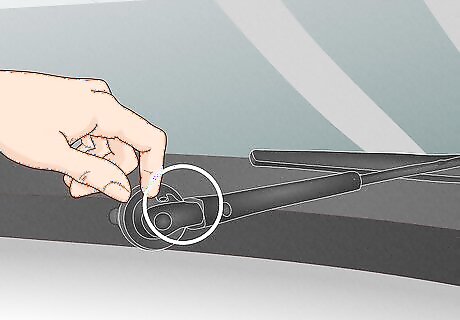
Remove the nut that fastens the windshield wiper arm to the drive post. Use a socket ratchet that’s the same size as the retaining hex nut on your wiper arm. Turn the ratchet counterclockwise to loosen the nut. When the nut comes loose, take the socket off and finish unscrewing the nut by hand. Set the nut aside in a safe place so you can reuse it to attach the new wiper arm.
Remove the entire wiper arm from the drive post. Lift the wiper blade up from the windshield with one hand and hold the base of the arm with the other. Gently rock the wiper blade back and forth while lifting with both hands to slide it off of the drive post.
Installing Replacement Windshield Wiper Arms

Clean the drive post with a small wire brush. Remove any rust and debris from threaded posts with a wire brush. Apply a drop or two of lubricant oil onto the post threads before you reinstall the wiper arm.
Slide the base of the wiper arm onto the drive post. Find the hole at the base of your wiper arm. Align the wiper blade with the bottom of your windshield and push the arm onto the post. If you have trouble getting the wiper arm fully seated, try gently tapping it into place with a rubber mallet.
Secure the wiper arm to the base. Securing the wiper arm depends on the kind your vehicle uses. No matter what type of wiper your vehicle has, always double-check that the wiper arms are tightly secured. Bolt-on wiper arms: Twist the nut clockwise back onto the drive post and replace the dust cover. Clip-on wiper arms: Seat the arm’s base fully on the drive post and squeeze the lever back down against the base. Spring-loaded wiper arms: Remove the pin inserted in the pinholes and let the wiper blade rest on the windshield.
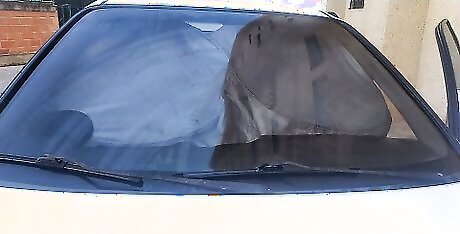
Test your wipers. Spray your windshield with some water or windshield cleaner and turn on your wipers. Make sure they run smoothly across your windshield. If everything runs smoothly, then you’re finished with your repairs.


Comments
0 comment