views
Examining the Sprayer Head
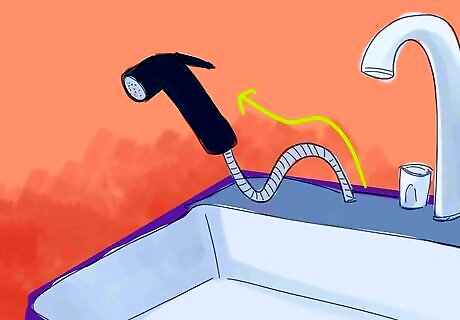
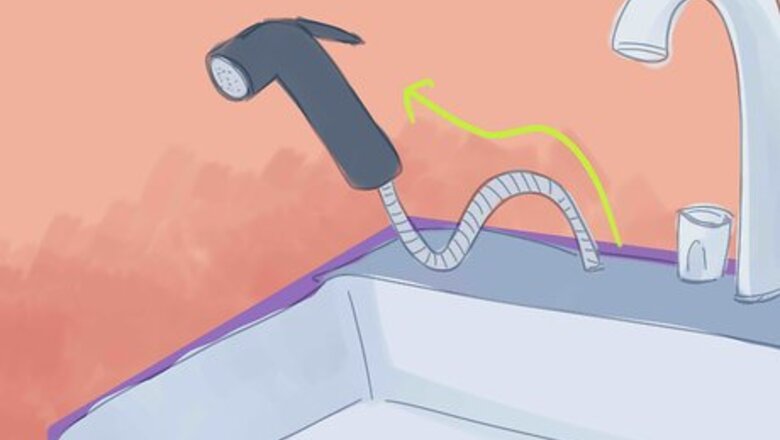
Pull out the sprayer and its hose so it is closer to you and easier to access.
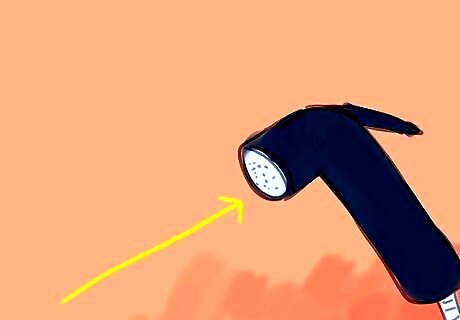
Look at the front section of the sprayer head where the aerator is located to check if the sprayer head is all in one piece, or if it appears to be in two pieces, with one piece very close to the spray portion. If the sprayer head is in two pieces, it more than likely comes apart. If it is in one piece, it will need to be cleaned intact.
Cleaning a Two-Piece Sprayer Head
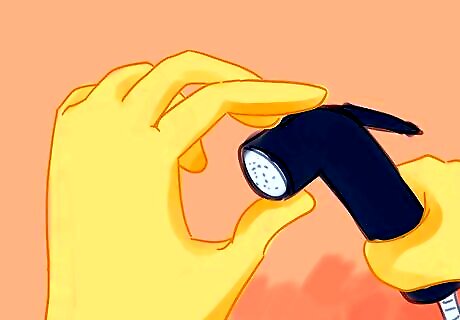
Grasp the two sections of the sprayer head. Hold the back section in your non-dominant hand and the front section, near the aerator, with your other hand.
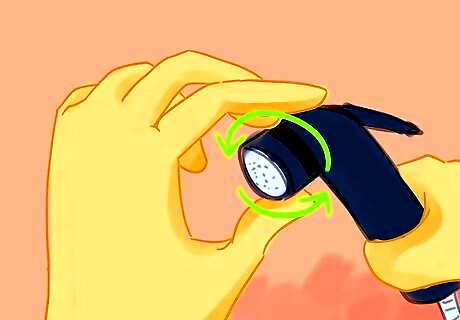
Twist the front aerator section to the left until it comes loose in your hand.
Put down both pieces and put on protective rubber gloves.
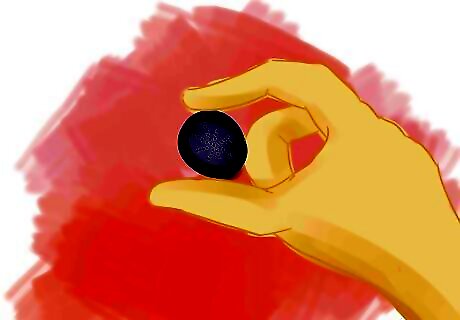
Hold the aerator in your non-dominant hand.
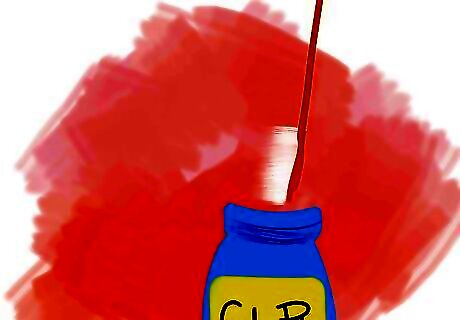
Dip a small scrub brush or old toothbrush into a cleaning solution made for mineral deposits like CLR.
Scrub both sides of the aerator with the mineral deposit cleaner until it’s clean. The mineral deposits may appear whitish in color; the aerator is clean when no white crust is left.
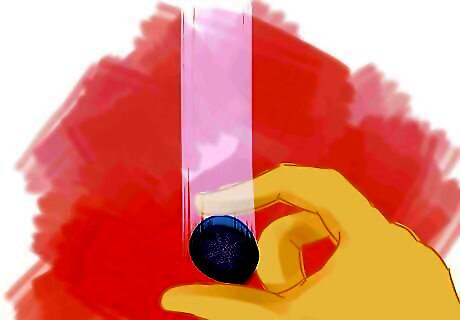
Rinse the aerator with water.
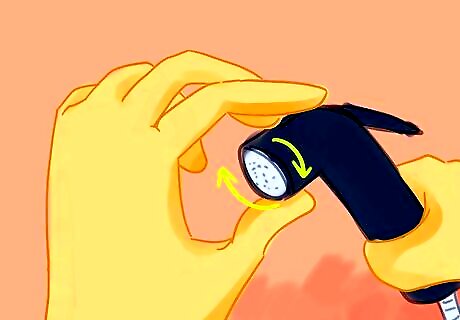
Screw it back onto the sprayer head.
Cleaning a One-Piece Sprayer Head
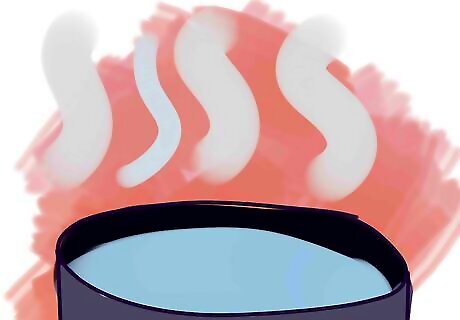
Fill a large pot with a mineral deposit cleaner.

Dilute the cleaner with hot water according to the manufacturer's instructions.
Pull the sprayer out of its holder and toward you for easier access to the head.
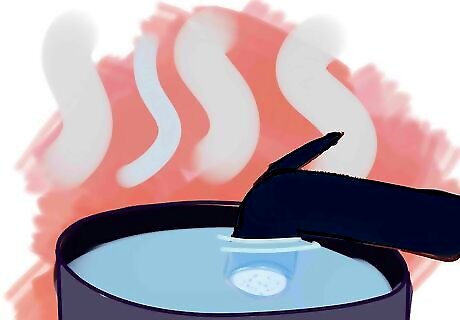
Dip the sprayer head into the cleaning solution.
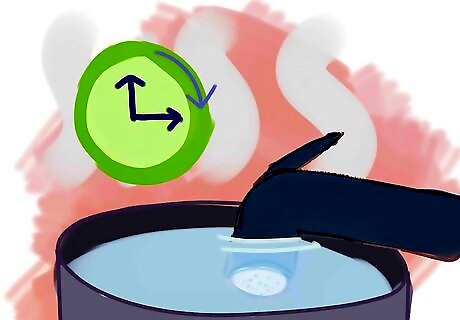
Leave it in place for 10 to 15 minutes to allow the solution time to dissolve the deposits inside and outside of the sprayer head.
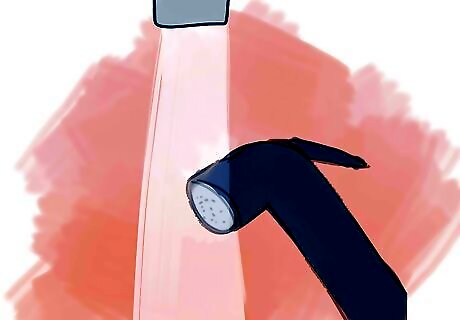
Rinse the sprayer with clean water.





Comments
0 comment