views
Steps
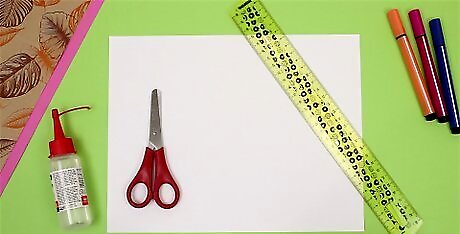
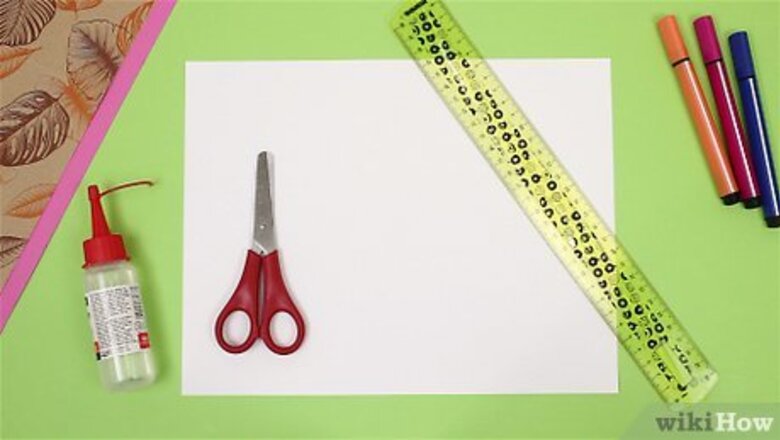
Get the materials (which you'll probably find at home) and get started. You'll need a pencil too, for the basic structure of your diary. Read the "Tips" section before you begin working on the diary.
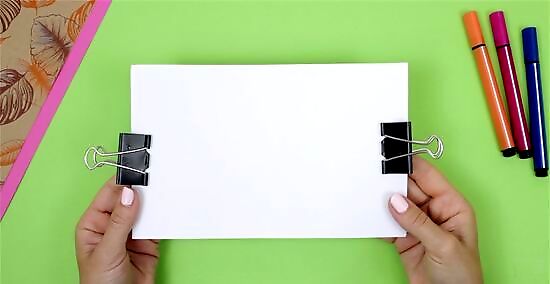
Join all the normal sheets and compact them with your hand. If you have someone to help you, better. If not though, that's okay. You have to apply a lot of compression to the sheets—consider holding them down with a textbook or dictionary.
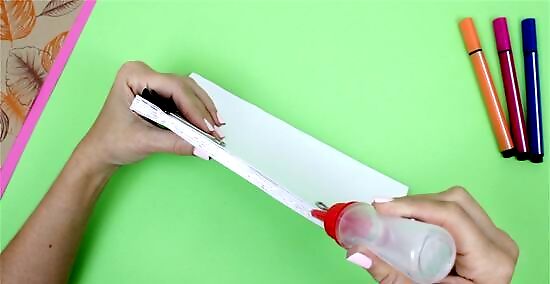
Pick up the white glue, or liquid glue. Spread a thick layer of glue on the side of the compressed sheets you think the spine of the diary will be. Don't worry if some glue spreads beneath some sheets. The important thing is that there is a lot of glue in the spine so the sheets won't be loose. The worst part is: you have to compress the sheets until the glue is dried, so the sheets won't be hanging out.
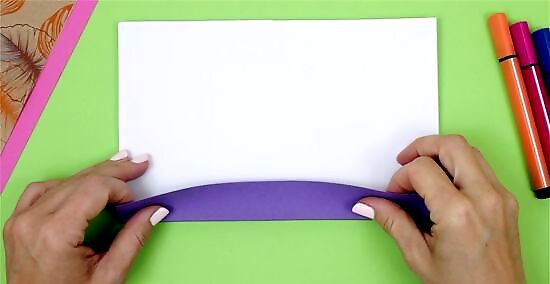
Now that the glue in the spine of the book is dry, cut a straight piece of paper, and glue it to the glued spine of the book. You have to remember that you need at least a 3 centimeter (1.2 in) border to each side. These 3 centimeter (1.2 in) of normal paper will be glued on the first and last normal sheets of the inside of the book.
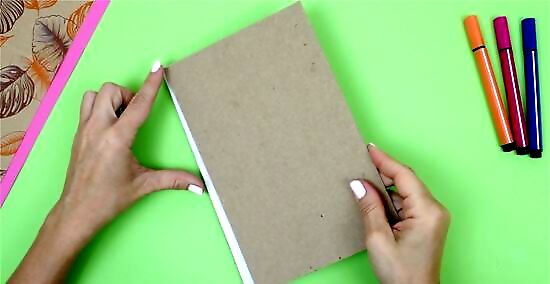
Take the cardboard paper and with the white/liquid glue, glue firmly each piece of cardboard to the first and last normal sheet pages of the notebook. Your diary will be more resistant now. These cardboard pieces, glued to the last and first page will be the cover.
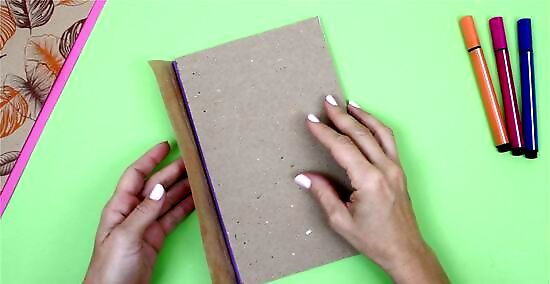
Reinforce the spine of the book with the half piece of cardboard. This will have to be measured previously with a ruler, to be neat. Right now, your book should look like a sad, uncoloured book, but still a book, with cover, sheets and spine.
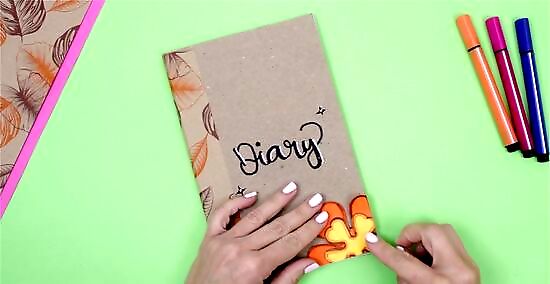
Unleash your imagination! Start to decorate the cover of your diary! Cut old magazines and glue the cuttings to the cover of your diary! Draw in the cover, spell out your name or glue cute and fun stickers in it! It's all up to you!
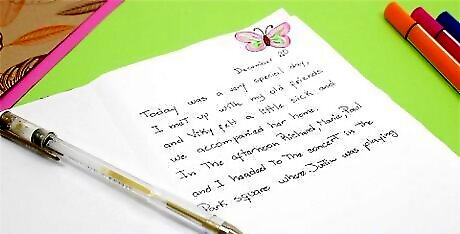
Start writing in your diary. Put the date on the top of the page and start telling your feelings. Draw, glue, be imaginative! Specially: Have fun!
Alternate Method
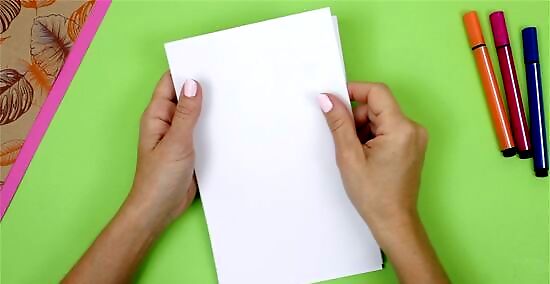
Stack and then line-up 20-25 sheets of paper.
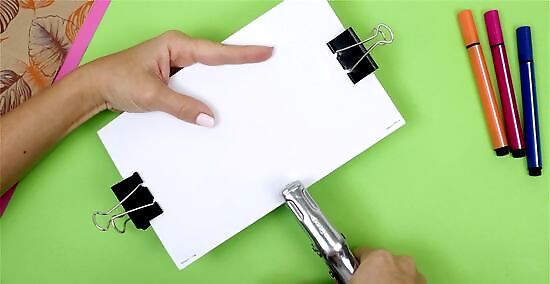
Staple the pages together on the left (4-7 staples).
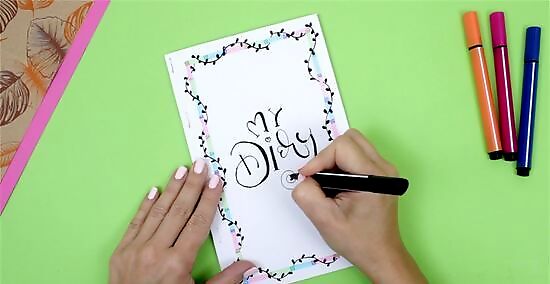
Decorate the front cover however you wish. Write phrases, draw pictures, etc. Do the same on the back, but use less wording. Use markers, crayons, stickers, or colored pencil.
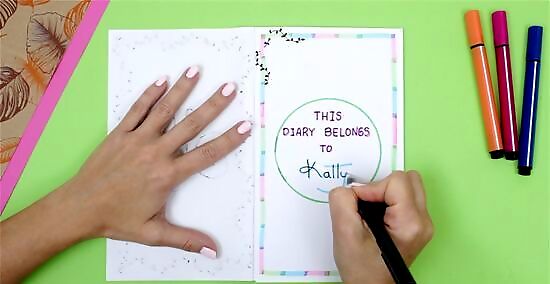
Open the diary. You'll uncover the first page of the diary. Draw a circle in the middle of one page with crayons. Color outside the circle. In the circle, write "This diary belongs to:" and then write your name under it.
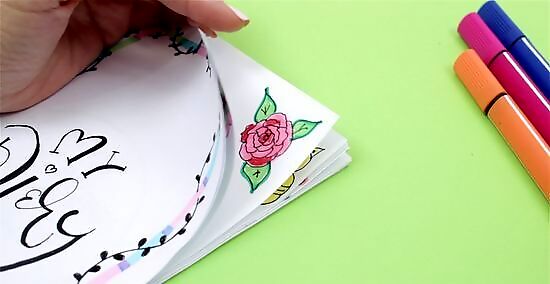
On each corner of each following pages draw little doodles (example: roses, butterflies, or pumpkins).
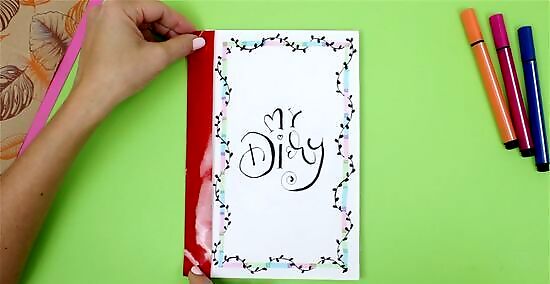
Tape one end of the strip to the front cover by the staples. Do the same on the back.
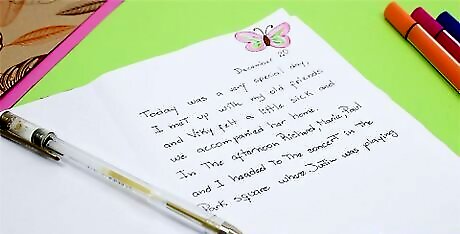
Write and draw anything you want in it with the pencil and have a blast!





Comments
0 comment