
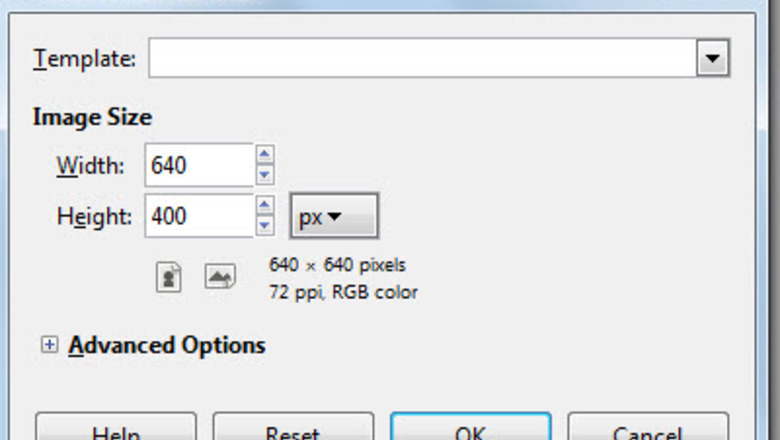
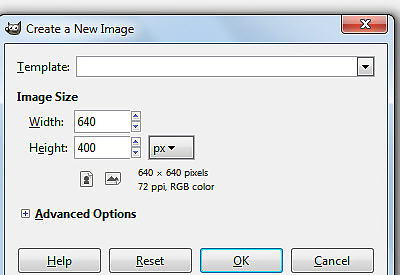
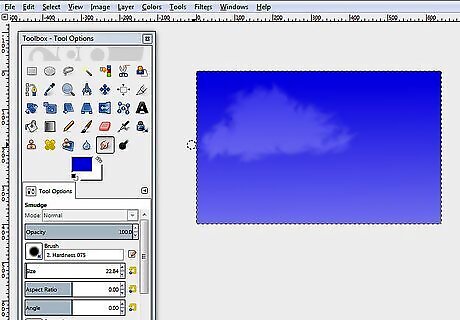
Create an image. The one used for this tutorial will be 640 X 400. Fill it with a blue shade the color of the sky.Create Clouds Using Gimp Step 1.jpg
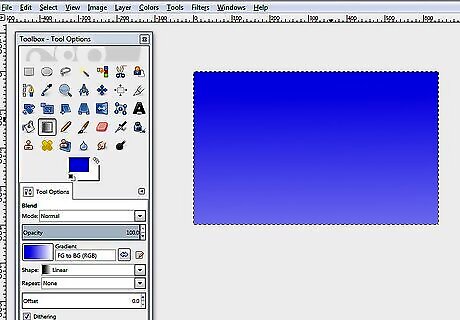
Make a gradient. You can do that 'by hand' or using the gradient tool.
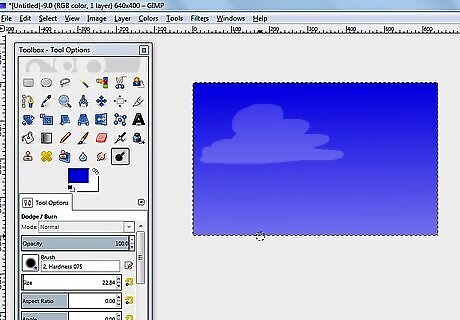
Using the dodge tool, make a 'cloud-like' shape.
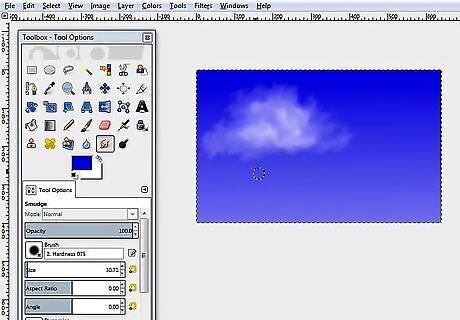
Select the smudge icon and begin smudging the cloud. You will be working on making it puffy.
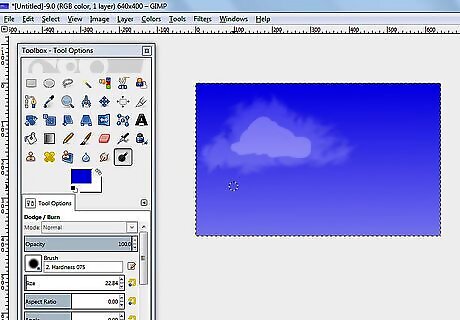
Using the dodge tool with the same settings as before, create another cloud shape inside the part of the cloud you have already started.

Smudge it again. Be sure to stay within the edges created by your first dodge and smudge. This will help create a distinctive look. Be sure not to do this too much.
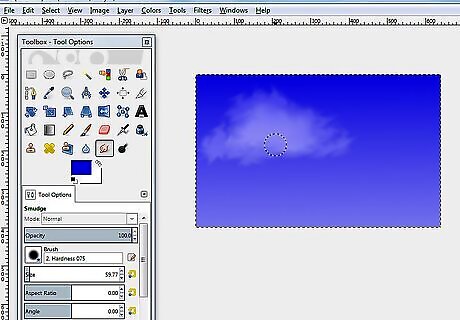
With a slightly larger brush, smudge the cloud again.
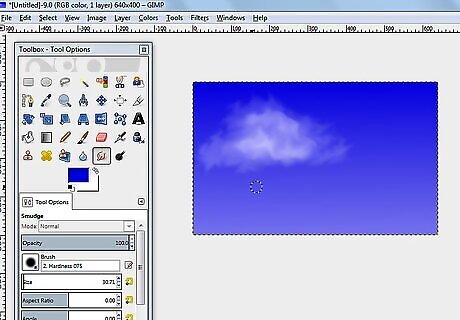
Do it again. You are giving your cloud depth by doing this.
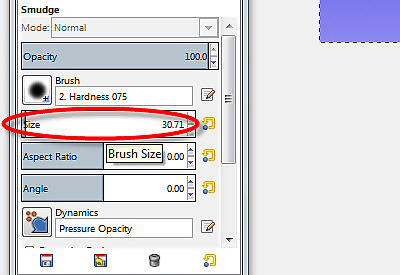
Be careful, when you smudge, that your brush isn't too large. Otherwise, everything will blur together completely.Create Clouds Using Gimp Step 9.jpg
Continue doing this until your cloud is complete.


Comments
0 comment