
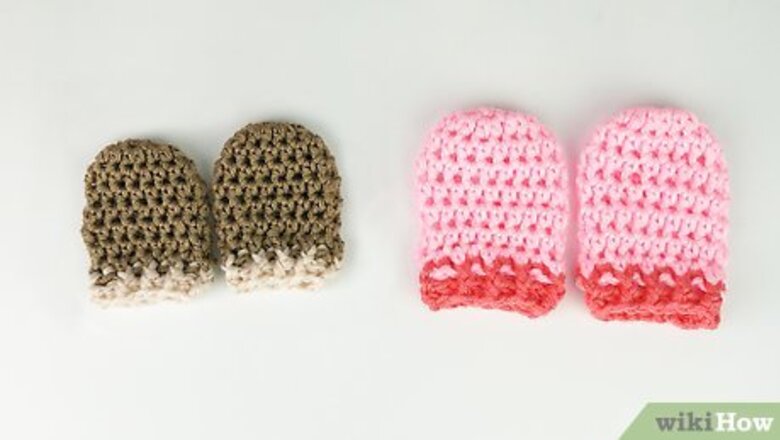
Creating the Top of the Mitten
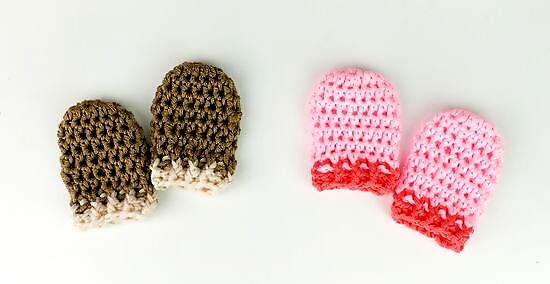
Determine if you want to crochet mittens for a newborn or 3-6 month-old baby. You can measure the baby's hands or choose a mitten size based on how old the baby is. The newborn mittens measure 2 ⁄2 inches (6.4 cm) wide and 3 ⁄2 inches (8.9 cm) long. Mittens for a 3-6 month-old measure 2 ⁄4 inches (7.0 cm) wide and 3 ⁄2 inches (8.9 cm) long. Keep in mind that most mittens for babies don't include thumbs because it's difficult to slide the baby's tiny thumbs into them.
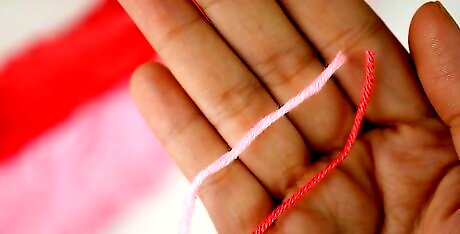
Choose medium-weight yarn in any color you like. Pick a soft yarn that will be comfortable against the baby's hands. Get out a skein that's 52 yards (48 m) long and weighs 1.1 ounces (30 g).Tip: Medium-weight yarns include worsted yarns, afghan yarns, and aran yarns. You could also buy yarn that's labeled 4 weight. You can use a single color or 2 colors if you'd like to make the cuff a different color than the body. The amount of yarn you need is the same for both the newborn and 3-6 month-old size. To make the mittens easier to wash, look for a cotton blend or acrylic yarn. This way, they won't shrink if you toss them in the machine.
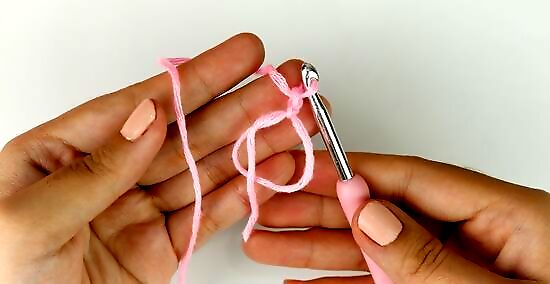
Form a magic loop with a US size I (5.5 mm) crochet hook and chain 1. To make the magic loop, wrap the yarn around 3 of your fingers to make a loop and pinch the yarn where it overlaps. Position the yarn so the tail is on the left and the working yarn is on the right. Then, slide the crochet hook through the loop to grab the working yarn. Pull the yarn through the loop and make 1 chain stitch. Remember, to chain a stitch, just wrap the yarn around the hook and pull it through the loop that's already on your hook.
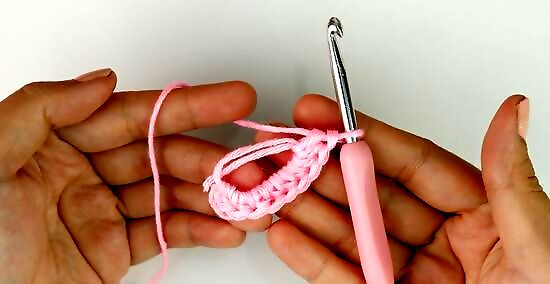
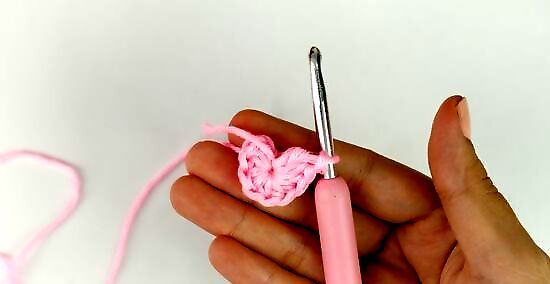
Make 8 to 9 half-double crochet (HDC) stitches into the magic ring. To form a HDC, wrap the yarn around the hook to make another loop. Then, slide the hook through the magic loop and grab the back of the working yarn. Pull it onto the hook to make 3 loops. Finish the HDC by wrapping the yarn around the hook and pulling it through all 3 loops. Repeat this 8 or 9 times for the mitten. If you're making the newborn size, crochet 8 HDC stitches. To make the 3-6 month-old size, make 9 HDC stitches.
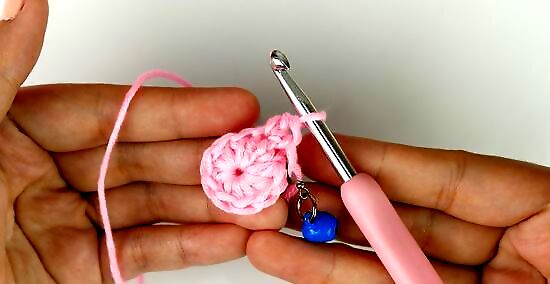
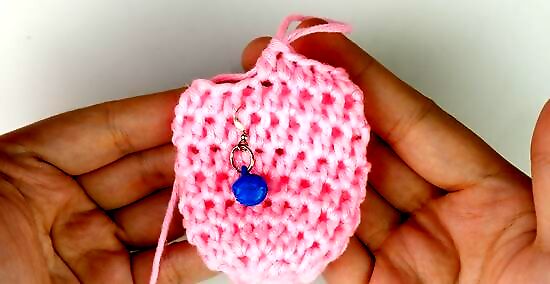
Pull the tail until the center of the magic loop is about ⁄4 in (0.64 cm) wide. Pinch the crocheted work where it meets your hook and use your other hand to hold the yarn tail. Gently pull the tail so the crocheted piece gathers into a circle with a center gap that's no more than ⁄4 inch (0.64 cm) wide. This forms the top of the mitten. You'll sew through the top to secure it once you've finished crocheting the body of the mitten.
Crocheting the Body
Make 2 HDC stitches into the first stitch of the magic ring. Insert your hook into the closest stitch and make a HDC stitch. Slip on a stitch marker and insert your hook into the same stitch to make another HDC stitch. HDC stitches increase your work, so the magic ring will double in size as you work.
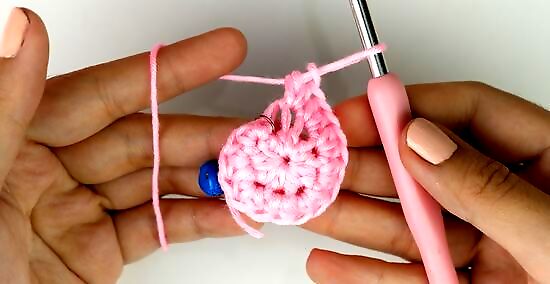
Crochet 2 HDC stitches into every stitch until you reach the stitch marker. This means you'll do 2 HDC stitches into the next 7 or 8 stitches of the magic ring, depending on which size mitten you're making. Crocheting HDC stitches around the ring doubles the number of stitches you're working. For example, if you started with 8 stitches, you'll have 16 after working this round.
Make 1 HDC stitch into every stitch for the next 6 rounds. Once you reach the stitch marker, remove it and set it aside. Insert your hook into the next stitch, which starts round 3, and work a HDC stitch. Then, slip the stitch marker into the stitch and make 1 HDC stitch into every stitch of the round. Repeat this for the following 5 rounds.Tip: Consider measuring the length of your mitten before you SC and slip stitch. If your stitches are tight and the mitten doesn't measure around 3 ⁄2 inches (8.9 cm) long, you might want to work another round before finishing it off. This forms the main body of the baby mitten.
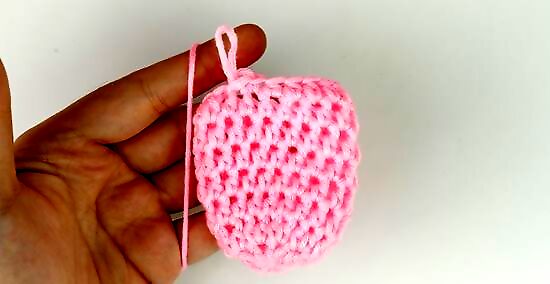
Single crochet (SC) 1 stitch and work 1 slip stitch to finish the body. When you've reached the stitch marker after a total of 6 rounds, remove the marker. Insert your hook into the next stitch and wrap the yarn around. Pull it through both of the loops to make the SC. Then, make a slip stitch to finish the round. To make a tight slip stitch, insert your hook into the stitch and pull the working yarn to tighten the loop. Wrap the yarn over and pull it through the loops.
Making the Ribbed Cuff
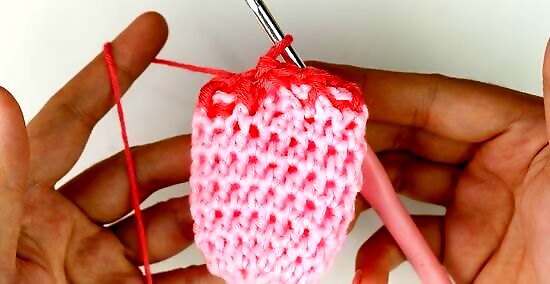
Work a ribbed stitch around the next round. Locate the gap in front of the slip stitch you just made so you can make a front post half double crochet (FPHDC). Then, insert your hook into the back to work a back post half double crochet (BPHDC). Keep alternating these 2 stitches until you finish the round.Did You Know? To make the FPHDC, wrap the yarn around your hook and insert it into the front of your fabric through that gap. Bring the hook around the back of the slip stitch to the front and pull through the loops. The pattern for this round looks like this: repeat 1 FPHDC, 1 BPHDC.
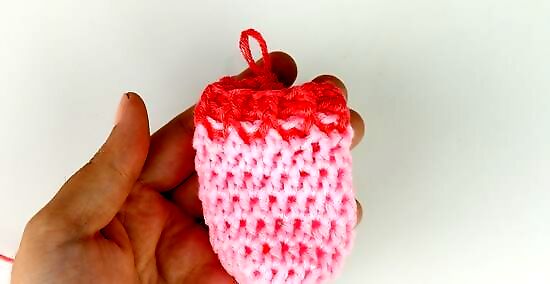
Repeat the ribbed round and cut the yarn tail. Once you reach the end of the first ribbed round, join to the next round. Continue to alternate the 1 FPHDC, 1 BPHDC stitch around this round to finish a short ribbed cuff. Then, leave a 6 inches (15 cm) yarn tail and cut the yarn. Your mitten should measure 3 ⁄2 inches (8.9 cm) long once you finish the cuff. If it's not long enough, you could crochet another ribbed round before finishing the mitten.
Weave in the ends and make a matching mitten. Turn the mitten inside out and thread the yarn tail onto a tapestry needle. Weave the bottom yarn tail along the cuff of the mitten. Then, thread the needle with the yarn tail that's at the top of the mitten. Straight stitch the tiny gap at the top closed and trim the yarn. Turn the mitten right side out. If you crocheted extra rounds for your mitten, remember to make the same adjustments for the second mitten that you crochet.


Comments
0 comment